This is the most simple of pools that you can create. It requires a Desktop VM that has the Horizon view agent installed. It doesn’t really matter if its Windows or Linux as long as the Desktops are built and ready to go.
Before anybody asks, there are a few legitimate reasons that you’d want to have a manual pool. The most obvious be that the company security policy is that all Desktops need to be deployed from a central location such as a RedHat satellite server.
- Connect to your View Connection Server https://<connection_server>/admin with an account that has administrator permission.
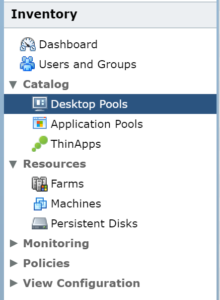
- Expand Category and select Desktop Pools.
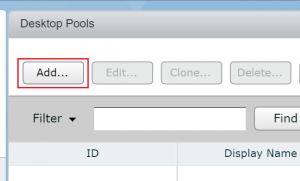
- Click Add.
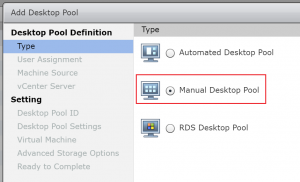
- Select Manual Desktop Pool and click Next.
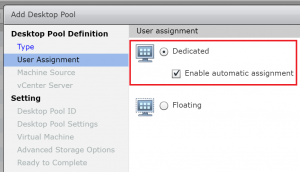
- Select Dedicated . Its up to you whether you select Enable Automatic Assignment. All it does is automatically assign a user to a free desktop, which will be a permanent assignment. Click Next.
- Select vCenter virtual machines. Click Next.

- Select your vCenter and clict Next.

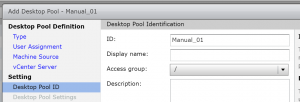
- Fill in a name for the ID and a Display name. While you can change the display name, teh ID name won’t change.
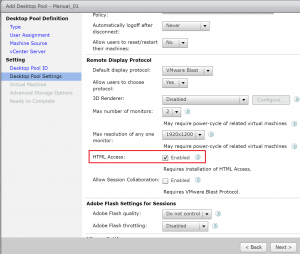
- In this page there a quite a lot of options you can configure, I’ll break them down in a later post but for now select HTML Access as this will allow us to connect to the desktop using a browser and click Next.
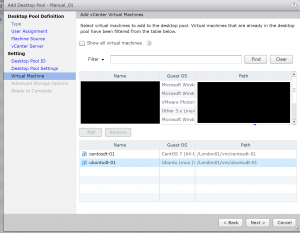
- Select the VM’s you’d like to add to the pool, click Add and click Next.
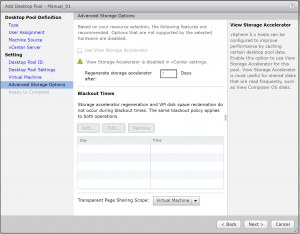
- Click Next
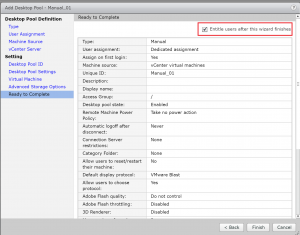
- Select Entitle Users After this wizard Finishes to add users. `This will allow you to add users after the wizard finishes. Not necessary but a bit of a time saver. Click Finish.
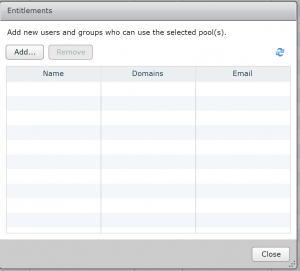
- Once you’ve finished the New Pool wizard the entitlements wizard opens if you’ve selected it in the previous step. Click Add.
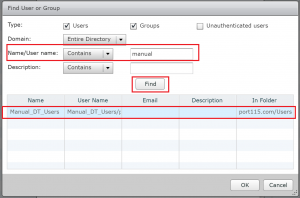
- In the Name/User name box type the name of the group or user you’d like to add and click find. Once it appears, select it and click OK. In production environments you’d usually add an AD group rather than an individual user. This allows for greater flexibility and monitoring.
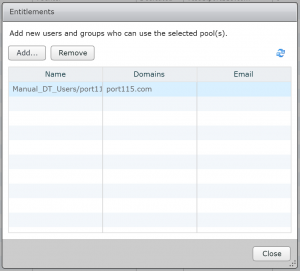
- To entitle other groups or users click add or if you are finished click close.
Testing our new pool.
- Log out of your Connection server and connect back to the server but this time without the /admin. just https://connection_server; Log back in as a regular user that is entitled to the Desktop pool
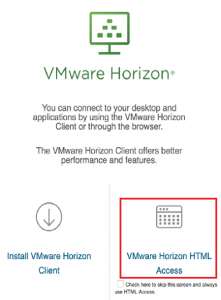
- Click VMware Horizon HTML Access.
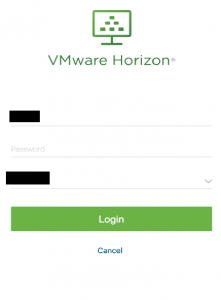
- Enter in your username and password, and click Login.
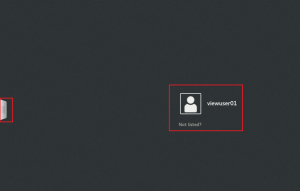
- Select the pool you created earlier. In my case I called it Manual_01.

- If everything went according to plan you’ll now have access to your VM.
Troubleshooting:
- If you experience issues connecting via the web interface go back and have a look at step 9, did you tick the box to enable HTML access?
- Can you connect using the full client?
- Check the firewall on the Desktop OS. The agent on the desktop needs to speak to the connection server on port 4001.
- Is the View agent installed?
We’ve created a very basic pool. Next few posts will look whats needed to create an automated Desktop pool using both Windows and Linux. We’ll also look at optimizing the Widows Desktop, including various design and storage considerations, As well as discussing the various options available in the Desktop Pool wizard.