vExpert 2020!

vExpert 2020! What a great way to wake up.

Its been just over 5 years that I’ve had the honour to be a part of this amazing program. To those of you thinking about applying, go for it!

A big Congratulations to all the vExperts both new and current.

Just before I sign off, a thank you to my current employer and work colleagues for keeping me challenged and learning.


How to setup 2 factor authentication in Horizon View using Google Authenticator – Part 2

Adding the Radius Server to the Connection Broker.

I’ll always recommend using the Unified Access Gateway, even for internal only deployments and adding the first Challenge of the 2FA there. However we can add it the the connection broker if needed. The following is done via the HTML interface, it’s where the admin console is heading so you might as well get started now. Next post will be how to add it to the Unified Access Gateway.

  1.  Log into to your connection broker on https://<connection>/newadmin/
  2. Expand Settings and Click on Servers and Connection Servers.

  3. Select the connection server and click Edit.
  4. Select Authentication and scroll down to Advanced Authentication.
  5. Under Advanced Authentication:
    1. For 2-factor authentication select RADIUS.
    2. Tick Enforce 2-factor and windows user name matching.
    3. Under Authenticator, select Create New Authenticator.

  6. Fill in blank and required details. no real need to change the defaults:
    1. Label – Give it a name like Centos 2FA.
    2. Hostname/Address – hostname of the 2FA server we built in Part 1.
    3. Share Secret – We defined this in Part 1 as the secret in the client.conf file.
  7. Click Next.
  8. Add in the details of a second server (if created)
  9. Click Finish.
  10. Select the Authenticator you just created.
  11. and select OK.

Next time a user tries to log into the connection broker to get a desktop they’ll be prompted for their 2FA key.


How to setup 2 factor authentication in Horizon View using Google Authenticator – Part 1

Getting 2FA setup in View can be a hard requirement with many organisations opting to use the tried and tested RSA SercureID suite. However, with budgets tightening more and more, many of the paid for solutions can end up chewing up a large chunk of your financials.

But is doesn’t have to… the folks over at Google have created their over own authenticator, called Google Authenticator. That combined with PAM and FreeRadius will give us a good alternative (IMHO).

I’ve broken the below into sections. Prepping the OS, Configuring Radius, Joining the Domain, and OS security bits. All sections need to be completed.

NOTE: Before you copy and paste this into any production environment I strongly recommend you do your research into PAM, Firewalls, and FreeRadius

To begin we’ll need:

  • Clean install of CentOS 7.X with a fully resolvable name.
  • DNS configured (correctly)
  • The Google Authenticator app installed on your phone.

Prepping the OS

  1. Update the OS
    1. yum -y update
    2. yum -y install epel-release
    3. yum -y install freeradius freeradius-utils google-authenticator bind-utils realmd sssd oddjob oddjob-mkhomedir adcli samba-common samba-common-tools ntpdate ntp libvirt-client open-vm-tools rsync
  2. Enable NTP:
    1. Edit ntp.conf and add your own NTP servers (you can replace *.centos.pool.ntp.org as required, or not).
    2. systemctl enable ntpd
    3. systemctl start ntpd

Configuring Radius

  1. Edit Radius. The below is a bit of a work around, I would recommend using a dedicated radius account.
    1. vi /etc/raddb/radiusd.conf
    2. Hash out “user = radiusd” and “group = radiusd”
    3. Under the above add in “user = root” And “group = root”
  2. Set Pam as an authentication model
    1. vi /etc/raddb/sites-enabled/default
    2. Remove the # infront of pam
  3. Link the pam module to the enabled folder
    1. ln -s /etc/raddb/mods-available/pam /etc/raddb/mods-enabled/pam
    2. chown -h root:radiusd /etc/raddb/mods-enabled/pam
  4. Add as many Client as needed. These will be the different clients (servers) that need access to the 2FA. The following need to added above localhost client section. In this example I’m adding the lab connection server.
    1. vi /etc/raddb/clients.conf
    2. client <connection01> {
              ipaddr = X.X.X.X
              secret = Secret
              require_message_authenticator = no
      }
  5. Change the default auth type in freeradius to PAM
    1. vi /etc/raddb/users
    2. Add DEFAULT Auth-Type := PAM right below
      1. DEFAULT Group == “disabled”, Auth-Type := Reject
      2. Reply-Message = “Your account has been disabled.

Joining the Domain.

  1. Join the domain (watch out for funky characters).
    1. echo ‘<password>’ | realm join –user=<user>@<domain> <domain>
      1. Example echo ‘password123’ | realm join –user=cmaritz@port115.com port115.com
  2. Test the domain join
    1. realm list. This will give you an output with the details of the Domain relationship.

OS Security Bits.

  1. Set the firewall settings
    1. firewall-cmd –list-service –zone=public
    2. firewall-cmd –permanent –zone=public –add-service=radius
    3. firewall-cmd –reload
    4. firewall-cmd –list-service –zone=public
  2. Edit PAM to check the google authenticator and AD
    1. vi /etc/pam.d/radiusd
    2. Hash out all the lines and add
      1. auth required pam_google_authenticator.so forward_pass
      2. account required pam_permit.so
      3. account required pam_sss.so audit

Generating the key.

  1. Switch to the AD user that needs a key
    1. su – <user>@<domain.com>.
  2. type in google-authenticator and hit enter.
  3. When prompted: Do you want authentication tokens to be time-based (y/n), type y and hit enter.
  4. When the QR code pops up, open the Google Authenticator app on your phone, and scan it. This will create a new authenticator entry in the app with a 6 digit number on you phone that changes every 30 seconds.
  5. Back to the bash window. When asked to update your .google_authenticator file type y and hit enter.
  6. Type y to disallow multiple users of the same token and hit enter.
  7. Depending on your security requirement, you may or may not want to allow for time skew. If you do, the authenticator PAM module will accept the token before and after the current one. If you choose n, make sure your NTP settings are working well.
  8. When asked if you want to enable rate limiting, type y and hit enter (This is good practice, you don’t want to have somebody trying to brute force your key.)

Part 2 will look at getting Pointing your UAG (or Connection Broker) at the radius server and a couple of trouble shooting tips.

UKVMUG USER/CON 2019 – Space the final frontier.

This is an event I look forward to all year and once again it didn’t disappoint.

This was the second year at the National Space Centre in Leicester, which saw me getting up at 5:30 am to take a couple of trains, and one bus to arrive there on time. Totally worth the journey. This year the UK VMUG was a couple of weeks earlier than last year.

This venue is about the right size for this event and the whole space theme lends a bit of novelty to the proceedings. I’m still surprised after all these years that this event is free.

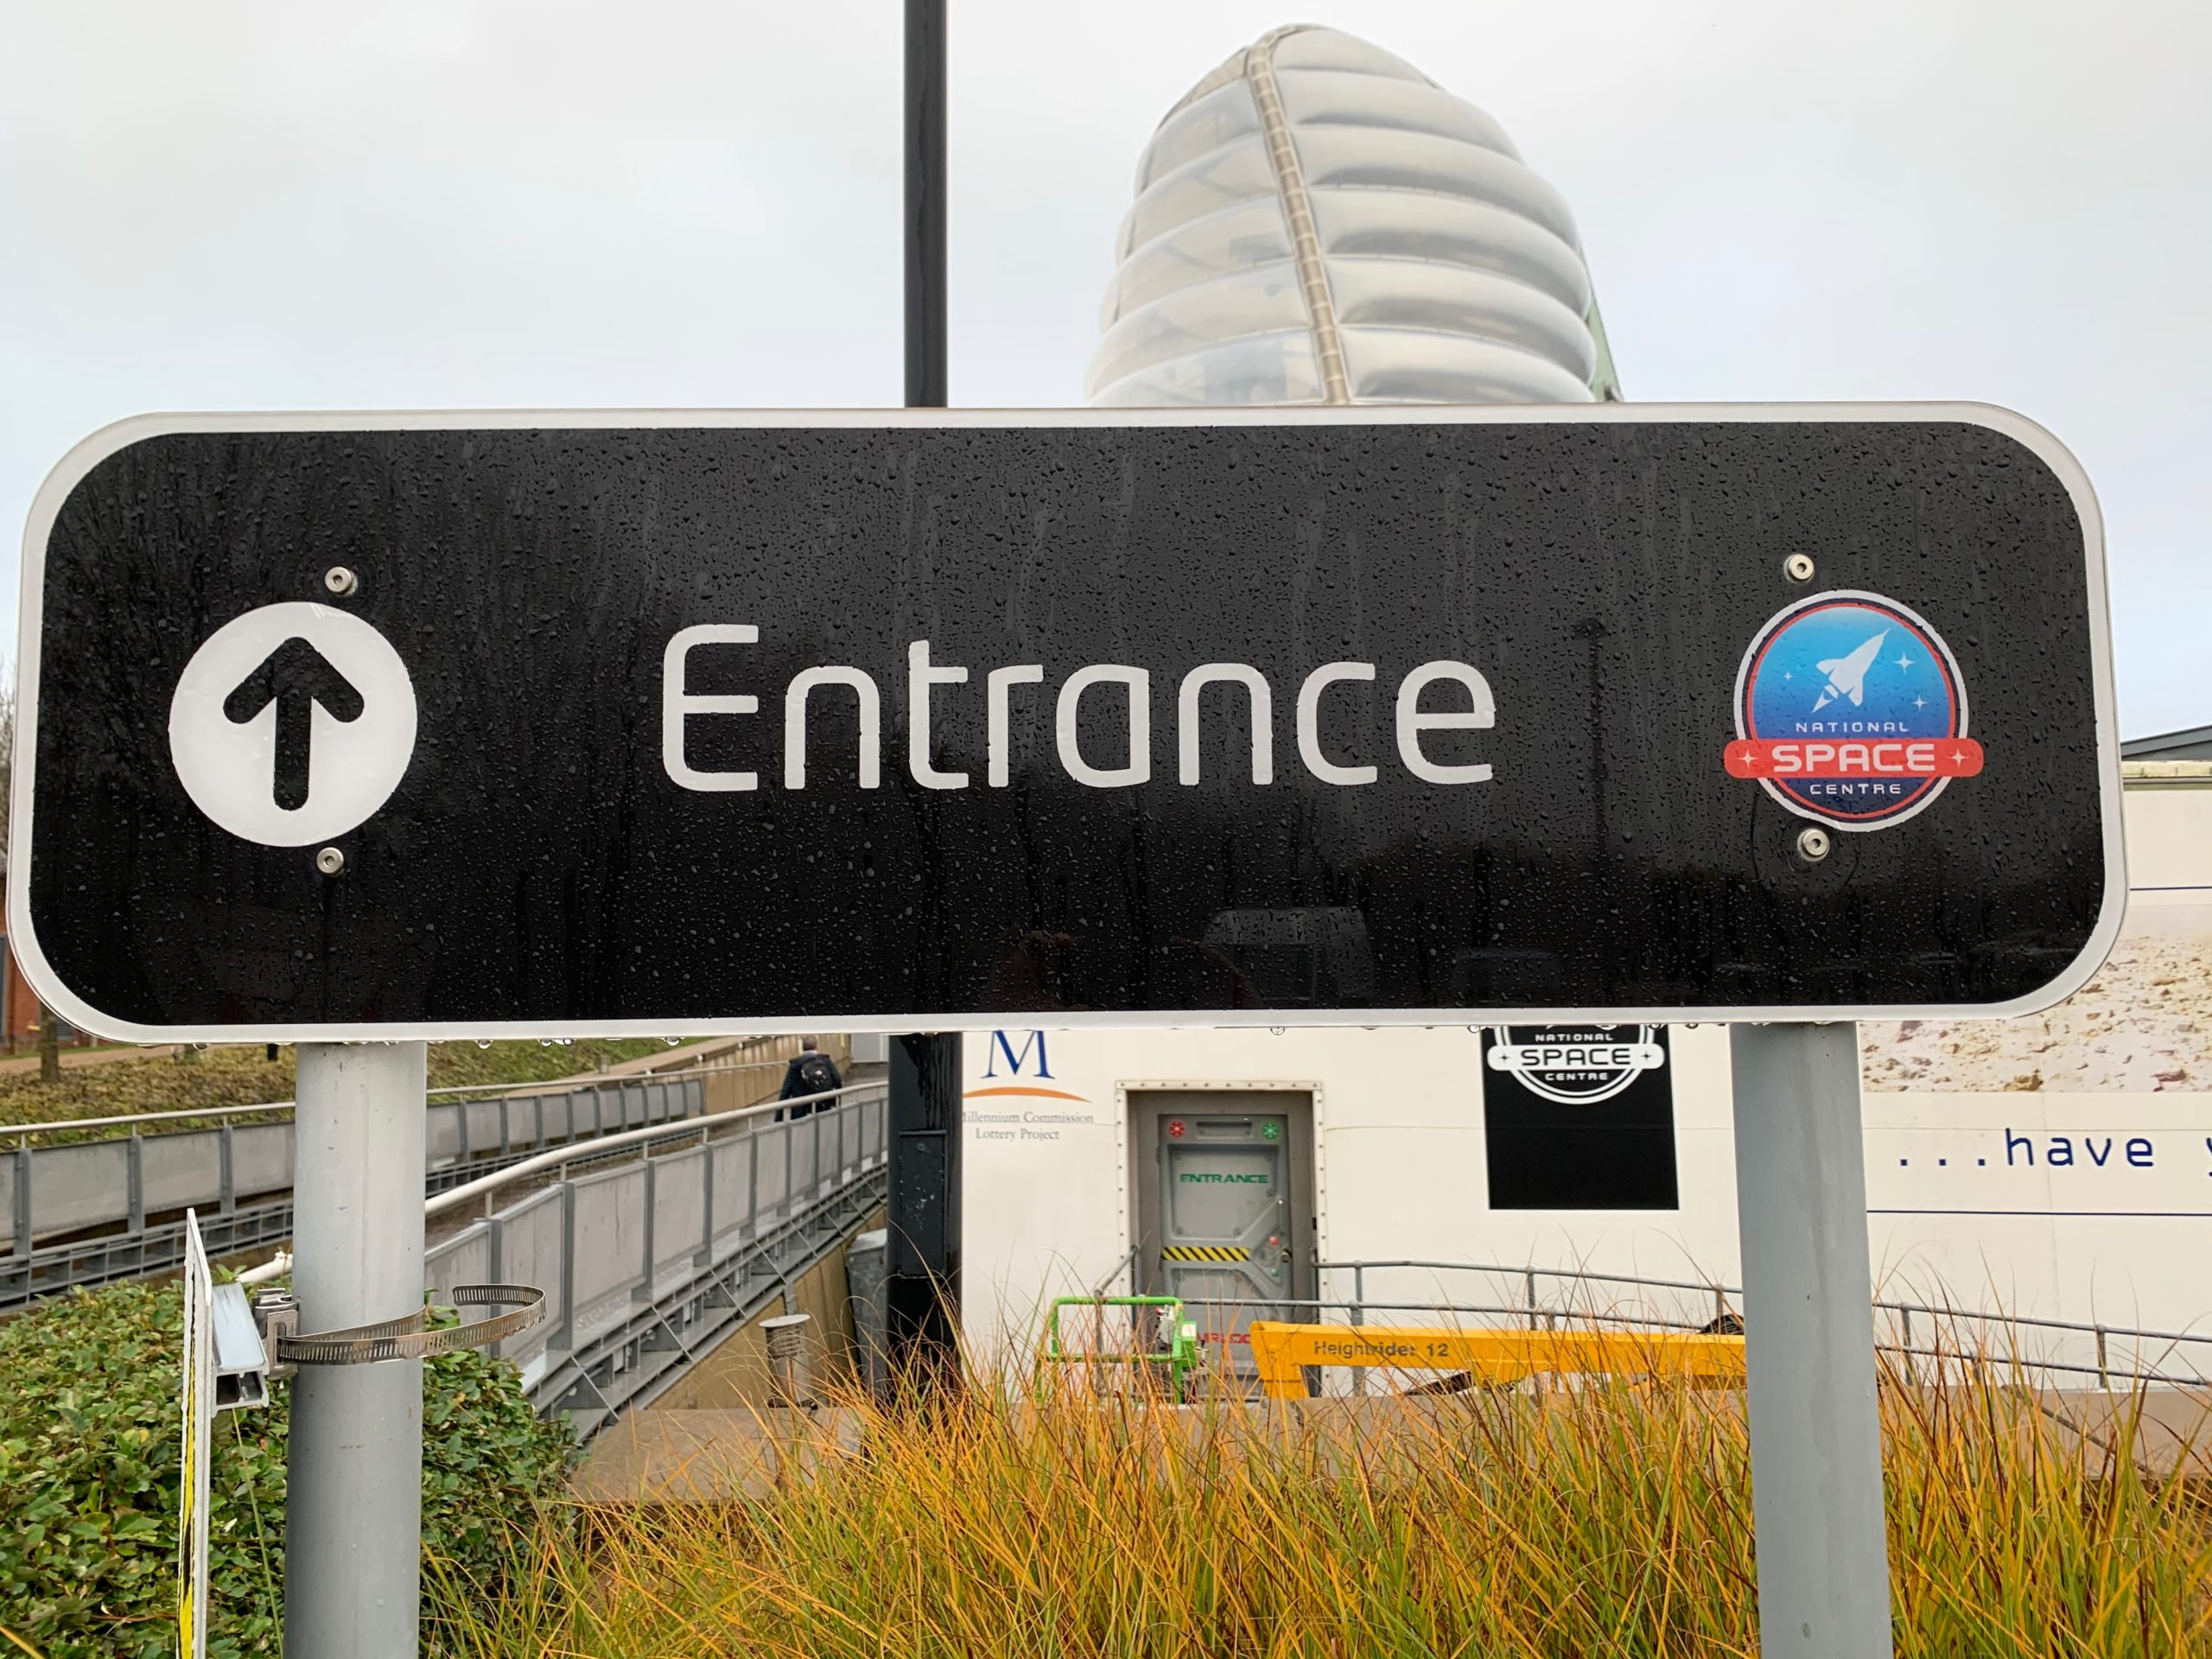
As is becoming tradition Joe Baguley gave the opening keynote. He went into a fair bit of detail about AI and the various misconceptions between (what is commonly thought of as AI), machine learning, deep learning, and data analytics which was very interesting. The closing keynote was given by Dr Anu Ojha, but more about that later.

There was a great collection of vendors there. Lots of very interesting tech on show, including some old favourites like Veeam, Zenoss, HP, and Google Cloud. (to name a few).

My Favourite Sessions, in no particular order.

There is always a good selection of sessions and the first one I attended was given by Ed Gummett of Veeam. I’m a big fan of Veeam Backup and Replication and was looking forward to finding out whats new. The discussion revolved around cloud and how Veeam has grown its products to take advantage of that. Of particular interest was the new features coming in version 10.

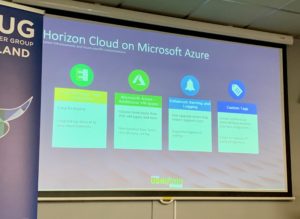
From there I went across to “VMware: What’s new in VMware End User Computing” presented by Darren Hirons. Much of the talk was about the new features in Workspace One, Horizon Cloud, and a bit about App Volumes 4. If you are into EUC take a look over at VMware’s EUC Blog here. After the lecture I went up to present Darren with a bunch of questions i had about the upcoming App Volumes 4.0.

After lunch and walk around the centre, I attended “VMware: NSX-T Container Level Networking & Security” by Joshua Coulling. This talk actually surprised me quite a bit. I though it would be quite dry but in actual fact I found it interesting how NSX and containers can work together as well as gaining a better understanding of kubernetes as a whole. Joshua clearly know his stuff and was happy to answer my “no-so-bright” questions when I went up to meet him after the talk.

Closing Keynote.

This was so unexpected and absolutely fascinating. The closing keynote was given by Professor Anu Ojha. He took us through current space exploration, the benefits of investing in space technology and research (which provides quite a good financial return) and its practical applications. There is a push to invest more, including returning to the moon in 2024 and further out, a manned mission to mars. the talk was about 45 minutes long and I just sat there in completely mesmerised at how incredible “space science” really is.

And that wrapped up another really great UK VMUG.

As always I came away with a bunch of new information, both from vendors and VMware itself. It can be nicer to be in these smaller venues as I find it easier to approach the speakers after the talks and take up a bit of their time with questions.

If you haven’t been before, what are you waiting for?

How to configure Dynamic Environment Manager – Folder Redirection

[Edit – 31/10/19 – Updated for Dynamic Environment Manager]

Setting up folder redirection saves a significant amount of time when logging in when compare to roaming profiles. Rather than copying the the contents of the folder to the local machine, we’ll just repoint the users folders to their share on the network. This also assumes that you have the share setup and configured on the. This share would have the same permissions as a roaming profile share.

Easy Start.

  1. Open the DEM Management Console.
  2. Select the User Environment Tab, select the Folder Redirection, and click  Create.
  3. This will open the Folder Redirection window.
    1. Give the setting a name
    2. Fill in the Remote Path. Since this is in my lab I don’t have DFS setup but in a production Environment I would strongly recommend DFS. I also use the system variable %username% as this will take the system variable of the user name.
    3. It’s up to you which folders you’d like to repoint. Generally speaking you’d want Documents and Downloads as a minimum. Initially I also prefer to redirect the Desktop folder as people sometime save there (no matter how much you tell them not to) and the AppData folder (but this is optional, DEM can be setup to save most app customisations)
  4. Click on the conditions tab and add any that are appropriate..
  5. Click Save.

Done.

How to configure Dynamic Environment Manager – Basic Navigation and Creation.

[Edit – 31/10/19 – Updated for Dynamic Environment Manager]

Before I begin the next bunch of posts where we’ll look at specific customisations we’ll quickly look at some useful extra’s when you go about creating your customisations.

We’ll look at the dummy reg key thats been created as an example

  1. Open the DEM Management Console.
  2. Navigate to User Environment -> Registry Settings and double click on Registry Demo
  3. In the Registry Settings Window.
    1. Click Edit to open the registry. This will open in NotePad
    2. You can select when to apply the registry setting (Before or After Profile import)
    3. As a run once variable.
    4. And the usual variables, like Name, Label(description), an give it a Tag.
  4. Click on Conditions and Add. Here is where you can set how the various environmental settings, such as by domain group, OS or even day of the week, get applied. 
  5. The next tab across is the comments tab. I encourage everybody to use the comments tab to track changes and add a bit more detail into what is being applied.

Always remember to save your changes.

How to setup Dynamic Environment Manager – Easy Start

[Edit – 31/10/19 – Updated for Dynamic Environment Manager]

We’ve reached the point where we’ve setup the config share, installed the management console, and installed the agent (in NoAD mode) onto our parent desktop, so now what?

The next few posts we’ll go through a few configuration examples but first let get some of those configurations pushed to the config share.

Easy Start is great because it’ll save you a whole bunch of time digging around for the various settings, particularly now that we are not using roaming profiles and users get a bit grumpy when their settings don’t persist.

Easy Start.

  1. Open the DEM Management Console.
  2. Select the Personalisation tab and click Easy Start.
  3. If you are planning on deploying MS Office, select the version and click OK.
  4. The DEM Console will go off and put a whole bunch of config settings into your General folder.

There we go, a bunch of configs for us to look into in the next post.

How to setup Dynamic Environment Manager – Installing the Desktop Agent in NoAD Mode.

[Edit – 31/10/19 – Updated for Dynamic Environment Manager]

The desktop agent is the work horse in the UEM/DEM world during login time it goes out and reads the files in the config directory (which we created here).

Installing the desktop agent can be done in two ways:

  1. .The command line.
  2. The GUI.

The GUI installer is fine if you are doing the install to a single desktop image but if you are either, doing automated, monthly builds of the desktop, which you’d most likely want to do silently, or need to install the agent across several parent images, or are looking at installing in NoAD mode, its just easier via the command line. This post we’ll install is NoAD mode.

Silent Install.

  1. Copy the management agent installer across to the desktop.
  2. Click start.
  3. Type cmd, right click the command app and select “run as Administrator”
  4. Change to the directory you copied the DEM agent.
  5. Run the Installer.
    msiexec /i "VMware Dynamic Environment Manager 9.9 x64.msi" /qn /l* c:\repo\installdem.log NOADCONFIGFILEPATH=\\<full_UNC_To_DEMconfig_Share>\general
  6. So let’s take a quick look at the switches:
    1. /i – install the msi.
    2. /qn – Quiet, no reboot.
    3. /l* – Logfile location.

Additional prep for NoAD Mode.

NoAD mode is really powerful and you don’t need to mess about with GPO’s but as with all things it’s not that simple. Since we are not using GPO’s to tell DEM where the user profile lives, we need to create a config file with the required details. During the install above we told DEM where to find said file.

  1. Browse to your DEM Config folder, created in this post.
  2. Go to general -> flexrepository
  3. Create a folder called NoAD
  4. In the NoAD folder create a file called NoAD.xml.
  5. Copy in the example from the from the VMware DEM Documentation found here, change as needed, and save.

The example below is directly from the site. You’ll need to modify as appropriate. Also Please don’t copy blindly from some random persons blog. Go to the DEM documentation site, find out what the various settings do and modify as it suits you.

<?xml version="1.0" encoding="utf-8"?>
  <userEnvironmentSettings>
            <setting type="noAD" 
                            ProfileArchivePath="\\Filesrv\DemUsers$\%username%\Archives" 
                            LogFileName="\\Filesrv\DemUsers$\%username%\Logs\FlexEngine.log"
                            LogLevel="1" 
                           ConfigPathMissingAction="0"
                           ArchivePathMissingAction="1"
                           AppBlockingEventLog="1"
                           EventLog="1"
                           EventLogAsync="1"
                           EventLogDirectFlexRefresh="1"
                            EventLogUEMRefresh="1"
             />
</userEnvironmentSettings>

How to setup Dynamic Environment Manager – Installing the Management Console.

[Edit – 31/10/19 – Updated for Dynamic Environment Manager]

In this post we’ll be installing the management console and starting it for the first time. This is what I really like about this solution “No server backend. The management console is a fairly small executable and once installed gets pointed at the share we put together in the previous post, where it goes off and creates the folder structure, if it isn;t already there.=.

It’s a smart way of controlling desktops and in my opinion is much more powerful and flexible than using GPO’s.

Installing the Management Console.

  1. Extract the downloaded DEM ZIP.
  2. Run the executable VMware Dynamic Environment Manager
  3. Click Next.
  4. Tick “I accept the terms in the License Agreement“.
  5. Click Next.
  6. Select Typical and click Next.
  7. Unselect VMware DEM FlexEngine and Select VMware DEM Management Console.
  8. Click Install.
  9. Click Finish.

Installing the Management Console.

  1. Select Start -> VMware DEM -> Management Console.
  2. During the first run you’ll be asked for the location of the confguration share.
  3. Select Application Migration and Click OK.

We’re almost ready to go. Next we need to install the agent onto a desktop. This can be a physical or virtual machine.

How to setup Dynamic Environment Manager – Setting up the config share

The first step we need to take on the road to DEM domination is to get the share setup. This will hold the configuration files that the agent will read to apply to the desktop. Once the share is setup you install the DEM manager and point it at the share, at which point it will create the initial directory structure, if it isn’t already there.OK

There are two types of permissions we need to address. Share permissions and security permissions. Thankfully in this case we’ll set the same for both. The DEM admins will need full control and DEM users will need read only. I’d consider it best practice to create separate AD groups called DEM admins and DEM Users.

Creating and configuring the DEM Share.

  1. Connect to your file server. When testing this out in my lab I just created a share on my DC, but in a prod environment you’ll want to get this setup on a dedicated file server.
  2. Create a folder. In my case I called it DEMConfig.
  3. Right click on the folder and select properties. Select the tab labeled Sharing and click Advanced Sharing.
  4. In the Advnced Sharing window check “Share this folder”. If you add a $ sign to the end of your folder name it becomes hidden from casual browsing. Click Permissions.
  5. Select Everybody and click Remove. Click Add and add your DEM user and Admin groups. The DEM Users should only have read and the DEM Admins should have full control. Click OK. Click OK.
  6. Back in the Properties windows select the Security tab and click Edit. Add the DEM user and administrators.  The DEM Users should only have read and the DEM Admins should have full control. Click OK. Click OK.

Now we’ve created the share it’s on to installing the management console and putting together the first XML file for noAD mode.