[Edit – 31/10/19 – Updated for Dynamic Environment Manager]
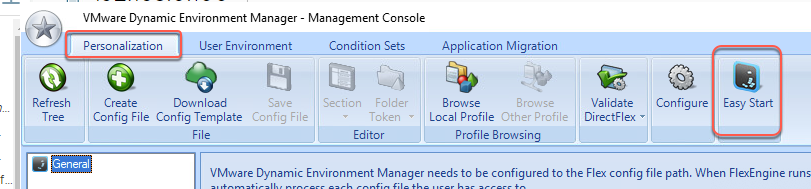
The desktop agent is the work horse in the UEM/DEM world during login time it goes out and reads the files in the config directory (which we created here).
Installing the desktop agent can be done in two ways:
- .The command line.
- The GUI.
The GUI installer is fine if you are doing the install to a single desktop image but if you are either, doing automated, monthly builds of the desktop, which you’d most likely want to do silently, or need to install the agent across several parent images, or are looking at installing in NoAD mode, its just easier via the command line. This post we’ll install is NoAD mode.
Silent Install.
- Copy the management agent installer across to the desktop.
- Click start.
- Type cmd, right click the command app and select “run as Administrator”
- Change to the directory you copied the DEM agent.
- Run the Installer.
msiexec /i "VMware Dynamic Environment Manager 9.9 x64.msi" /qn /l* c:\repo\installdem.log NOADCONFIGFILEPATH=\\<full_UNC_To_DEMconfig_Share>\general
- So let’s take a quick look at the switches:
- /i – install the msi.
- /qn – Quiet, no reboot.
- /l* – Logfile location.
Additional prep for NoAD Mode.
NoAD mode is really powerful and you don’t need to mess about with GPO’s but as with all things it’s not that simple. Since we are not using GPO’s to tell DEM where the user profile lives, we need to create a config file with the required details. During the install above we told DEM where to find said file.
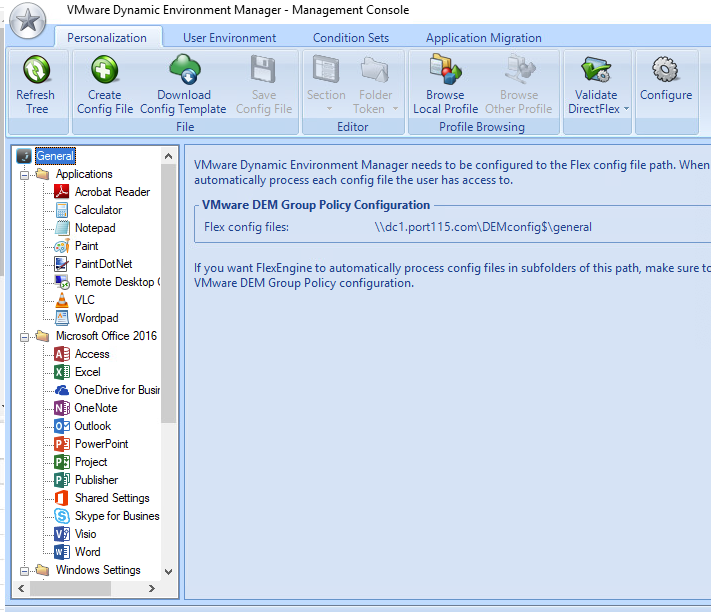
- Browse to your DEM Config folder, created in this post.
- Go to general -> flexrepository
- Create a folder called NoAD
- In the NoAD folder create a file called NoAD.xml.
- Copy in the example from the from the VMware DEM Documentation found here, change as needed, and save.
The example below is directly from the site. You’ll need to modify as appropriate. Also Please don’t copy blindly from some random persons blog. Go to the DEM documentation site, find out what the various settings do and modify as it suits you.
<?xml version="1.0" encoding="utf-8"?>
  <userEnvironmentSettings>
            <setting type="noAD"
                            ProfileArchivePath="\\Filesrv\DemUsers$\%username%\Archives"
                            LogFileName="\\Filesrv\DemUsers$\%username%\Logs\FlexEngine.log"
                            LogLevel="1"
                           ConfigPathMissingAction="0"
                           ArchivePathMissingAction="1"
                           AppBlockingEventLog="1"
                           EventLog="1"
                           EventLogAsync="1"
                           EventLogDirectFlexRefresh="1"
                            EventLogUEMRefresh="1"
             />
</userEnvironmentSettings>