[Edit – 31/10/19 – Updated for Dynamic Environment Manager]
Setting up folder redirection saves a significant amount of time when logging in when compare to roaming profiles. Rather than copying the the contents of the folder to the local machine, we’ll just repoint the users folders to their share on the network. This also assumes that you have the share setup and configured on the. This share would have the same permissions as a roaming profile share.
Easy Start.
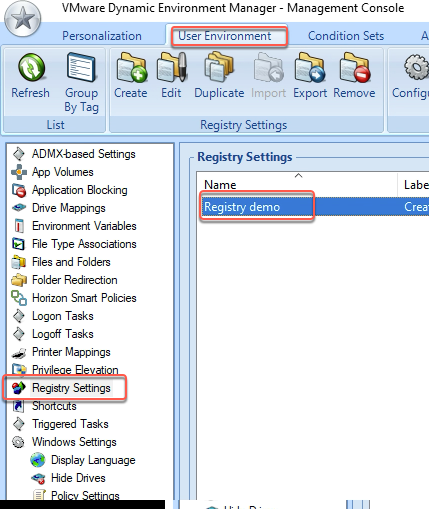
- Open the DEM Management Console.

- Select the User Environment Tab, select the Folder Redirection, and click Create.

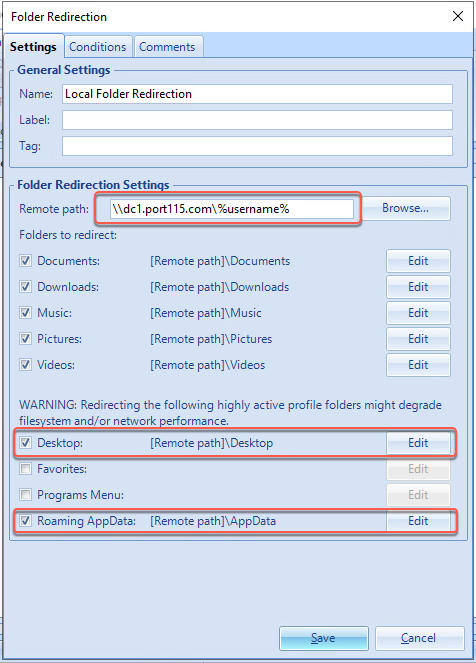
- This will open the Folder Redirection window.
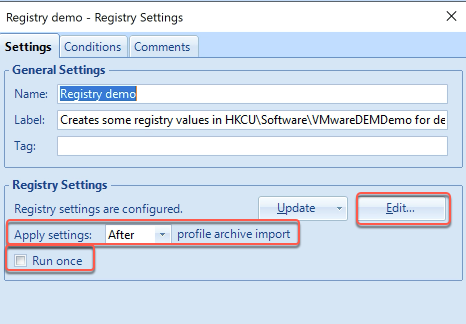
- Give the setting a name
- Fill in the Remote Path. Since this is in my lab I don’t have DFS setup but in a production Environment I would strongly recommend DFS. I also use the system variable %username% as this will take the system variable of the user name.
- It’s up to you which folders you’d like to repoint. Generally speaking you’d want Documents and Downloads as a minimum. Initially I also prefer to redirect the Desktop folder as people sometime save there (no matter how much you tell them not to) and the AppData folder (but this is optional, DEM can be setup to save most app customisations)
- Click on the conditions tab and add any that are appropriate..
- Click Save.
Done.