Horizon View – How to add a second Connection server (Replica server)

Looking at the design from the previous post we want to have a degree of redundancy and to do that we’ll need a second Connection server also known as a replica server.

We’ve already built our first connection server here and done some configuration here and some certificate stuff here.

Continuing on I’ll be using Horizon View 7.7, it is the latest and greatest (at the time of writing). I did redeploy my lab with 7.7, and the previous posts are still relevant if you’d like to back and inst all your own lab.

Before we begin make sure you have a Windows 2018 or 2019 server ready to go with a certificate installed.

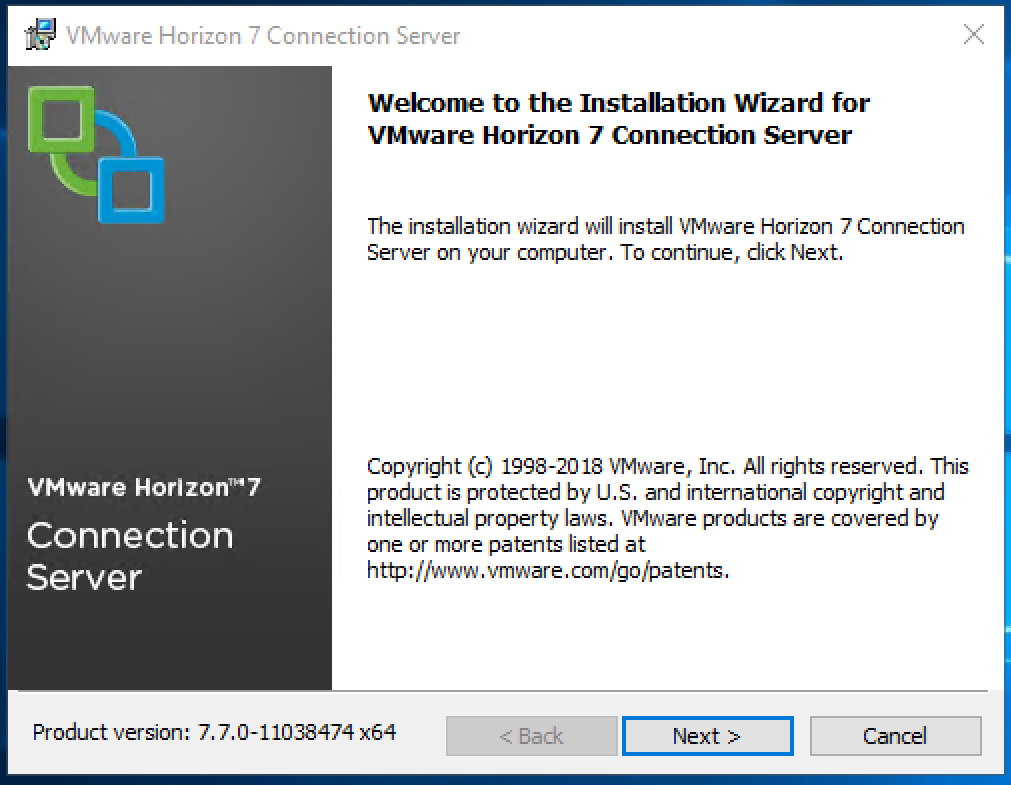
Installing the 2nd Horizon View Connection server (Replica Server).

  1. Connect to the server you will be using as your Replica server.
  2. Copy across the installer and double click to run.
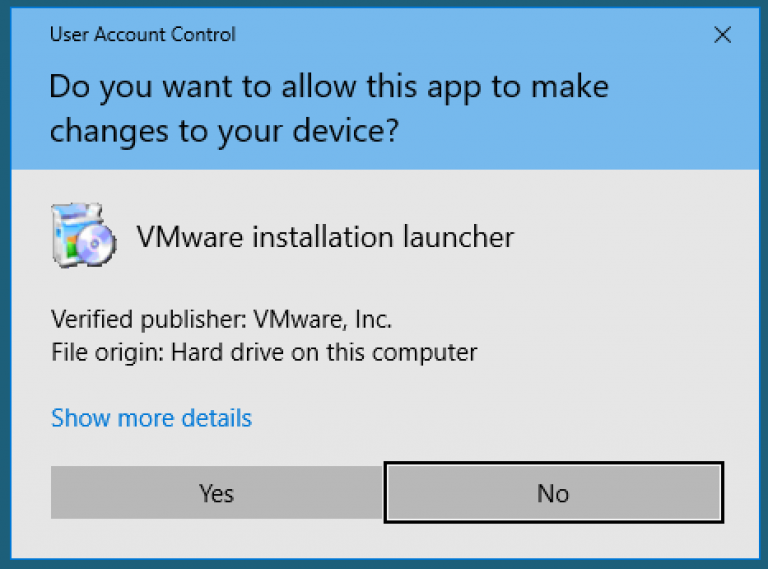
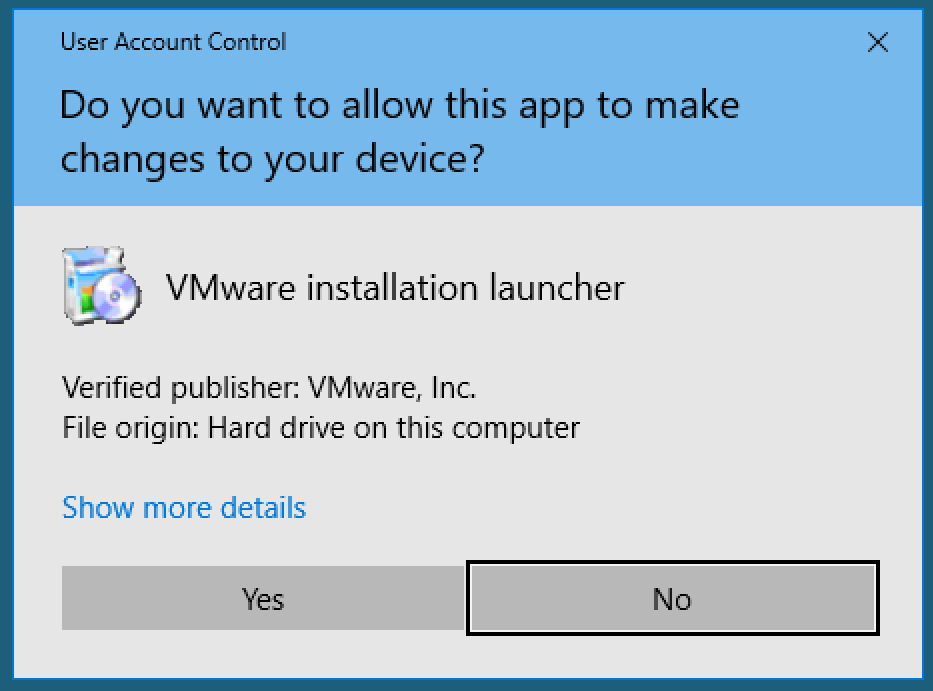
  3. Click Yes. To accept the UAC warning.
  4. Click Next.
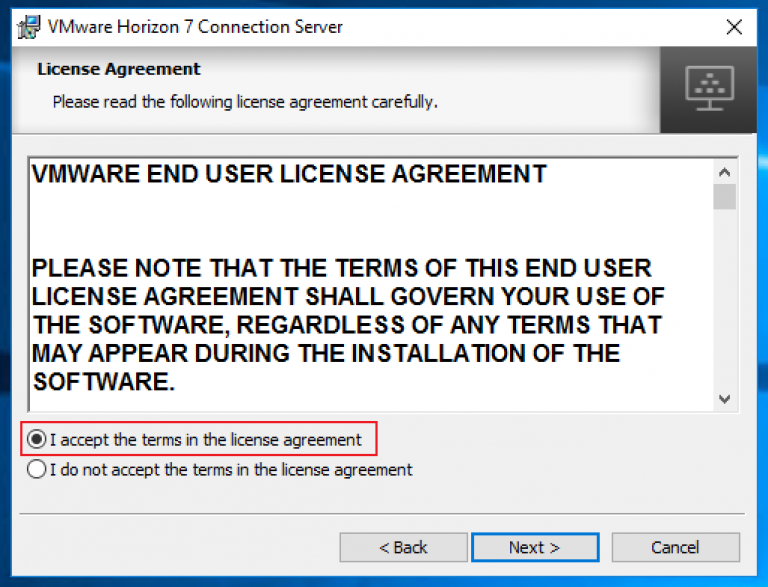
  5. Select “I accept the terms in the license agreement” and click Next.
  6. Here you can change the installation location if you prefer. Click Next.
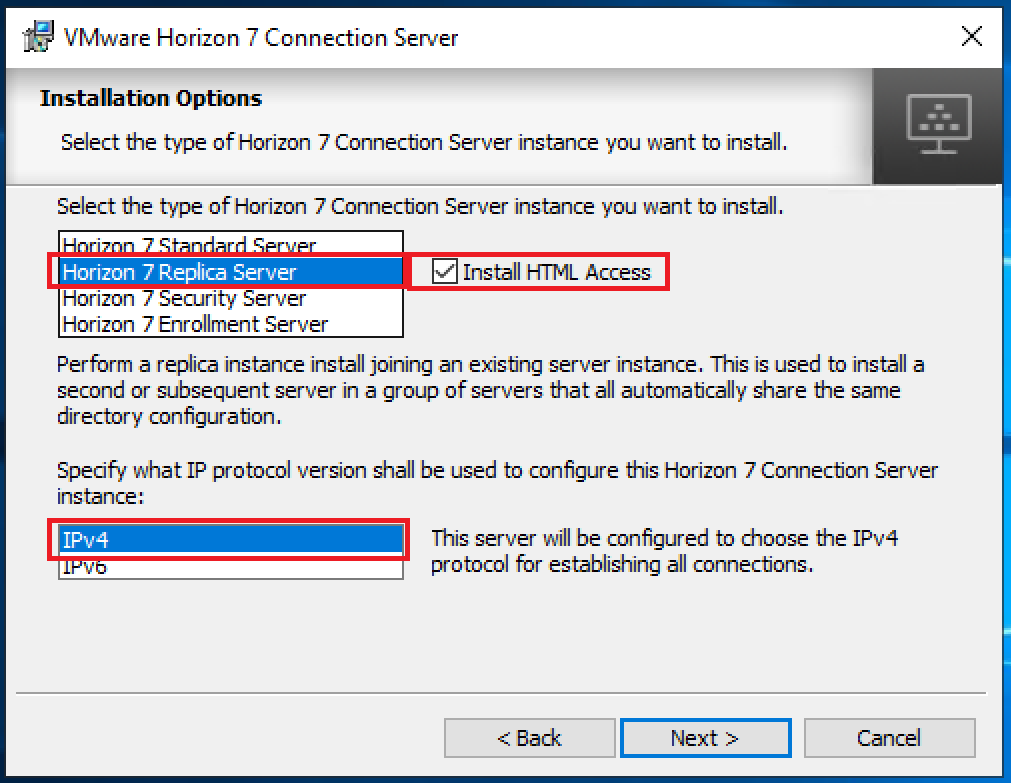
  7. On the Installation Options window:
  8. Select Horizon 7 Replica Server as the install.
  9. Select  “Install HTML Access”, this is technically not necessary but I would recommend it, especially if you have enabled it on the first server.
  10. Select the IP protocol you use. IPv4 would be the most common I expect
  11. Click Next.
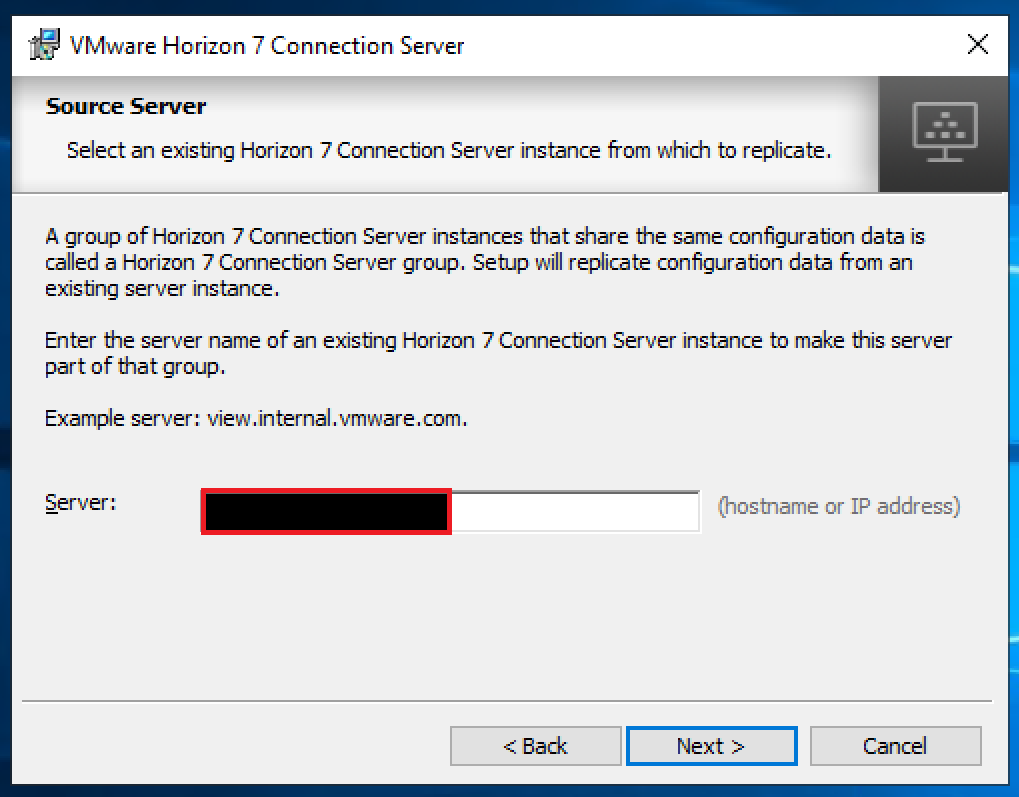
  12. Enter in the name of the first installed Horizon View server. Click Next.
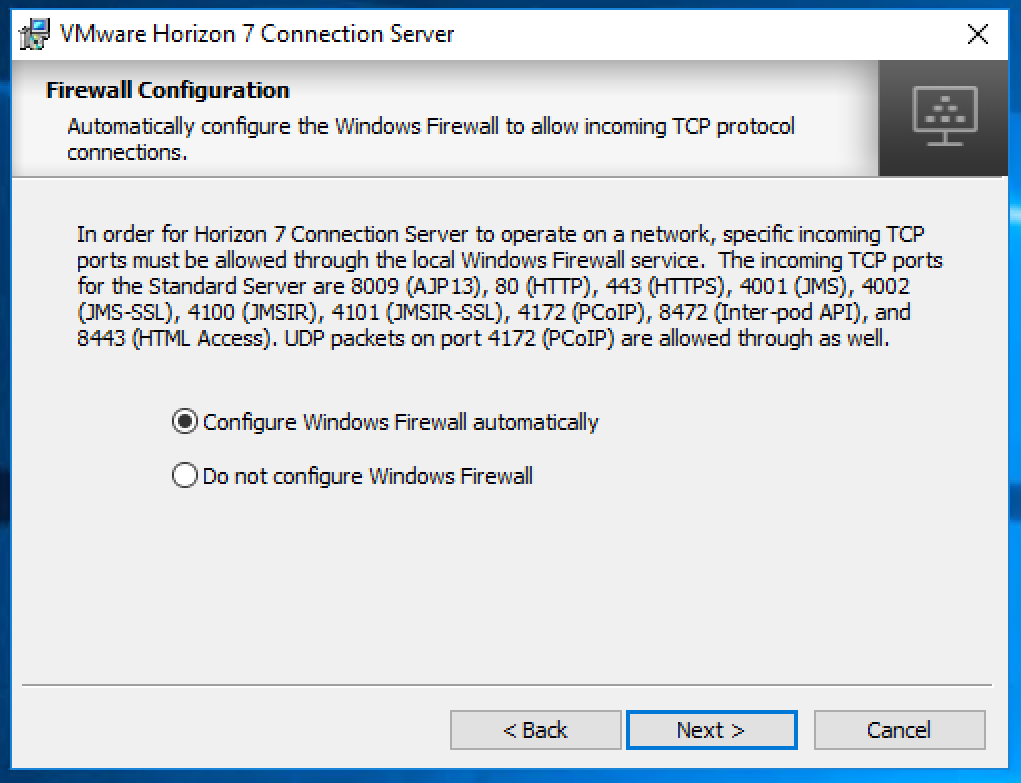
  13. Select whichever is appropriate for your environment, bearing in mind that most companies will have the servers firewall controlled via GPO. So check with your Windows and Security guys. In this case I want the firewall of this server to be configured automatically. Click Next.
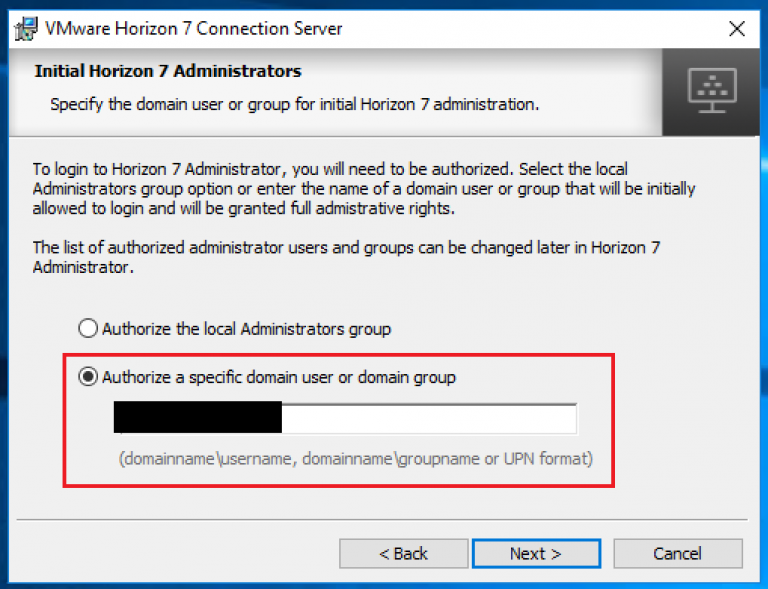
  14. Select whether you’d like the local Administrators Group to have Admin rights to view. This can be changed later but I generally prefer not to from the start. Click Next
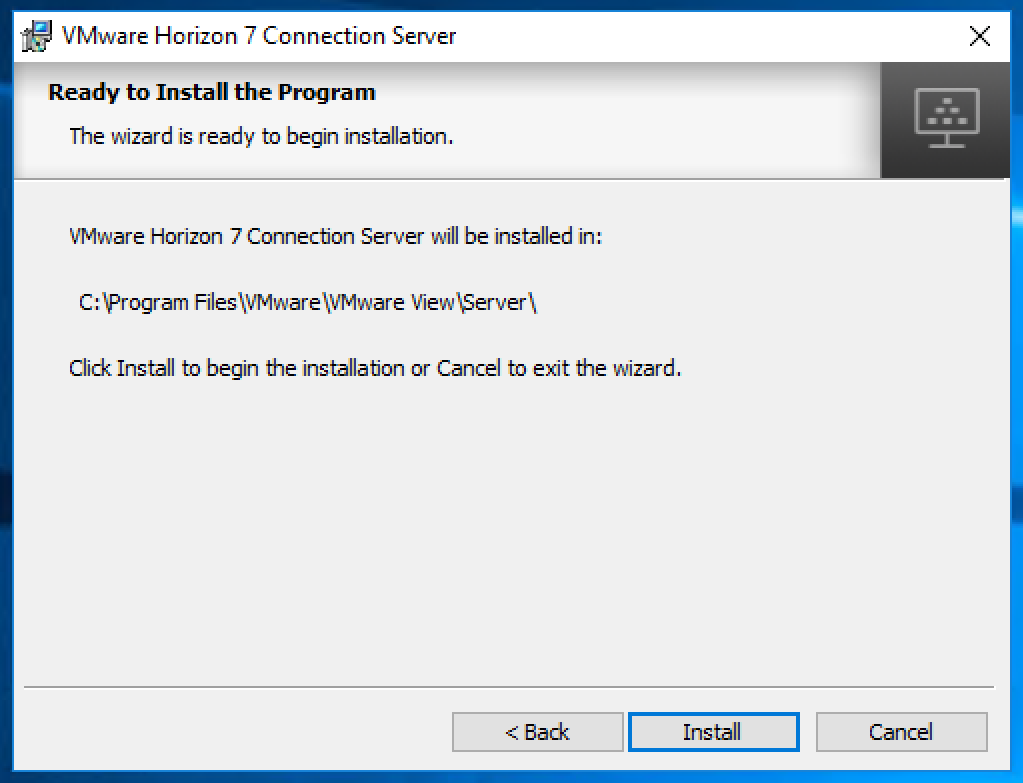
  15. Click Install.
    At this point the installer will go off and install all the same bit and pieces that is needed for the connection server and then goes through a process of setting up synchronisation  between the two servers. Hat off to VMware here, this process is really well done.
  16. Click Finish
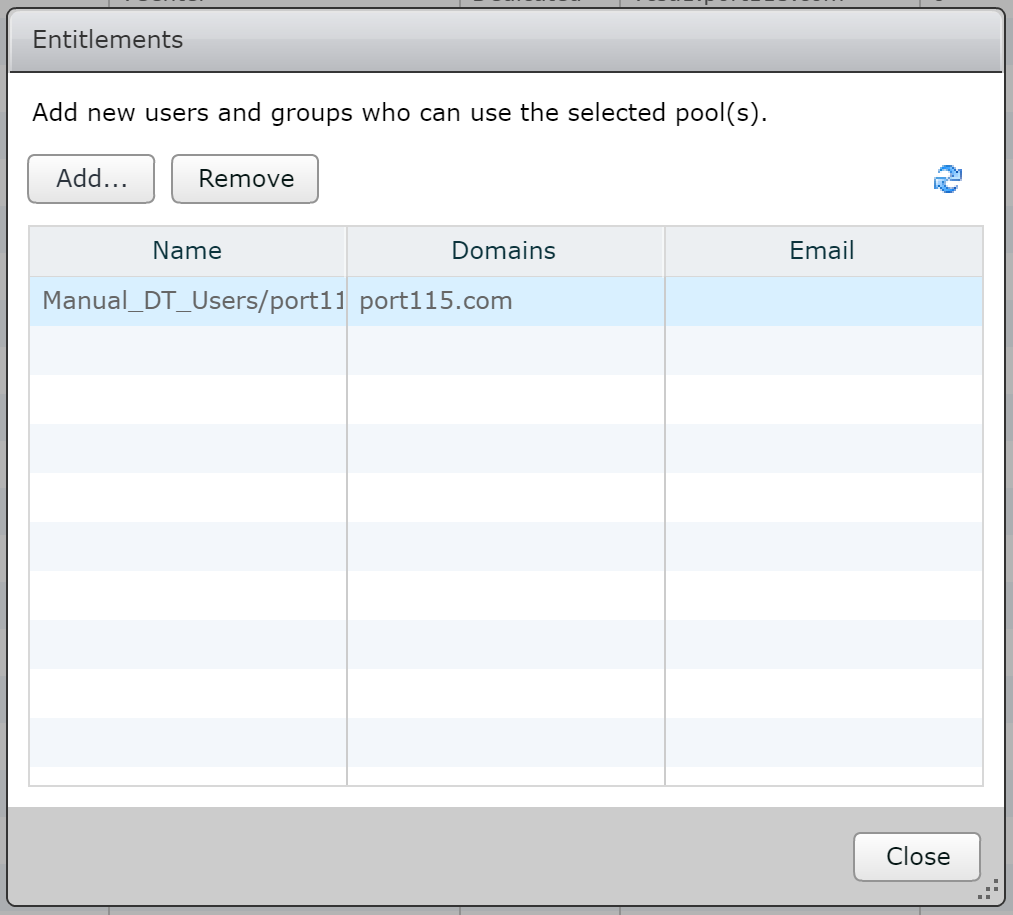
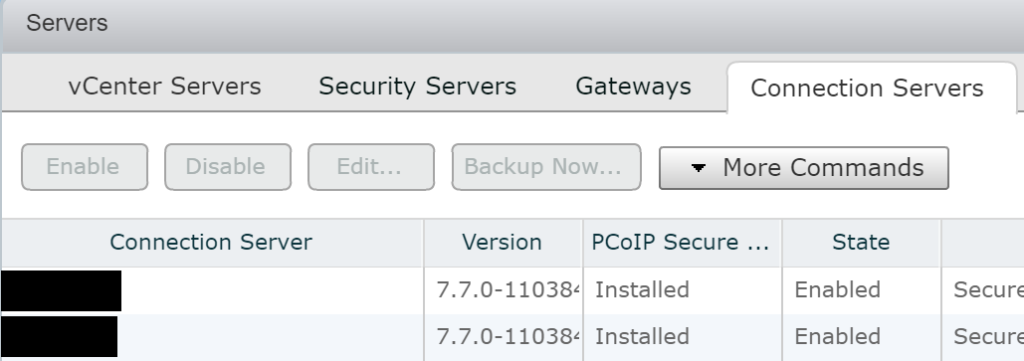
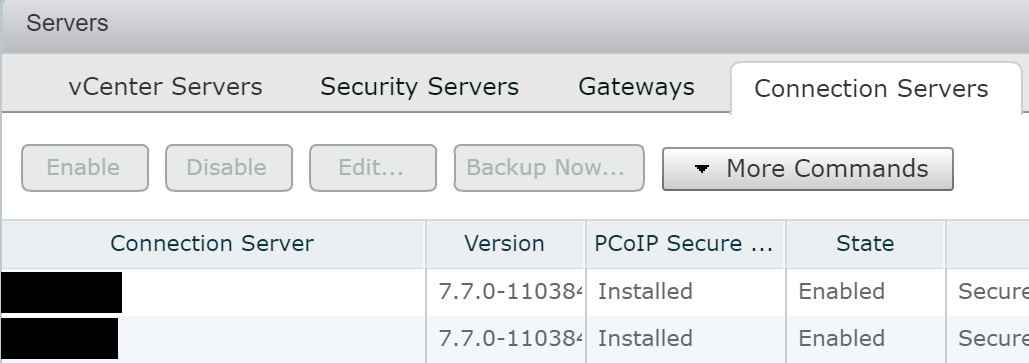
  17. If you log into your Connection servers and take a look under View Configuration you’ll see both Connection servers.

Now that we have the two connection servers, we can move on to the next topic and we’ll setup two App Volume servers and the post after that we’ll put together some apps.

Horizon View – Design and Considerations

During the last few posts we put together a SQL server, Connection Server, Linux desktop, setup certificates, and created a working Manual working desktop pool.. A Basic working deployment of Horizon View that’s good for kicking the tires but very labour intensive to maintain in production.

In a production environment there is much more to consider than just what we’ve thrown together. Availability, security, logging, monitoring, alerting, desktop pool. Desktop OS, budget, to name a few.

Before jumping in and creating an awesome design you’ll always want to find out exactly what the requirements are. “Because” is not an answer. For example, you should be asking questions along the lines of:

  • What do the different stake holders think they are getting?
  • What does your network look like?
  • What kind of security do you have between your networks and/or VLANs
  • Is redundancy and resilience a factor to consider, and yes, they can be different things.
  • Do you have approved Windows or Linux builds?
  • Patching schedule?
  • Do you have a standard user base, or is this intended for users with differing requirements? e.g. dev, eng, admin?
  • Does this service need to be available externally, or is it an internal service only?
  • Have you met with security?
  • Apart from the requirements, have you evaluated the risks and constraints?
  • In the absence of concrete answers have you made your clients/manager aware of any assumptions you’ve made? e.g. “The project plan assumes that the current in server disk controllers will be replaced with HPE P416ie controllers for VSAN compliance.”

When working out the Requirements, constraints, risks, and assumptions be specific. Ambiguous or open ended answers will lead to scope creep and make your job more difficult.

However for the next set of posts we’ll be going through and fleshing out the environment with these (very) high level requirements

  • n+1 redundancy of the VDI deployment.
  • External Access
  • Load balanced (If possible)
  • Two different types of users. Dev and technical admins
  • Two different desktop OS’s available.
  • Profile to persist between sessions.
  • Security – no copy and paste, 2FA, logging, only applicable ports open between VLAN’s
  • Monitoring

This is more that enough to get us going back and asking many, many questions but for now we’ll pretend that most of them have been answered.

So that we don’t go off piste too much I’ll be mostly sticking to a stripped down version of VMware’s reference Architecture for the mobility suite that can be found here but slightly modified. The diagram below is partially from the linked page and modified to fit into my lab (hopefully). I’ll also make sure I reference any other blogs that i pull info from.

P.S. For the ESXi servers, I’ll be using William Lam’s most excellent ESXi servers that can be deployed via OVA onto either ESXi or Workstation/Fusion

Horizon View – How to create a Manual Desktop Pool

This is the most simple of pools that you can create. It requires a Desktop VM that has the Horizon view agent installed. It doesn’t really matter if its Windows or Linux as long as the Desktops are built and ready to go.

Before anybody asks, there are a few legitimate reasons that you’d want to have a manual pool. The most obvious be that the company security policy is that all Desktops need to be deployed from a central location such as a RedHat satellite server.

  1. Connect to your View Connection Server https://<connection_server>/admin with an account that has administrator permission.
  2. Expand Category and select Desktop Pools.
  3. Click Add.
  4. Select Manual Desktop Pool and click Next.
  5. Select Dedicated . Its up to you whether you select Enable Automatic Assignment. All it does is automatically assign a user to a free desktop, which will be a permanent assignment. Click Next.
  6. Select vCenter virtual machines. Click Next.
  7. Select your vCenter and clict Next.
  8. Fill in a name for the ID and a Display name. While you can change the display name, teh ID name won’t change. 
  9. In this page there a quite a lot of options you can configure, I’ll break them down in a later post but for now select HTML Access as this will allow us to connect to the desktop using a browser and click Next
  10. Select the VM’s you’d like to add to the pool, click Add and click Next.
  11. Click Next
  12.  Select Entitle Users After this wizard Finishes to add users. `This will allow you to add users after the wizard finishes. Not necessary but a bit of a time saver. Click Finish.
  13.  Once you’ve finished the New Pool wizard the entitlements wizard opens if you’ve selected it in the previous step. Click Add.
  14. In the Name/User name box type the name of the group or user you’d like to add and click find. Once it appears, select it and click OK. In production environments you’d usually add an AD group rather than an individual user. This allows for greater flexibility and monitoring.
  15. To entitle other groups or users click add or if you are finished click close.

Testing our new pool.

  1. Log out of your Connection server and connect back to the server but this time without the /admin. just https://connection_server; Log back in as a regular user that is entitled to the Desktop pool
  2.  Click VMware Horizon HTML Access.
  3.  Enter in your username and password, and click Login. 
  4.  Select the pool you created earlier. In my case I called it Manual_01. 
  5.  If everything went according to plan you’ll now have access to your VM.  

Troubleshooting:

  • If you experience issues connecting via the web interface go back and have a look at step 9, did you tick the box to enable HTML access?
  • Can you connect using the full client?
  • Check the firewall on the Desktop OS. The agent on the desktop needs to speak to the connection server on port 4001.
  • Is the View agent installed?

We’ve created a very basic pool. Next few posts will look whats needed to create an automated Desktop pool using both Windows and Linux. We’ll also look at optimizing the Widows Desktop, including various design and storage considerations,  As well as discussing the various options available in the Desktop Pool wizard.

Working VMware’s VDI Solution.

Over the last couple of months (with another work colleague) I’ve been looking into Horizon view 7.4. (edit: and now 7.5)

So far I really like what I see. It looks like VMware has put  fair amount of effort in the the product lately. From instant clones (windows and Ubuntu) to automated full fat clones for Linux, the product is really starting to look slick.

The next series of blog posts will be covering the installation and configuration of Horizon view, setting up various different solutions (Linux desktops, View security server and as an alternative the Unified Access Gateway, etc) and will take a look at the various “additionals” available, this includes the paks for vRealise Operations Manager and Log Insight.

So what will we need and be setting up to get the basics going?

  1. Lab (I’ve covered how to build this a while back, its a bit old but should still get you started).
  2. Certificate Authority for our domain.
  3. SQL server 2016 Express and SQL server 2016 management tools. Note: While the express version of SQL sever isn’t on the interoperability matrix it does work.
  4. A minimum of 3 Windows servers which will run:
    1. View Connection server
    2. View Composer Server, which will also run our instance of SQL express.
    3. View Security Server
  5. Horizon View Software (Download the lot)
  6. Windows 10 Enterprise
  7. 2 Popular Linux Disto’s.
    1. Centos
    2. Ubuntu

While there can seem to be quite a lot of moving parts, I would expect most prod environments to have access to either SQL standard as a minimum or Oracle (12C standard release 1 and 2 are supported) as well as a CA (certificate Authority).

Our three windows servers, which will form the base of our deployment,  will be configured as follows:

  • Windows 1 – Connection server
  • Windows 2 – Security Server
  • Windows 3 – Composer and SQL Express server

Before we run through the View install’s I’ll first go through setting up and configuring the CA, getting the cert onto the windows connection server, and configuring SQL for the two DB’s we’ll need.