Preparing for Horizon View – If using SQLExpress

Quick Post

As a database SQL Express is pretty good. It has size restrictions built in but it is a full working MSSQL database engine and works quite well with Horizon View, although not supported at all.

To be able to connect to it from another server, one running the Horizon View connection server for example, you’ll need to enable TCP connections.

  1. Start the SQL Server Configuration Manager.
  2. Click yes
  3. Expand SQL Server Network Configuration, Select Protocals for SQLEXPRESS, Right click Enable. Once the status reads enabled, right click again and select Properties.
  4. In the entry for the IP address of the server switch Active to Yes.
  5. Scroll down to the bottom of the window and under IPALL set the TCP Port to 1433.
  6. Restart the Server

This and allowing incoming connections through the firewall got me connected and using the events logging in the Horizon View Connection Server.

Preparing for Horizon View – Setting up the Database – 2 of 2

Part of this Horizon view deployment will be to have the connection server logging its events and a configured view composer server. For this we’ll need two databases.

While I am working with the Express version of MSSQL, the following steps will also apply to other versions of MSSQL (excluding the Linux version). In a production environment you definitively will want to run either standard or enterprise. There is also the developer edition, which is a full featured version for testing and development only.

One quick change before we begin:

  1. Start the Microsoft SQL Server Management Studio.
  2. Select Connect to login.
  3. Right click the server name and select Properties.
  4. Select Security and change the Authentication mode to SQL Server and Windows Authentication Mode and click OK.
  5. Click OK. While you can restart the service to get the new security changes to apply, I usually just reboot the server.


Setting up the Horizon View Events Database and creating the user.

  1. Start the Microsoft SQL Server Management Studio.
  2. Select Connect to login.
  3. Expand the instance, right click on Database and select New Database…
  4. Give the database a name. I chose ViewEvent.
  5. Select Options and make sure the options match the attachment below and click OK.
  6. Expend Security, right click Logins, and select New Login…
  7. Type in  a name for your user (I used ViewEvent). Select SQL Server authentication and type in a password. Unselect Enforce password policy. Change the Default database to ViewEvent or whatever you named you database in step 4.
  8. Select User Mapping. Select the database you created above and in the bottom pane select db_owner.
  9. Click OK and we’ve successfully created the Events database and user. Now onto the composer DB.


Setting up the Horizon View Composer Database and creating the user.

  1. Start the Microsoft SQL Server Management Studio.
  2. Select Connect to login.
  3. Expand the instance, right click on Database and select New Database…
  4. Give the database a name. I chose ViewComposer.
  5. Select Options and make sure the options match the attachment below and click OK.
  6. Expend Security, right click Logins, and select New Login…
  7. Type in  a name for your user (I used viewcomp). Select SQL Server authentication and type in a password. Unselect Enforce password policy. Change the Default database to ViewComp or whatever you named you database in step 4.
  8. Select User Mapping. Select the database you created above and in the bottom pane select db_owner.
  9. Click OK and we’ve successfully created the Composer database and user.

In this part we’ve created the two main DB’s we’ll need for view. So just something to note. In this setup I have used SQL accounts for the databases however in most prod environments that would most likely be heavily discouraged. If you do choose to go down the domain account route then you don’t need to change the authentication mode.

Preparing for Horizon View – Setting up the Database – 1 of 2

Part 1 of 2

In the first part of this post I’ll go though installing SQL express and the SQL Management Studio.

You can download SQL express here and the SQL Management Studio here.

Installing SQL Express 2017

  1. Copy the SQL Express and Management Studio Files across to the Windows server you’ll be using as your DB server. I’m my case the Composer server is going to double as the DB server.
  2. Connect to the windows server with a user that has been granted local administrator rights.
  3. Locate and run the SQL Express installer.
  4. Accept the security challenge. Click Yes.
  5. Click Basic.
  6. You can read the license terms if you like. Click Accept.
  7. Click Install.
  8. Click Close. You can click Install SSMS. It won’t actually install SSMS, It’ll just take you to the page where you can download the installer

Installing SSMS 2017

  1. Locate and run the SSMS Installer.
  2. Accept the security challenge. Click Yes.

  3. Click Install.
  4. The install will take a good few minutes.
  5. Click Close.

Nice and easy.

Next post. Creating and setting up the databases.

Preparing for Horizon View – Setting up a root CA.

While Horizon View does come with self signed certificates but it is always best, in a production environment, to your own SSL certificates.

I connect to my lab remotely using, either my laptop, or other mobile device and like to know that my connection is secure.

If you don’t want to setup your own cert server Lets Encrypt is a public CA and does offer certificates (wild card certs too) for free. If you do choose to use them please consider donating. They are an opensource and free setup and could use your help.

Installing a root CA.

I used a windows 2016 server for this deployment.

  1. In the Server Manager window click on Add roles and features.
  2. Select Role-Based or feature-base installation and click Next.
  3. Select the local server and click Next.
  4. Select Active Directory Certificate Services, and click Next.
  5. Check Include management tools (if applicable). Click Add Features.
  6. Click Next.
  7. Click Next.
  8. Click Next.
  9. Click Next.
  10. Select Certificate Authority. Click Next.
  11. Click Install.
  12. Once the install is complete Click Close.
  13. Once the Install is finished we need to complete the post install tasks. Navigate to Server Manager and click on the alert icon. Click on the post deployment task that needs to be completed.
  14. If you need to change the credentials do so here. I just used the creds I was logged in with. Click Next.
  15. Select Certification Authority and click Next.
  16. Select Enterprise CA and click Next. You can select Standalone CA if that’s what you need. The options might be slightly different.
  17. Select Root CA and click Next.
  18. Select Create a new private key and click Next.
  19. Select the following:
    1. Cryptographic provider – RSA#Microsoft Software Key Provider
    2. Key length – 2048
    3. Algorithm – SHA256
    4. Click – Next.
  20. Leave the defaults and click Next.
  21. Select the validity period of your certificate. (I chose to leave it at 5 years. In a prod environment you might want that to be less). Click Next.
  22. Leave the defaults and click Next.
  23. In the final window check your settings and click Install.

And that’s it, we now have a working root CA!


Working VMware’s VDI Solution.

Over the last couple of months (with another work colleague) I’ve been looking into Horizon view 7.4. (edit: and now 7.5)

So far I really like what I see. It looks like VMware has put  fair amount of effort in the the product lately. From instant clones (windows and Ubuntu) to automated full fat clones for Linux, the product is really starting to look slick.

The next series of blog posts will be covering the installation and configuration of Horizon view, setting up various different solutions (Linux desktops, View security server and as an alternative the Unified Access Gateway, etc) and will take a look at the various “additionals” available, this includes the paks for vRealise Operations Manager and Log Insight.

So what will we need and be setting up to get the basics going?

  1. Lab (I’ve covered how to build this a while back, its a bit old but should still get you started).
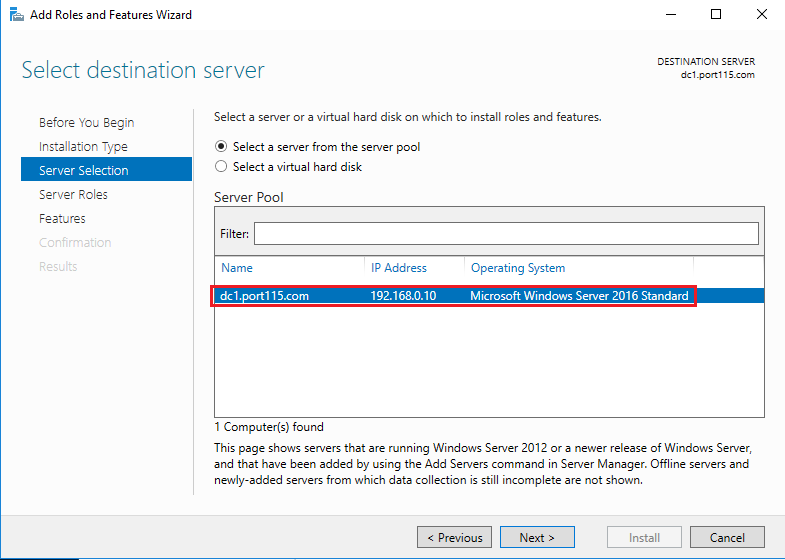
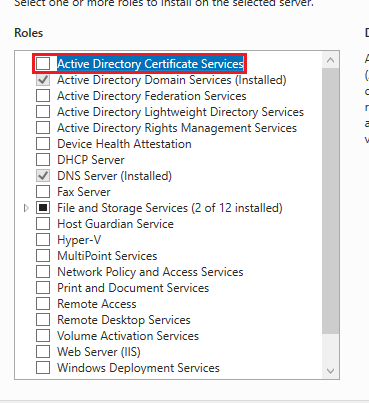
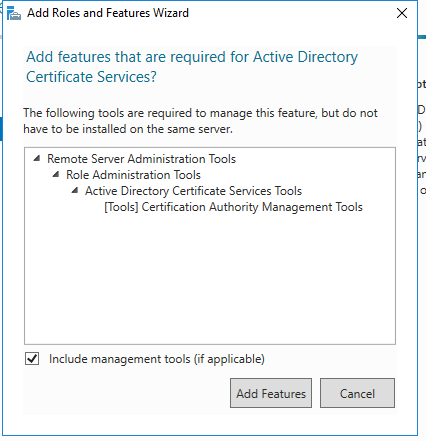
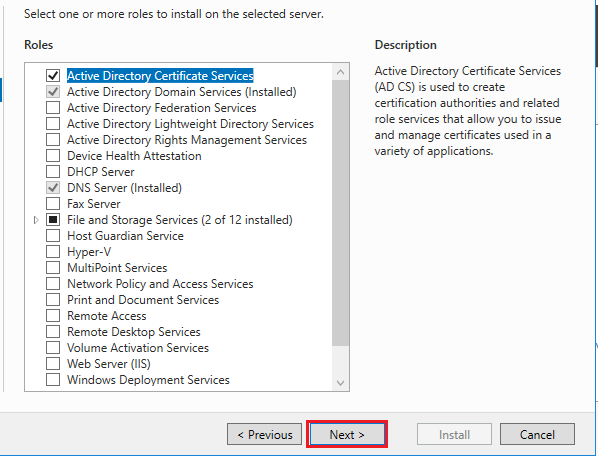
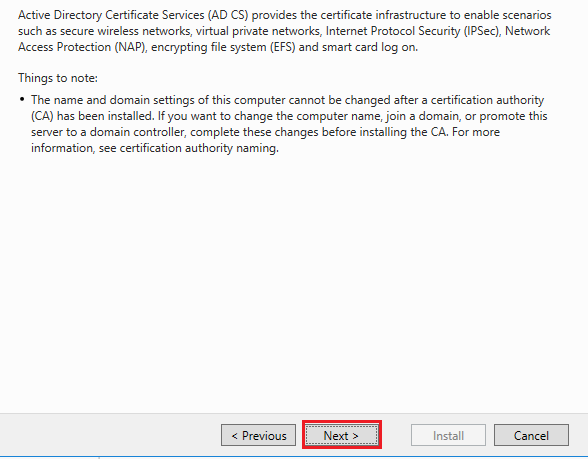
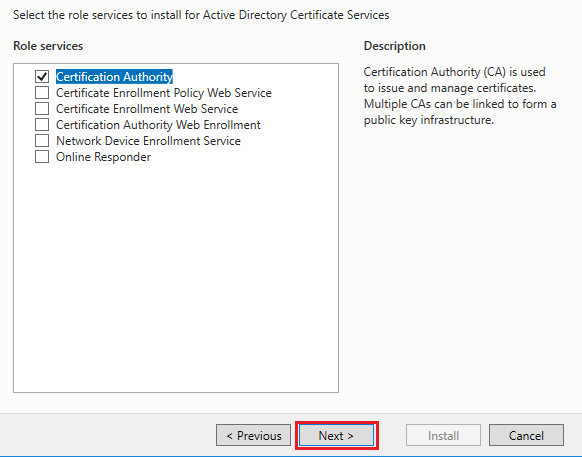
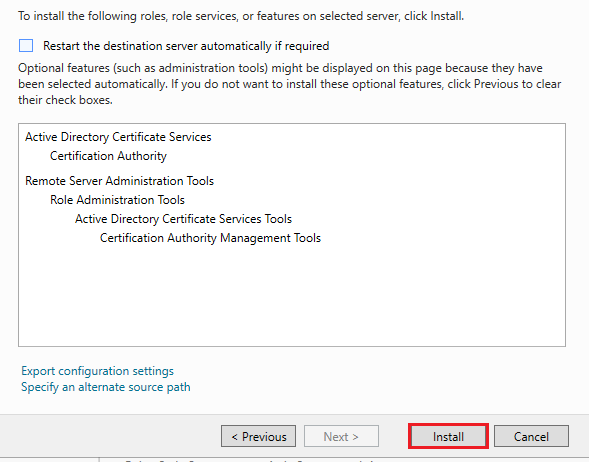
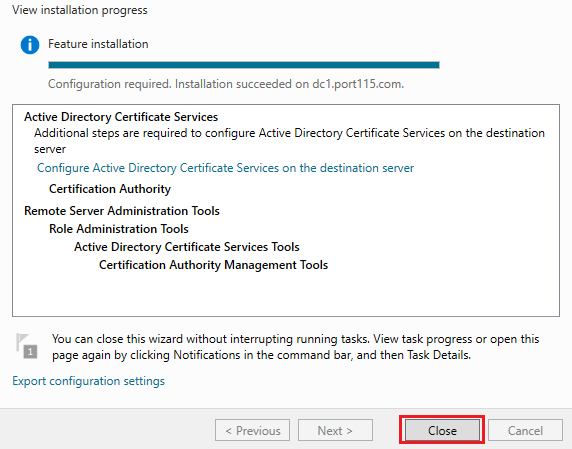
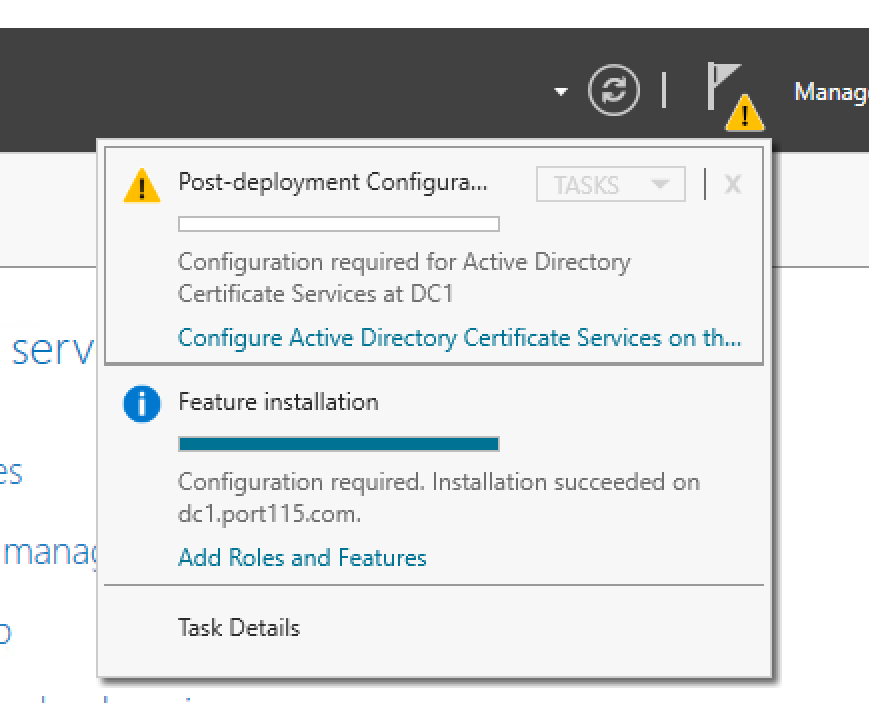
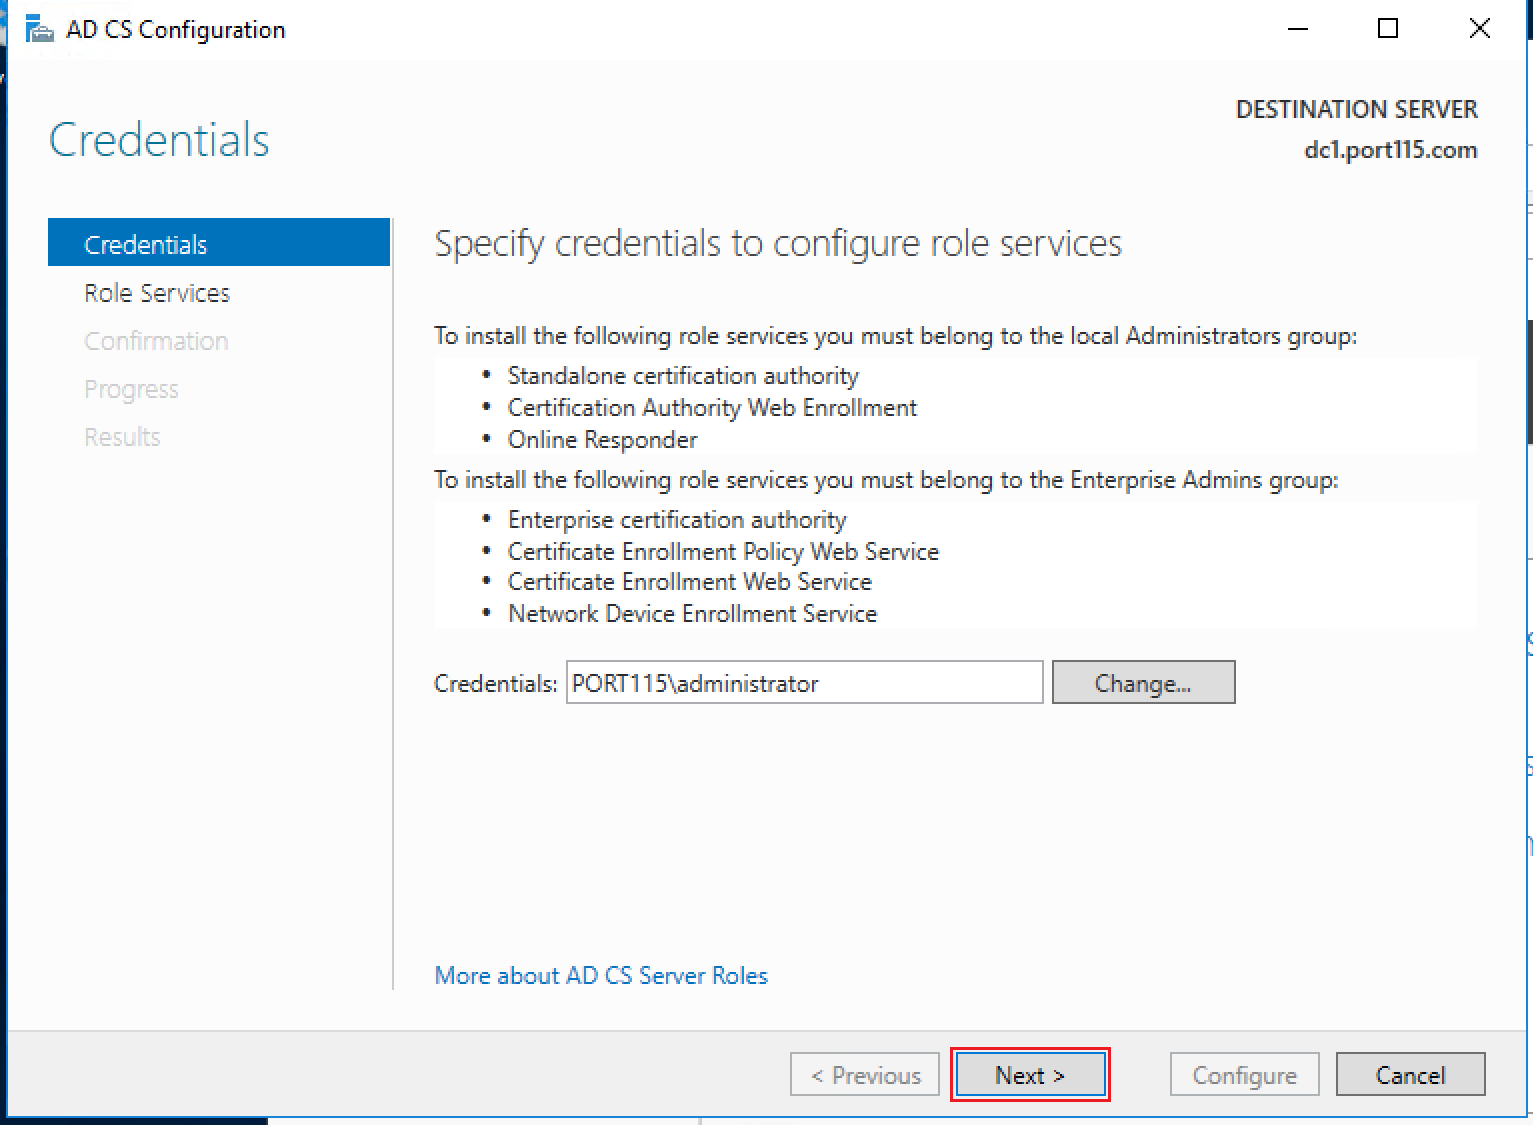
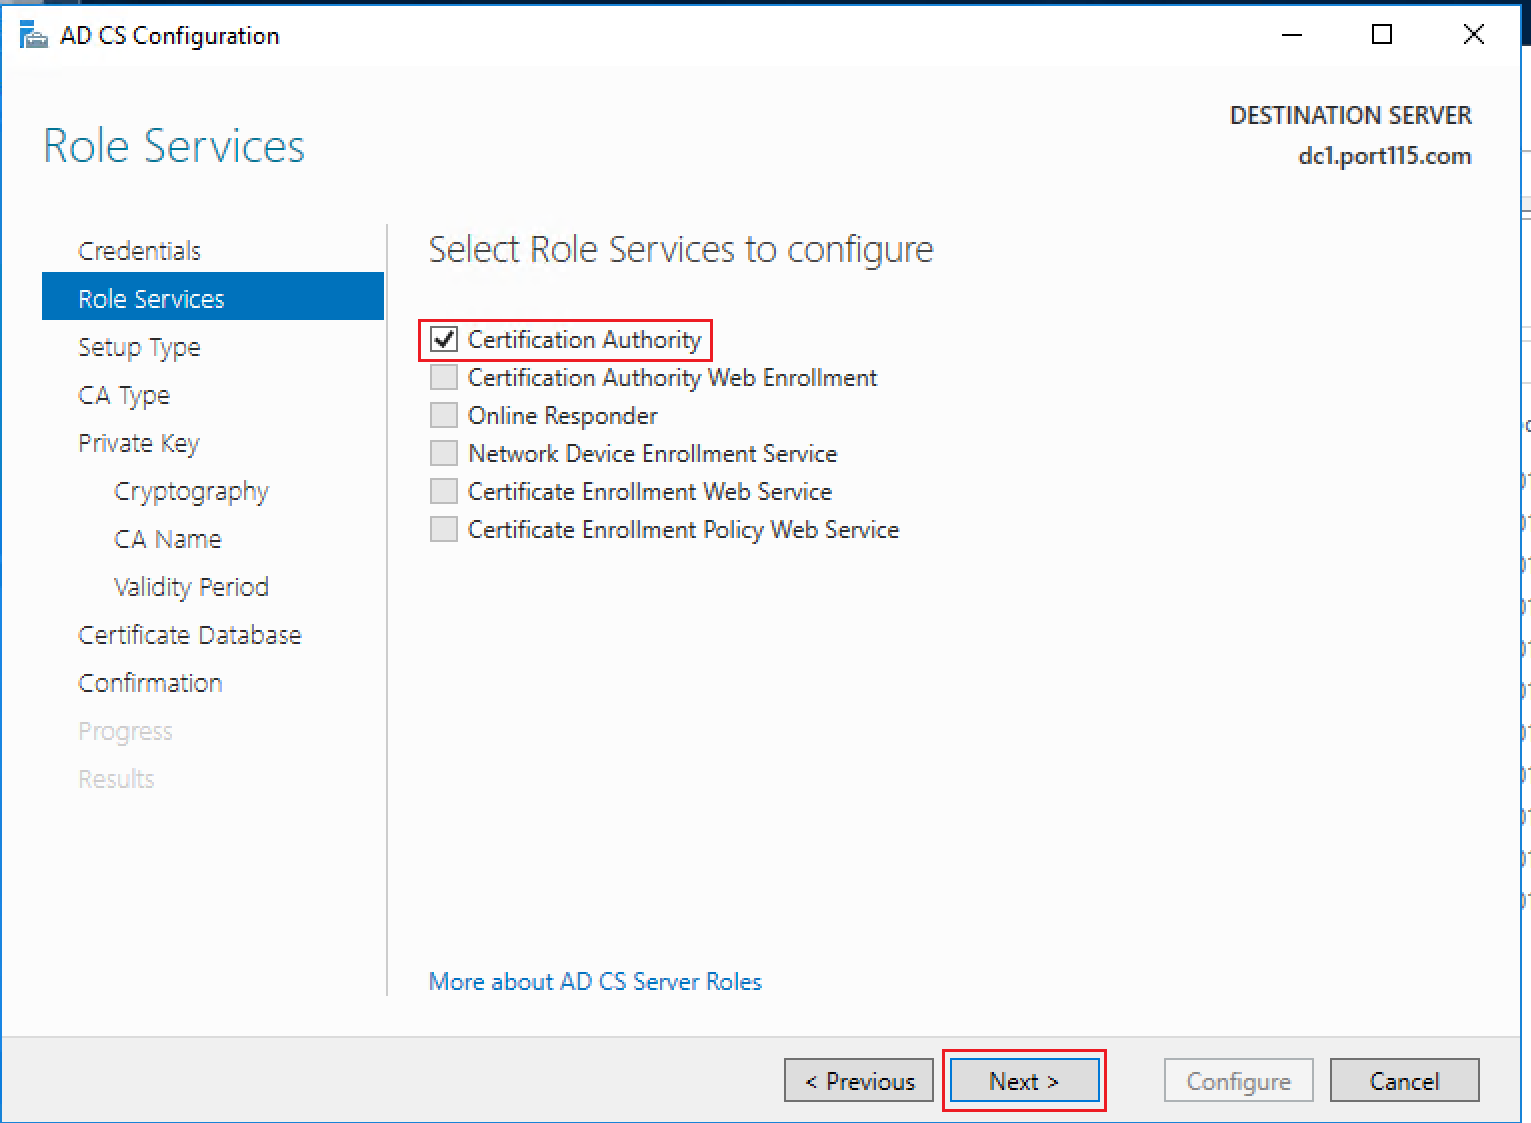
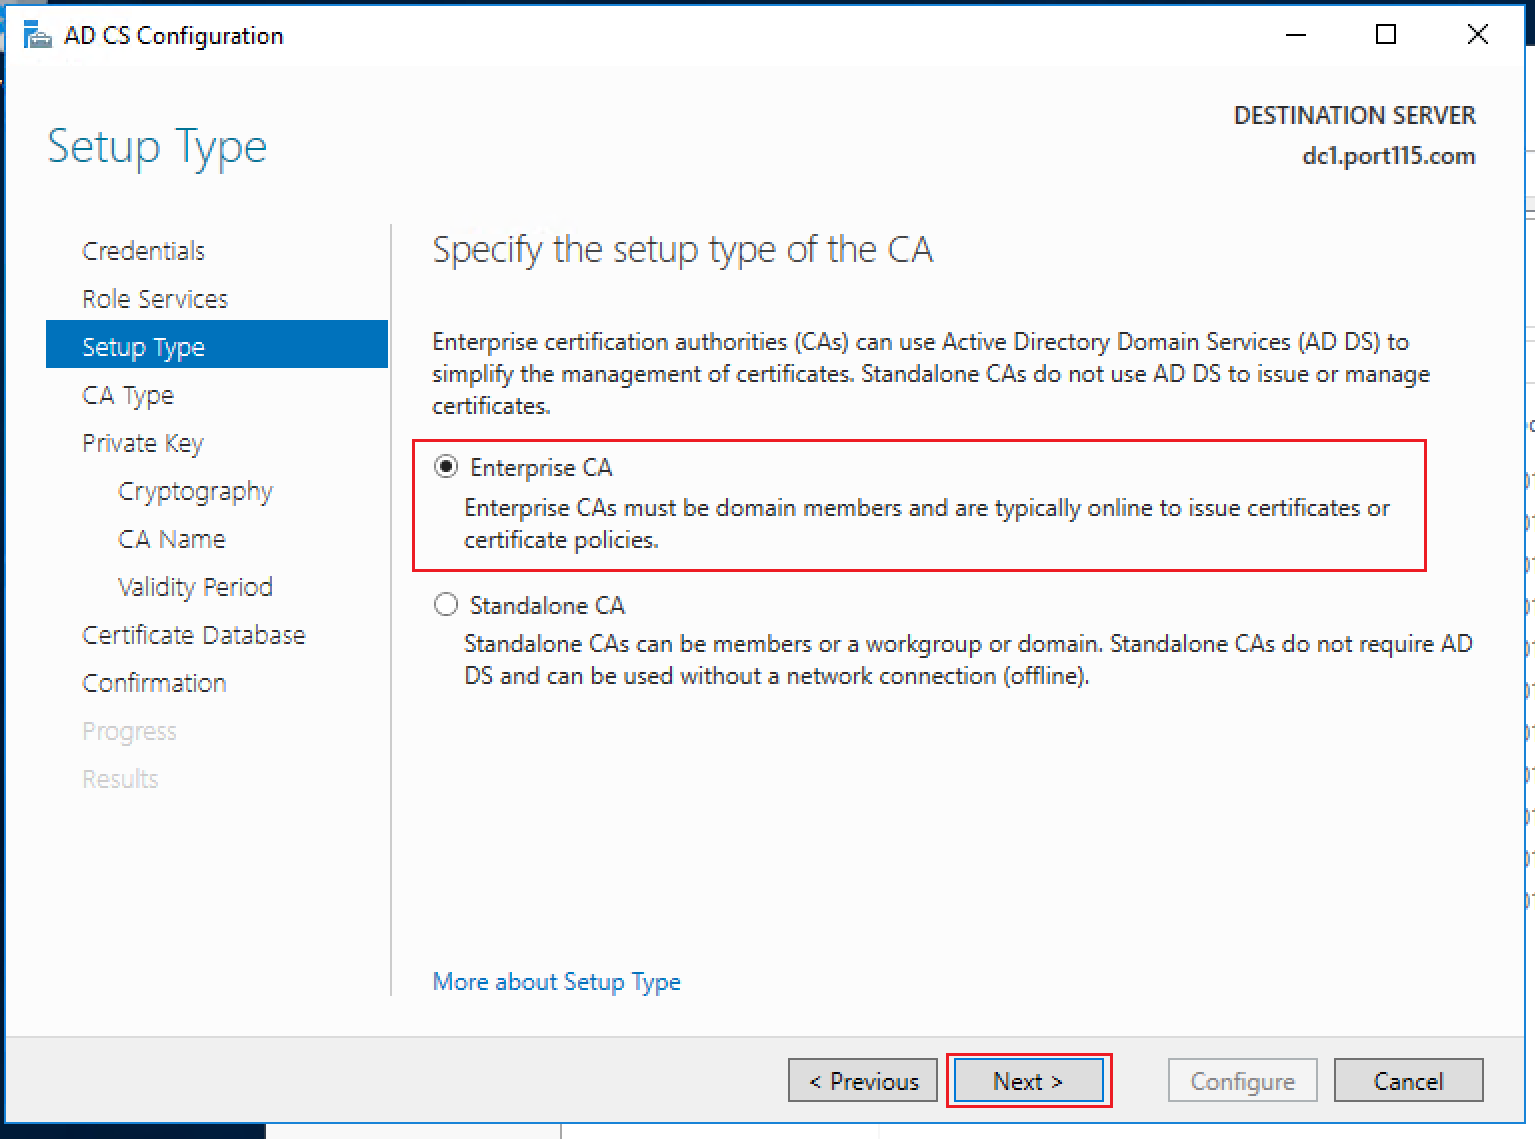
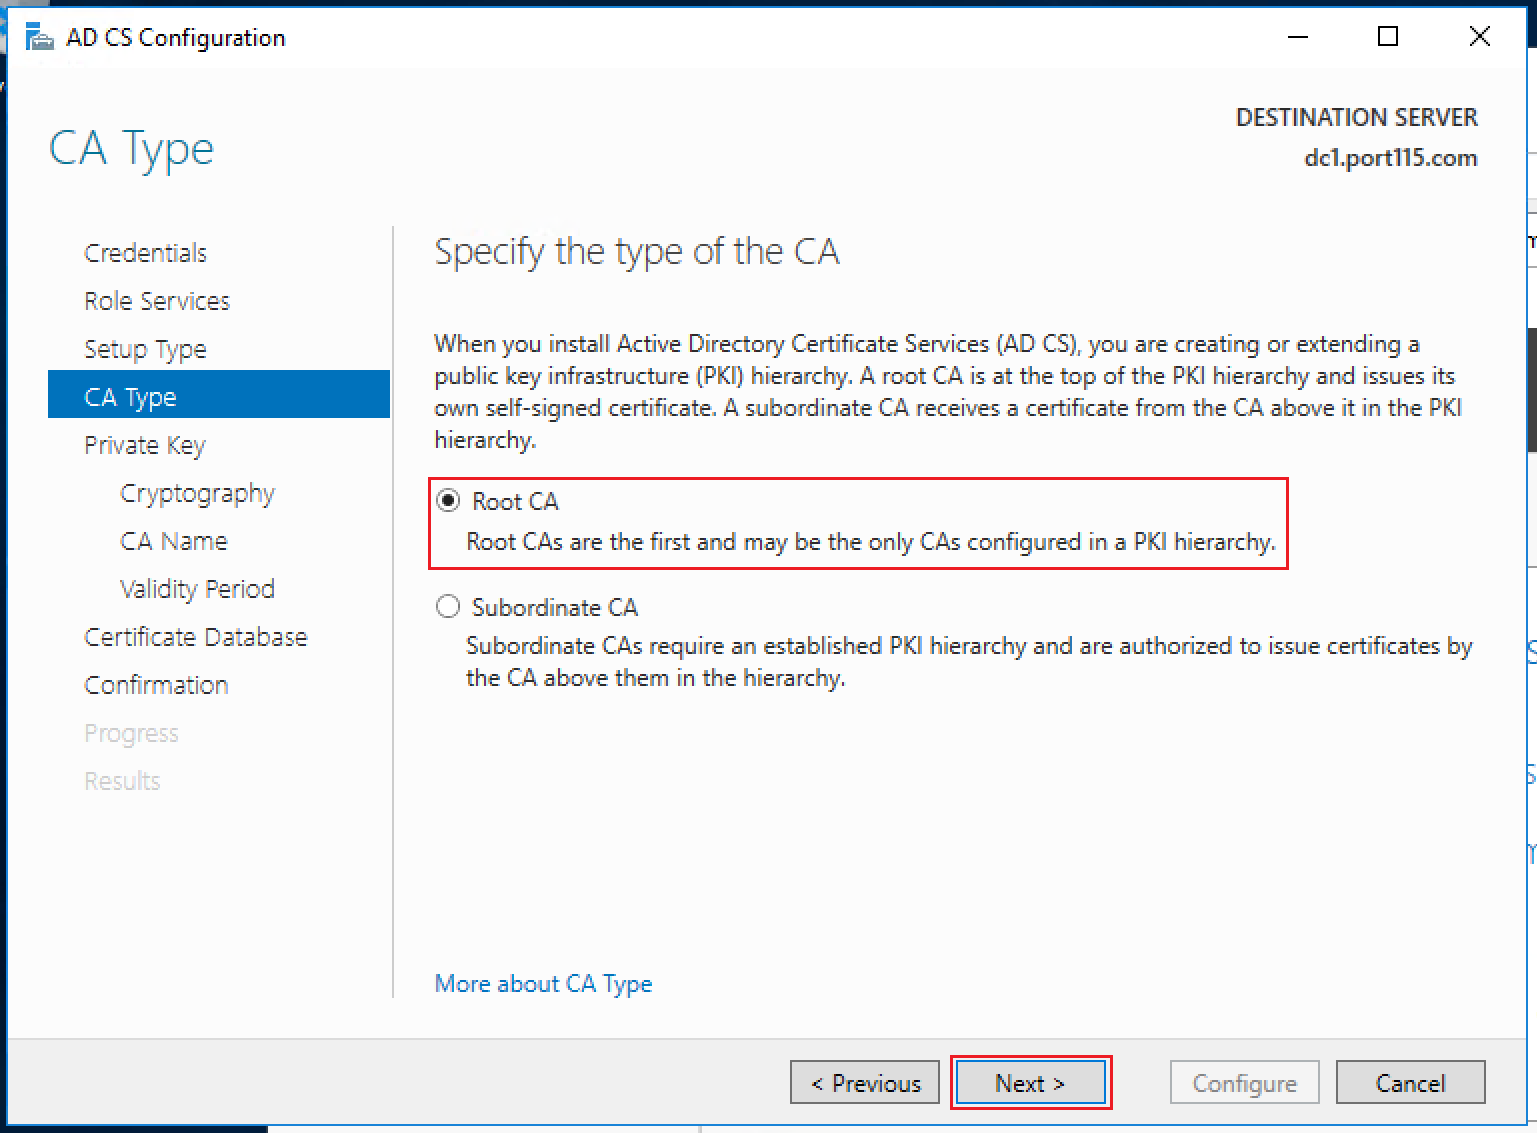
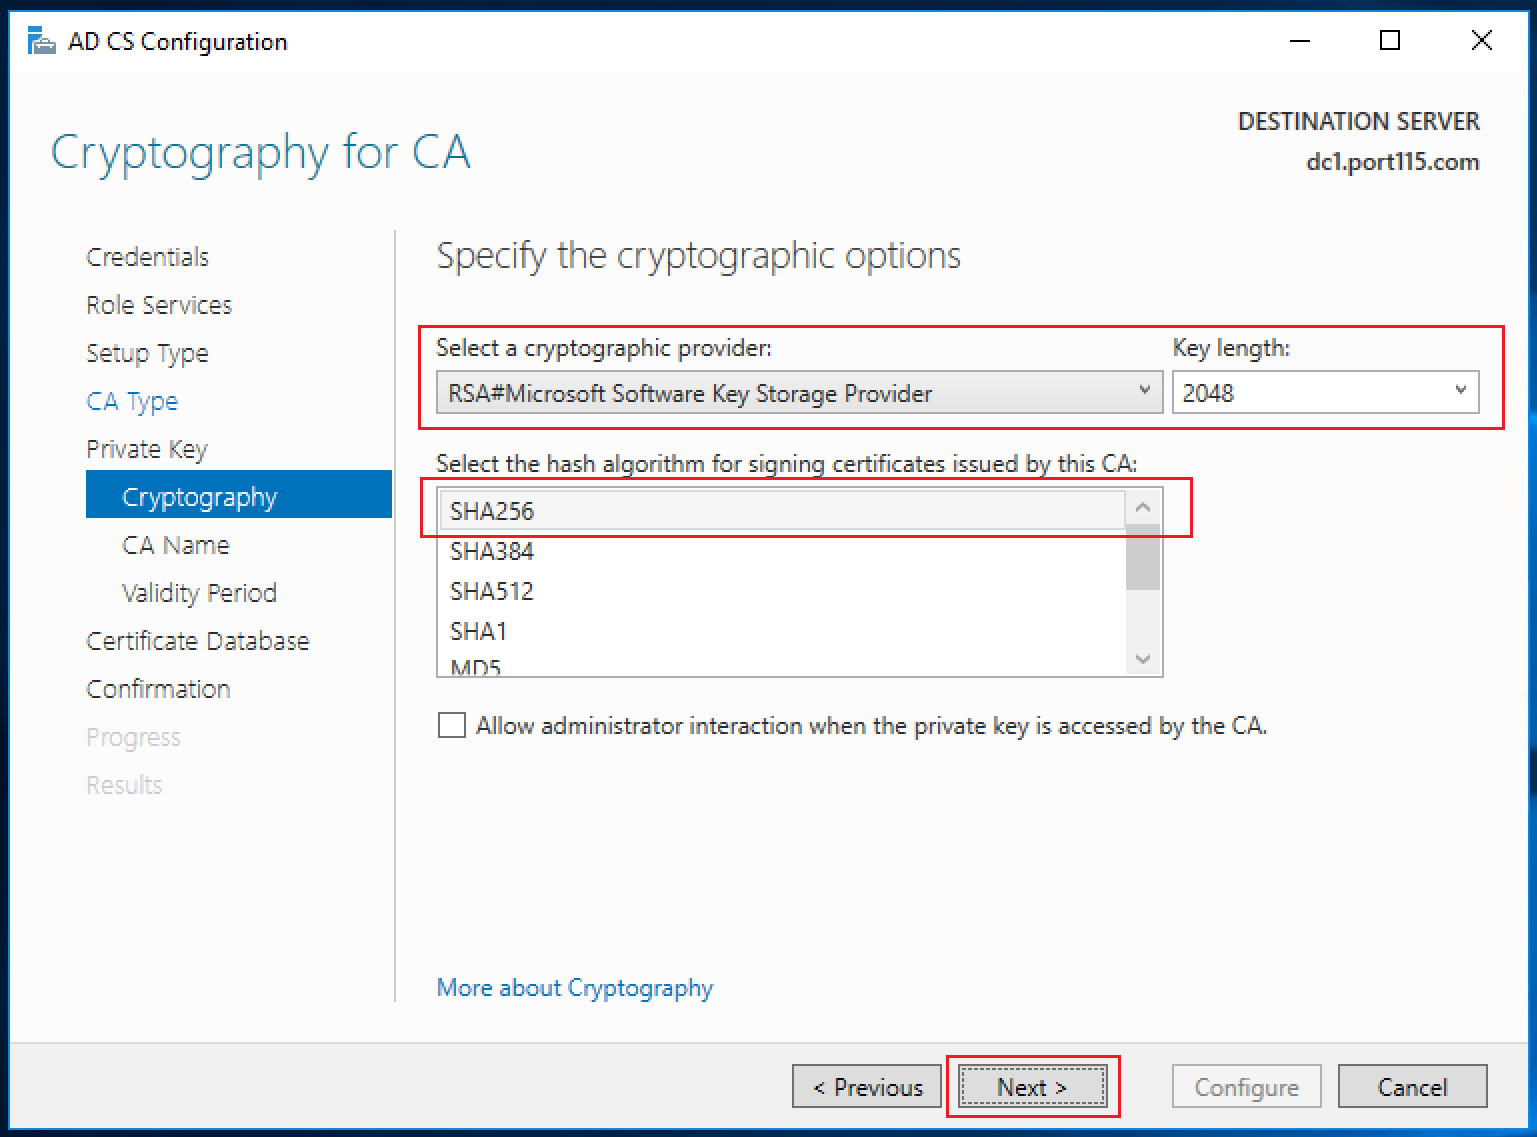
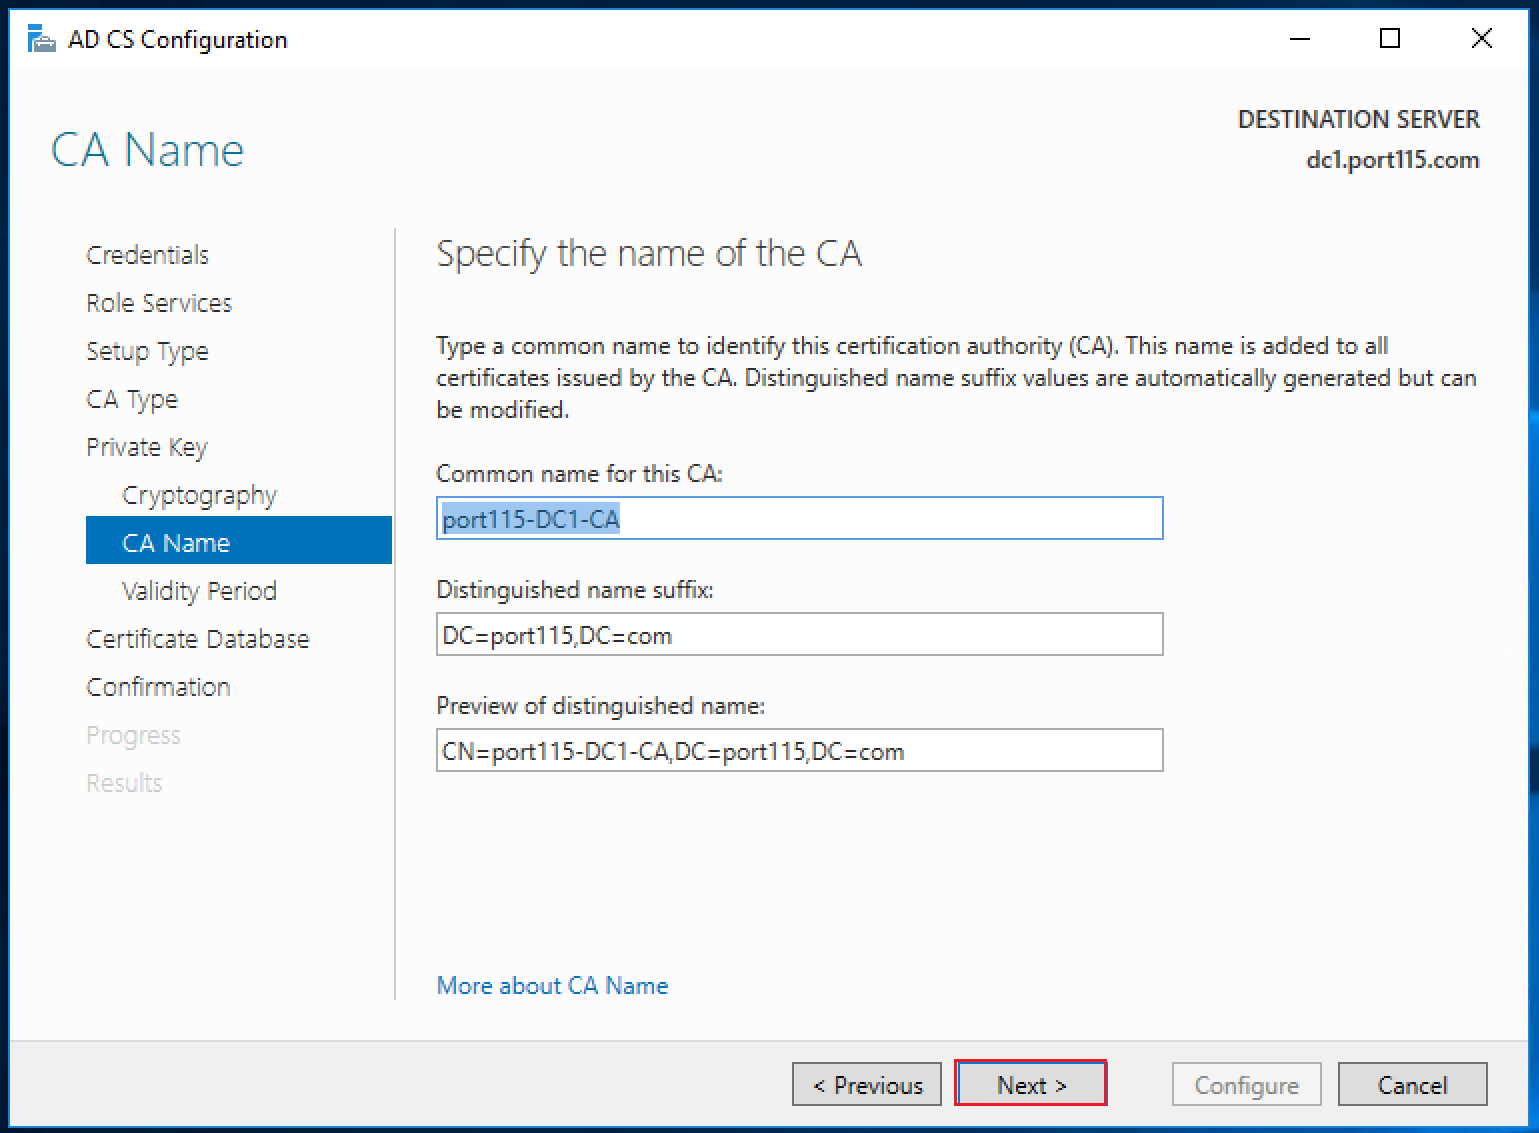
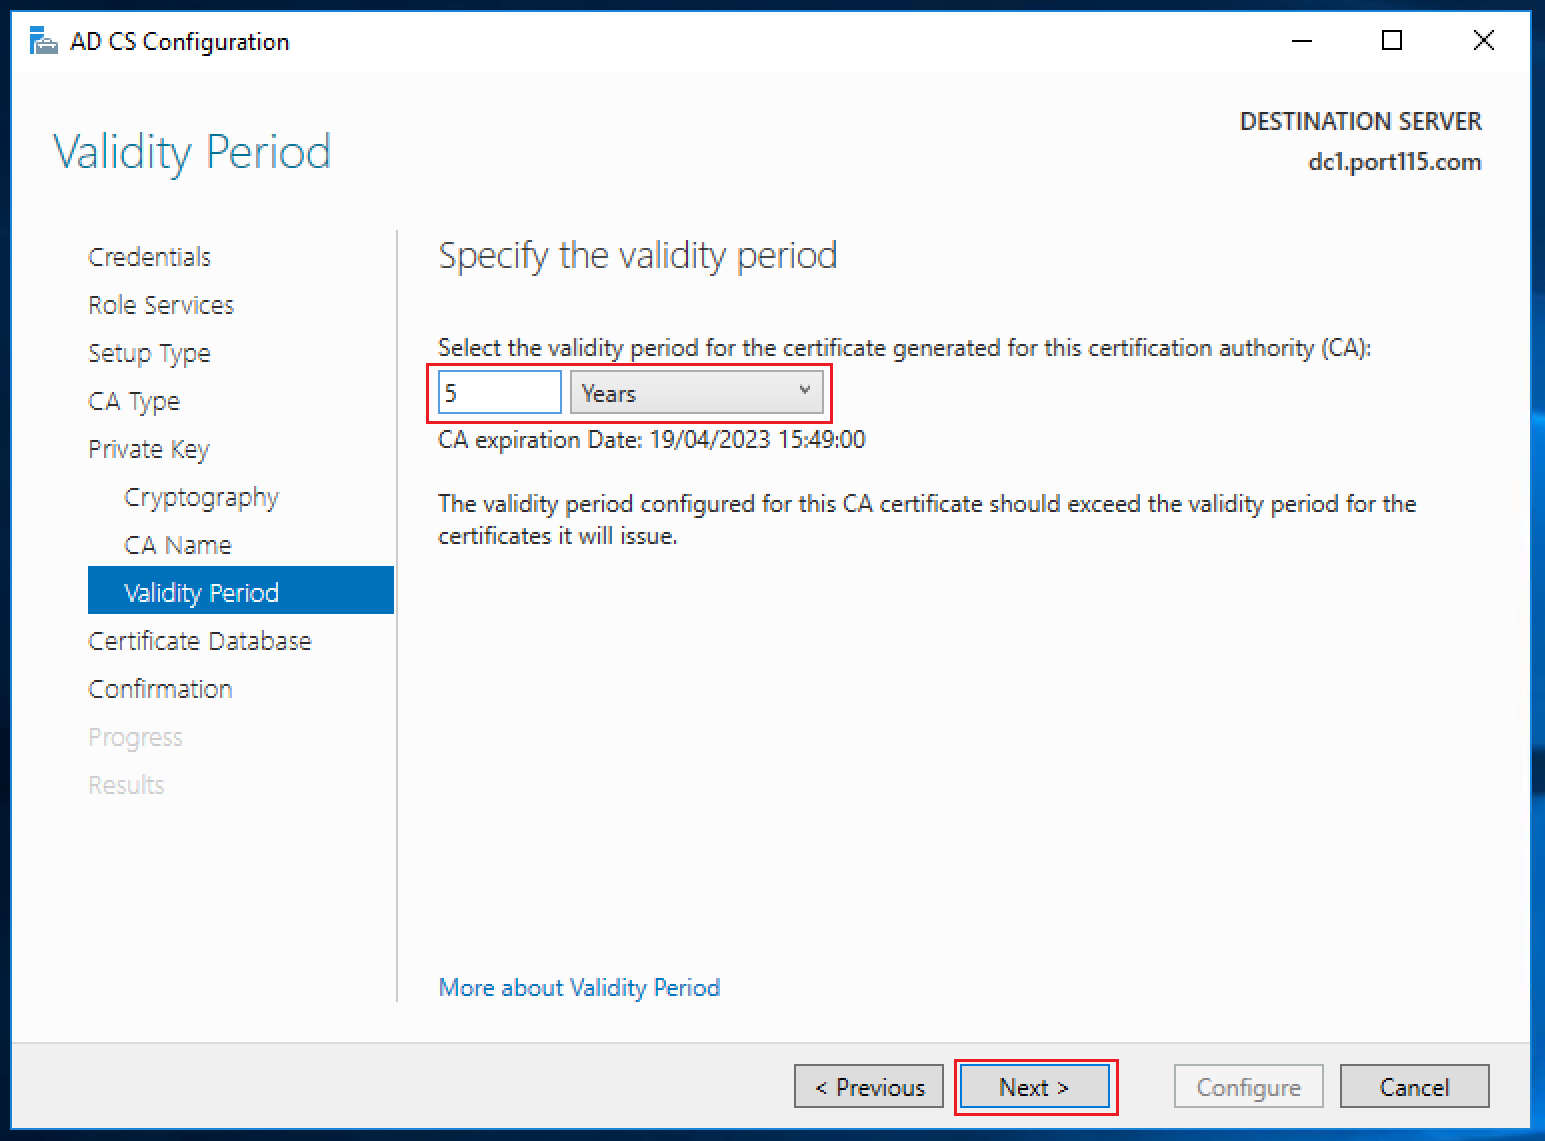
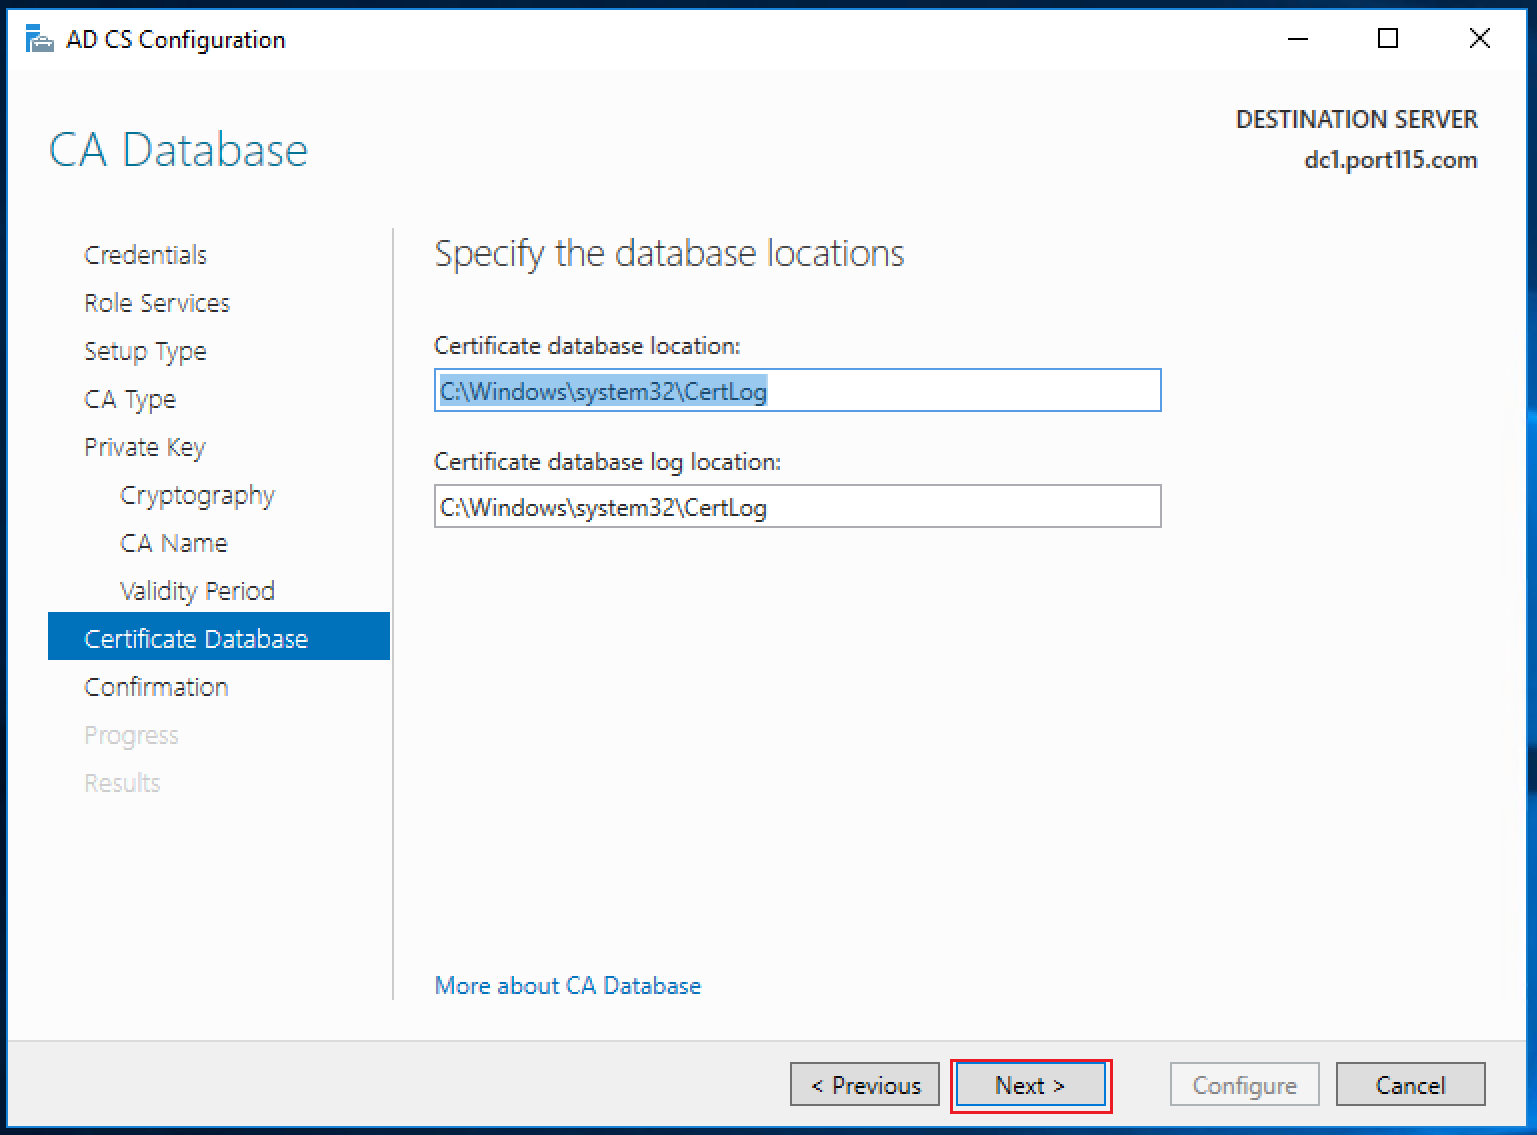
  2. Certificate Authority for our domain.
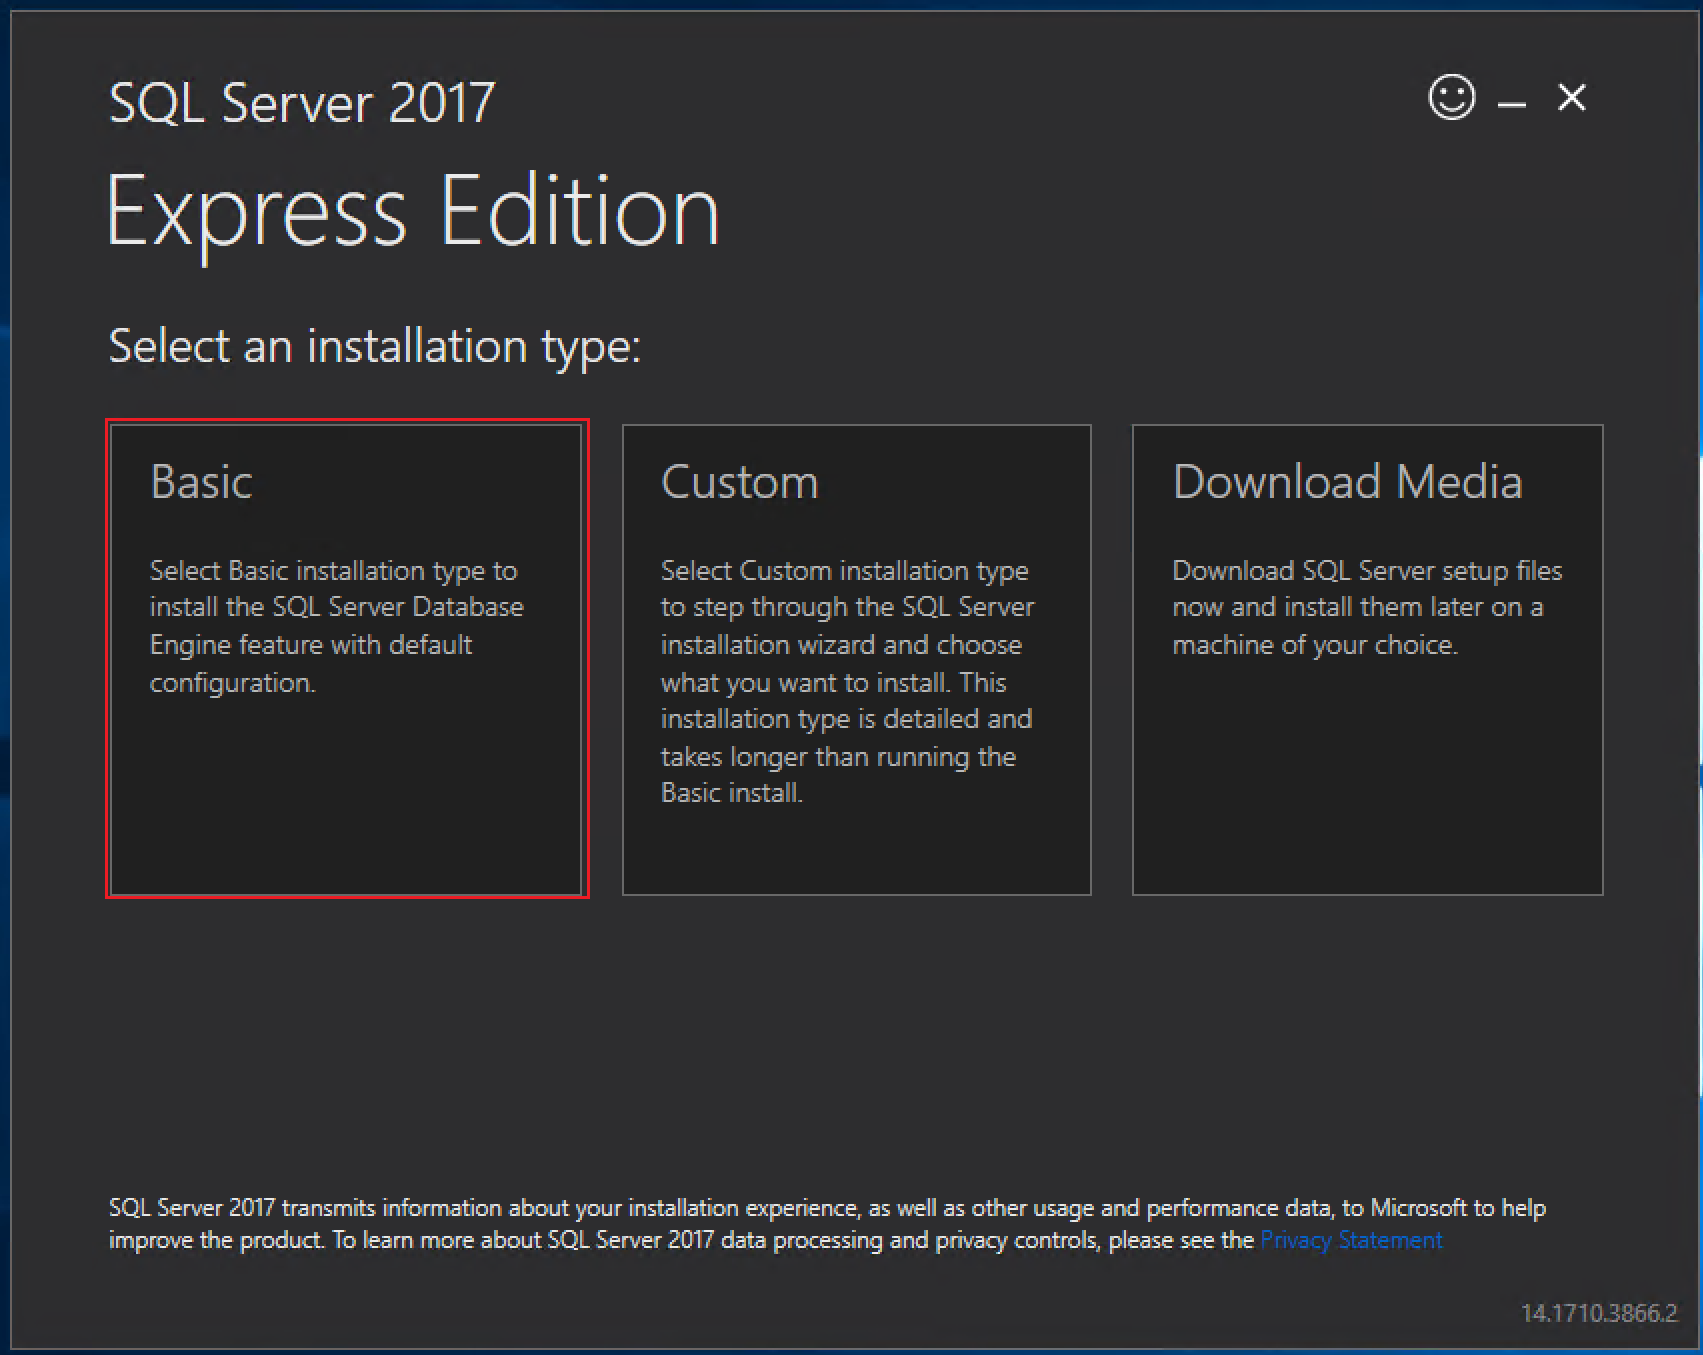
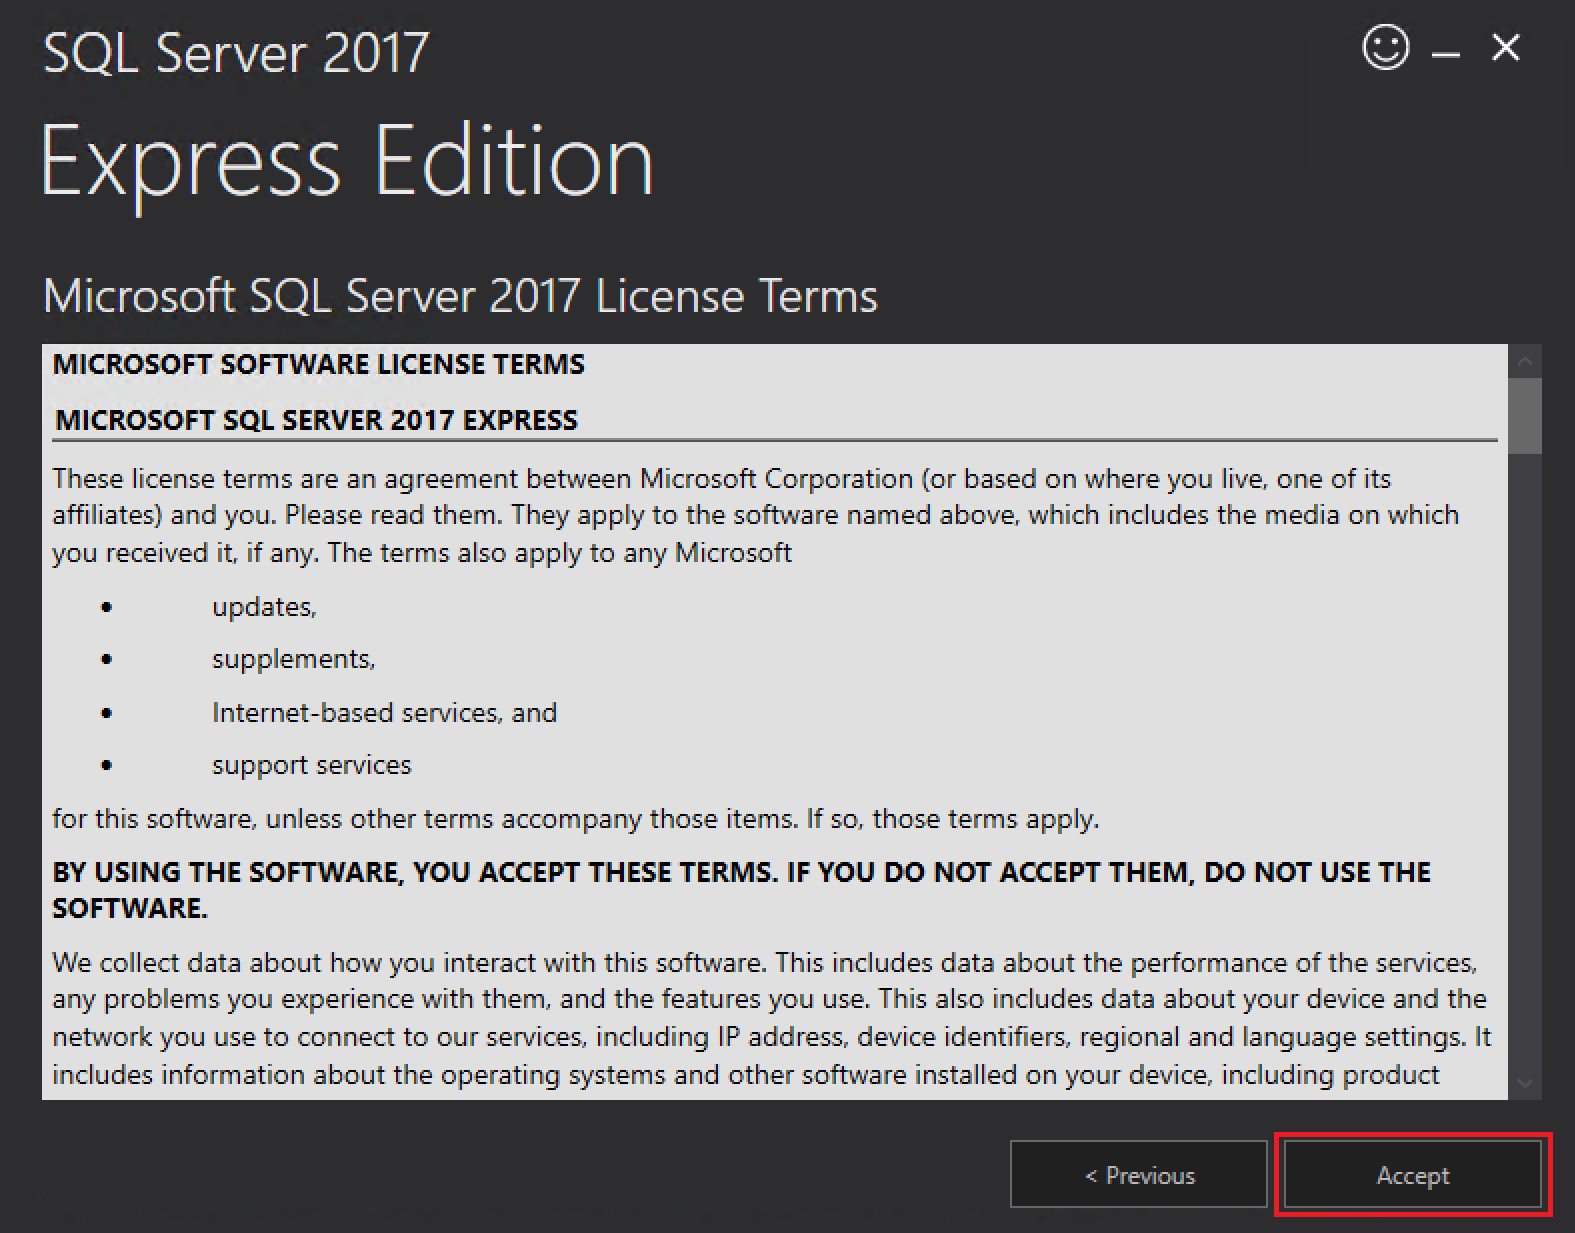
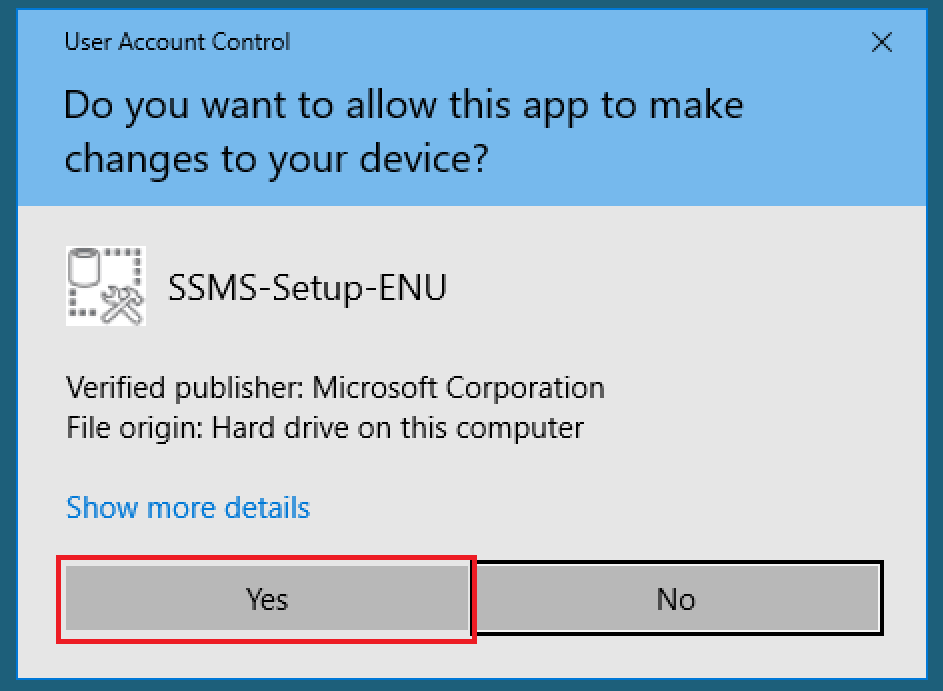
  3. SQL server 2016 Express and SQL server 2016 management tools. Note: While the express version of SQL sever isn’t on the interoperability matrix it does work.
  4. A minimum of 3 Windows servers which will run:
    1. View Connection server
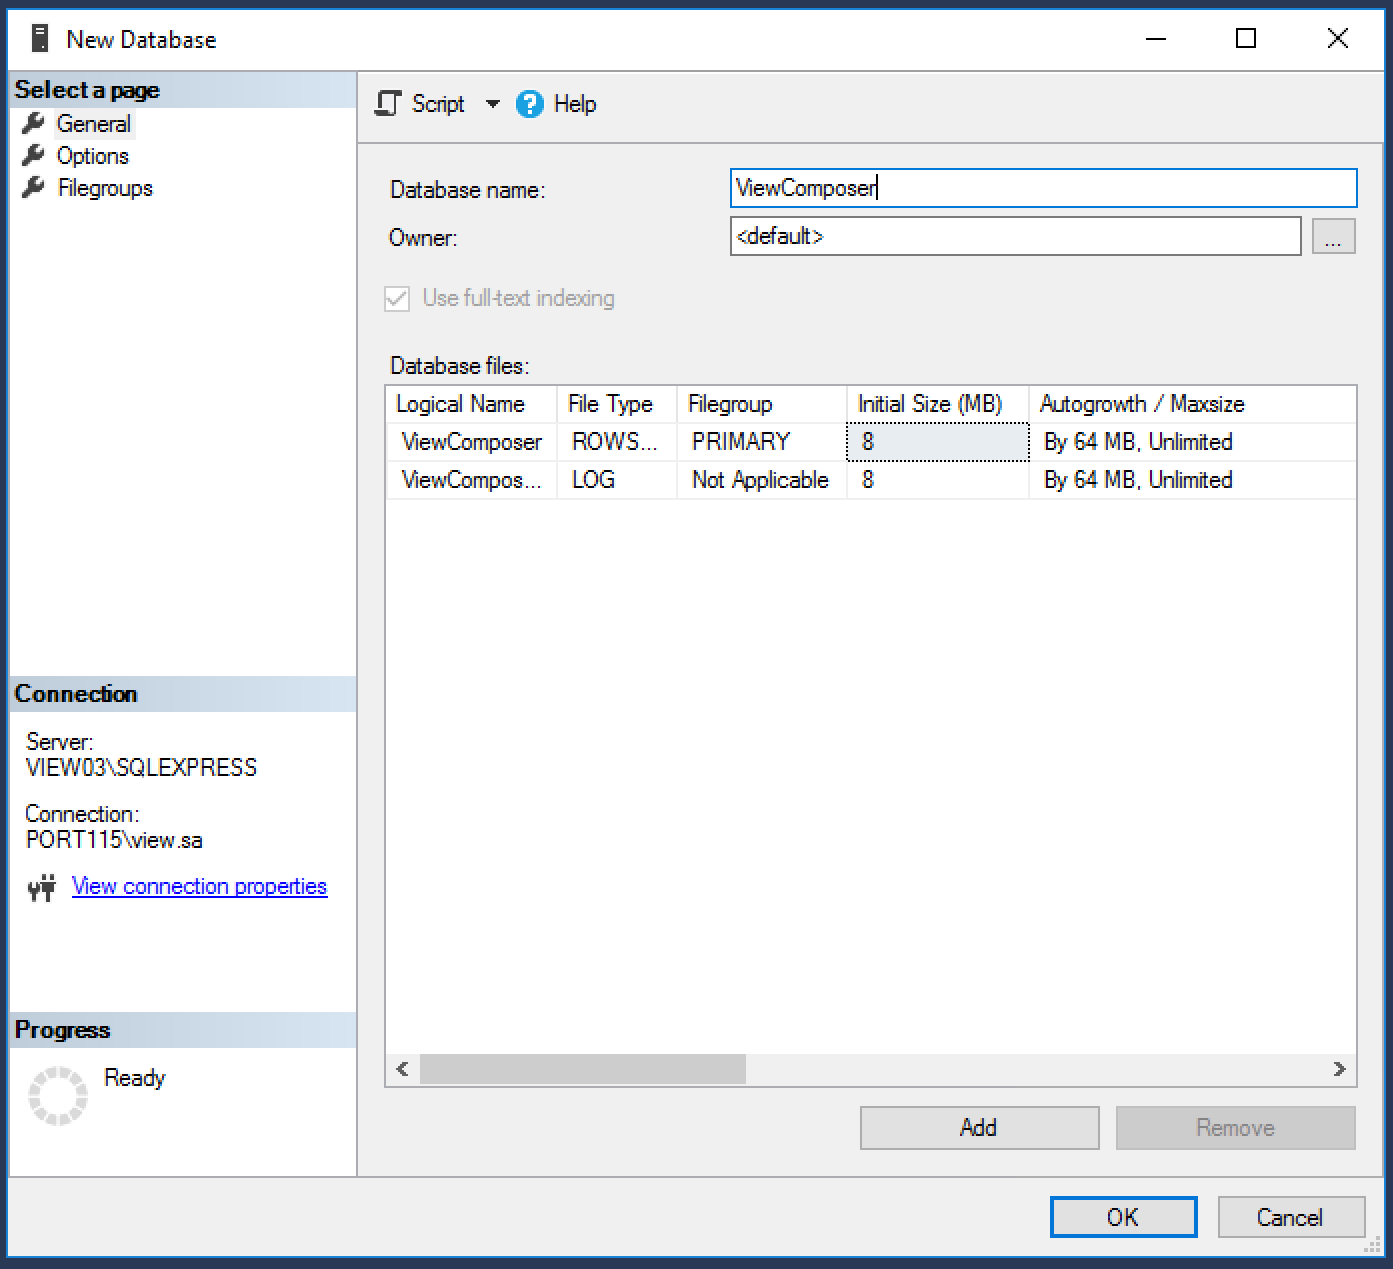
    2. View Composer Server, which will also run our instance of SQL express.
    3. View Security Server
  5. Horizon View Software (Download the lot)
  6. Windows 10 Enterprise
  7. 2 Popular Linux Disto’s.
    1. Centos
    2. Ubuntu

While there can seem to be quite a lot of moving parts, I would expect most prod environments to have access to either SQL standard as a minimum or Oracle (12C standard release 1 and 2 are supported) as well as a CA (certificate Authority).

Our three windows servers, which will form the base of our deployment,  will be configured as follows:

  • Windows 1 – Connection server
  • Windows 2 – Security Server
  • Windows 3 – Composer and SQL Express server

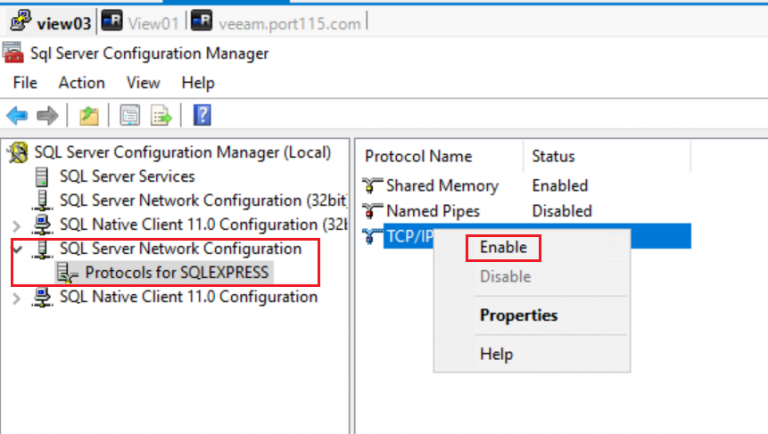
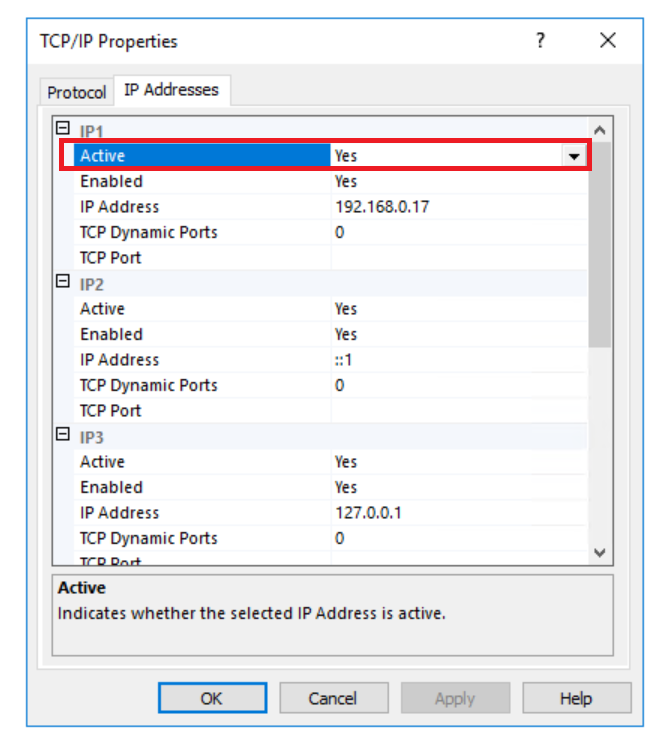
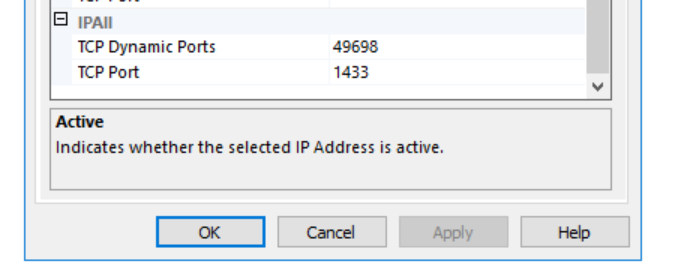
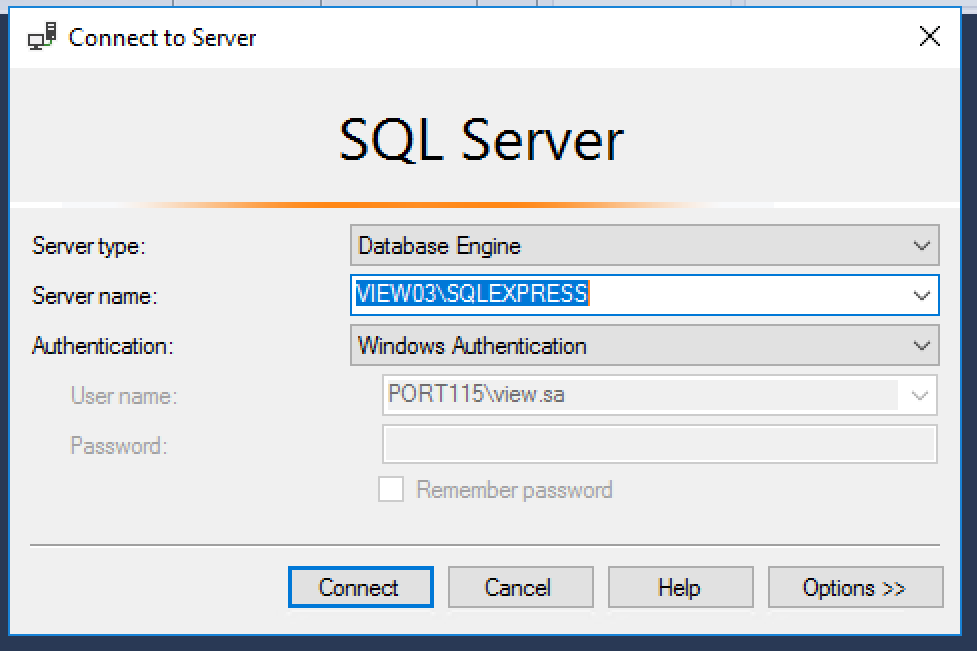
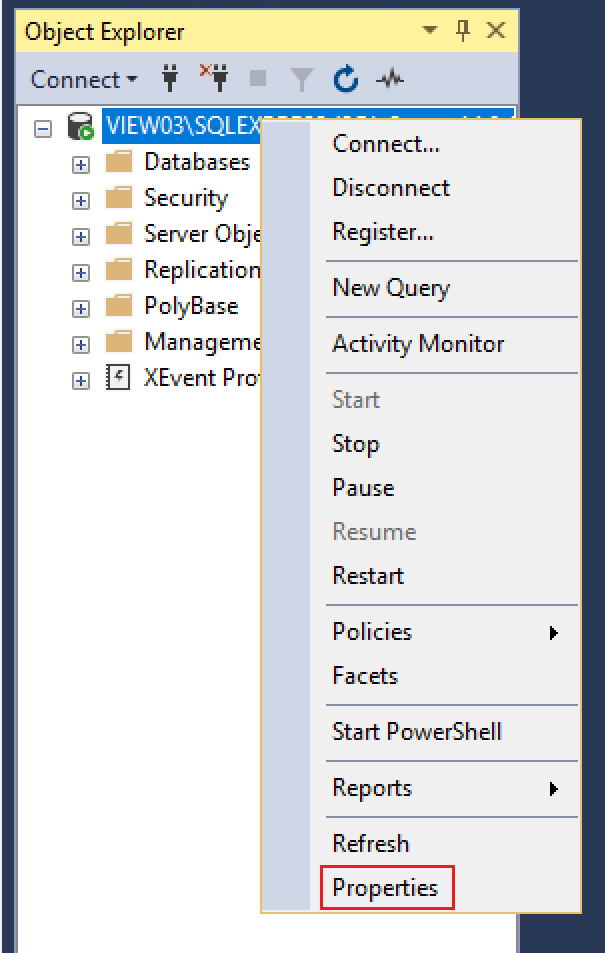
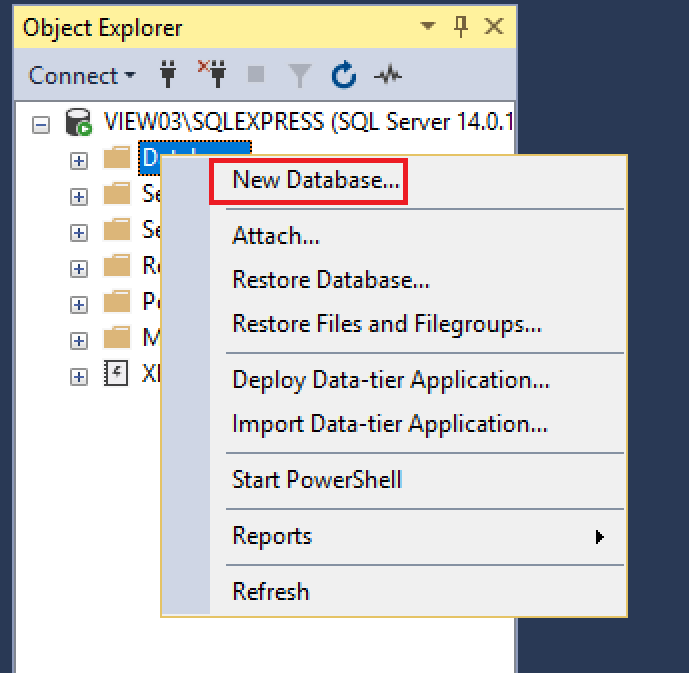
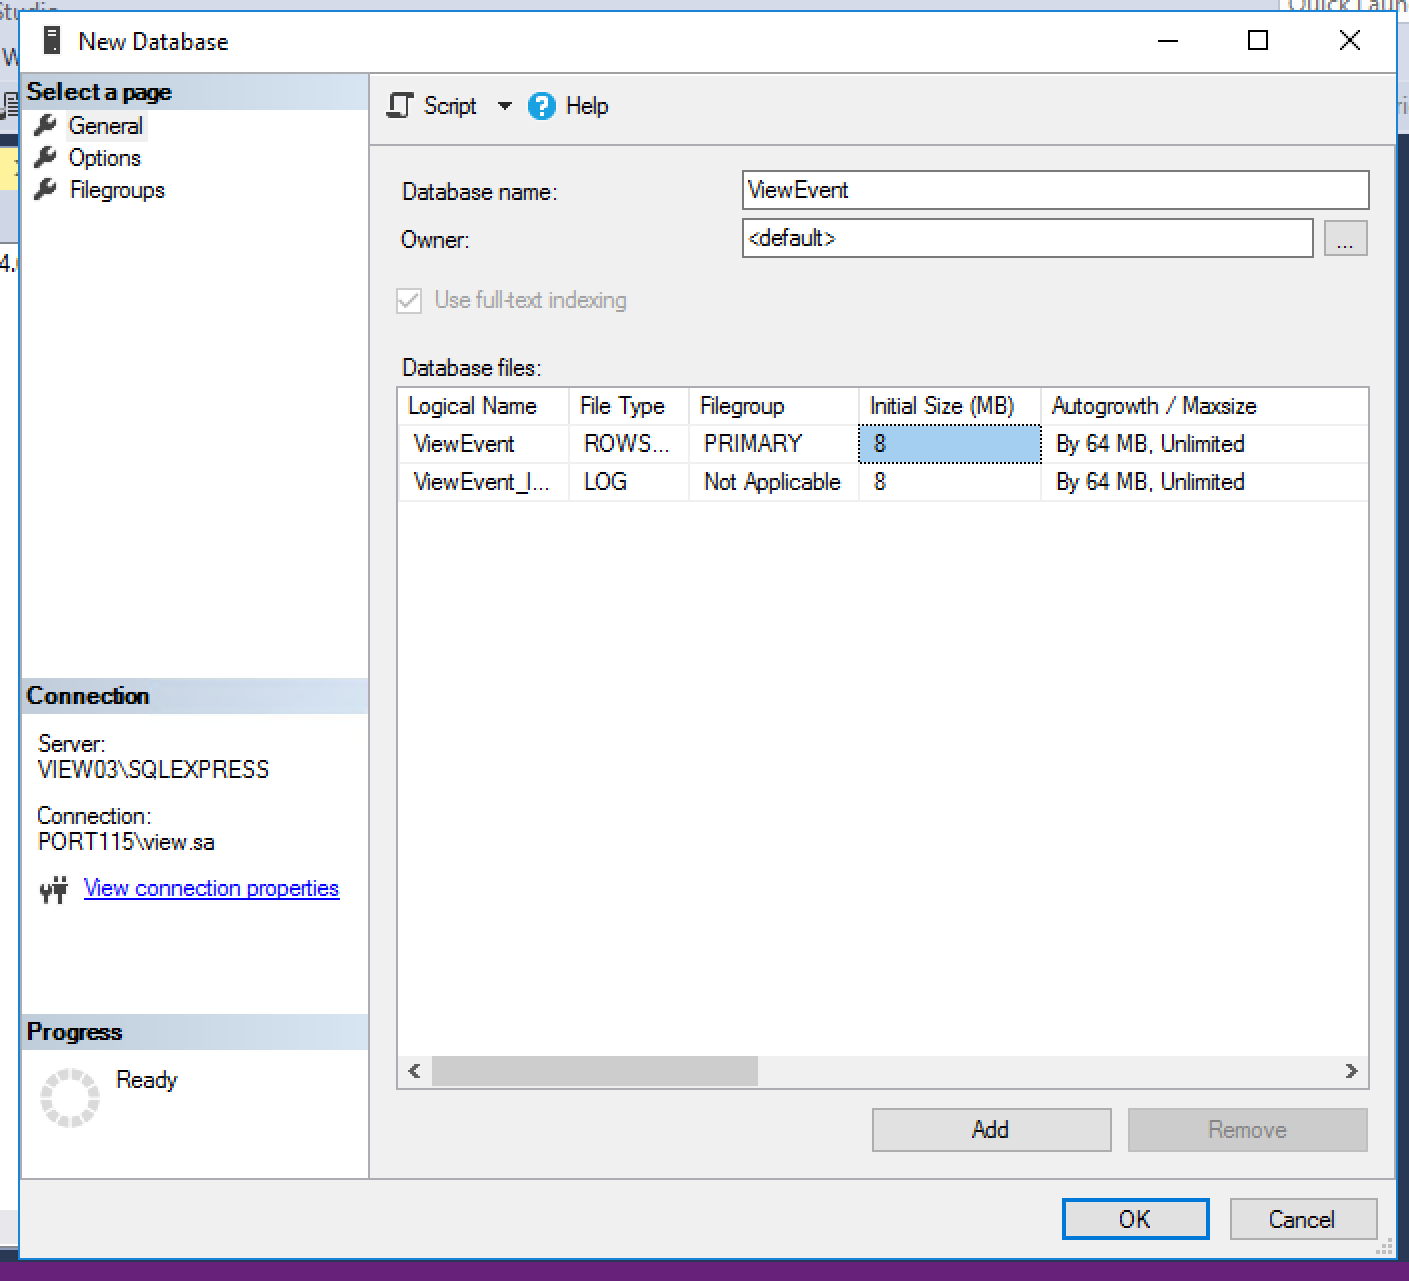
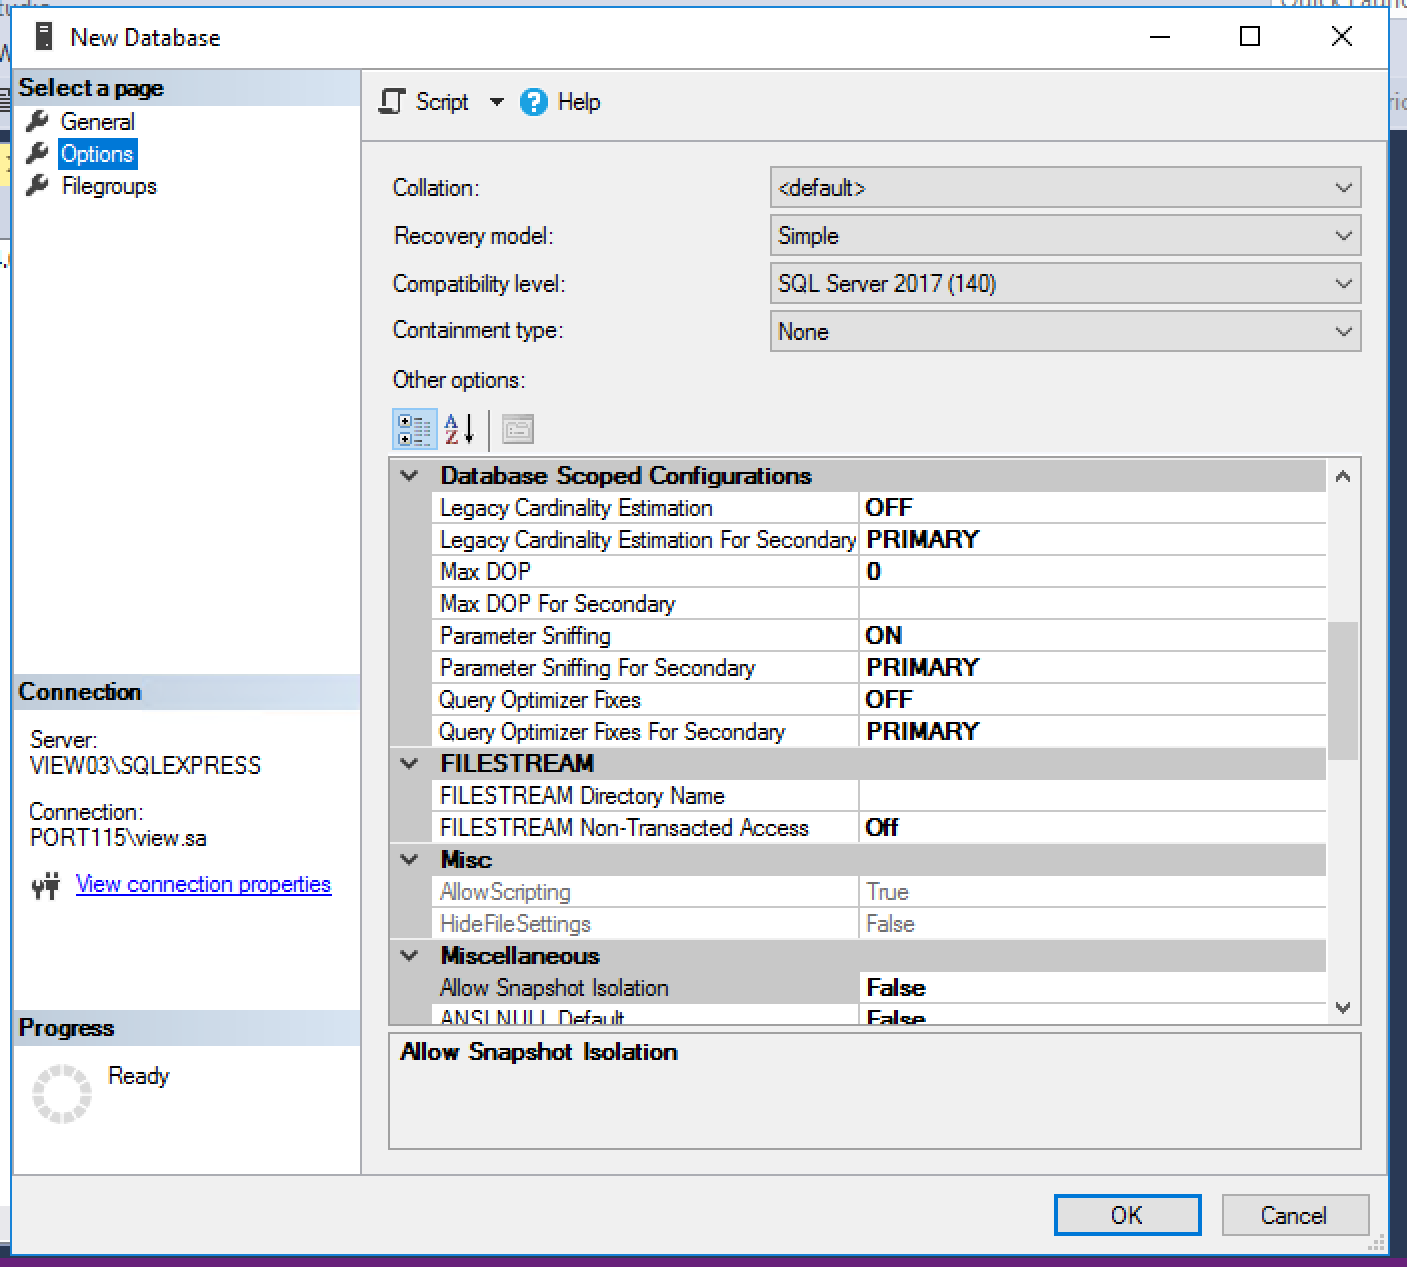
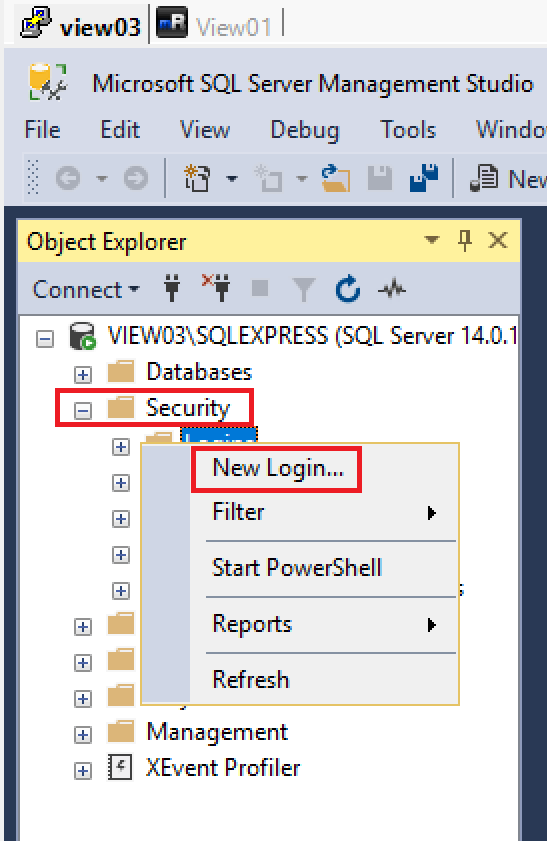
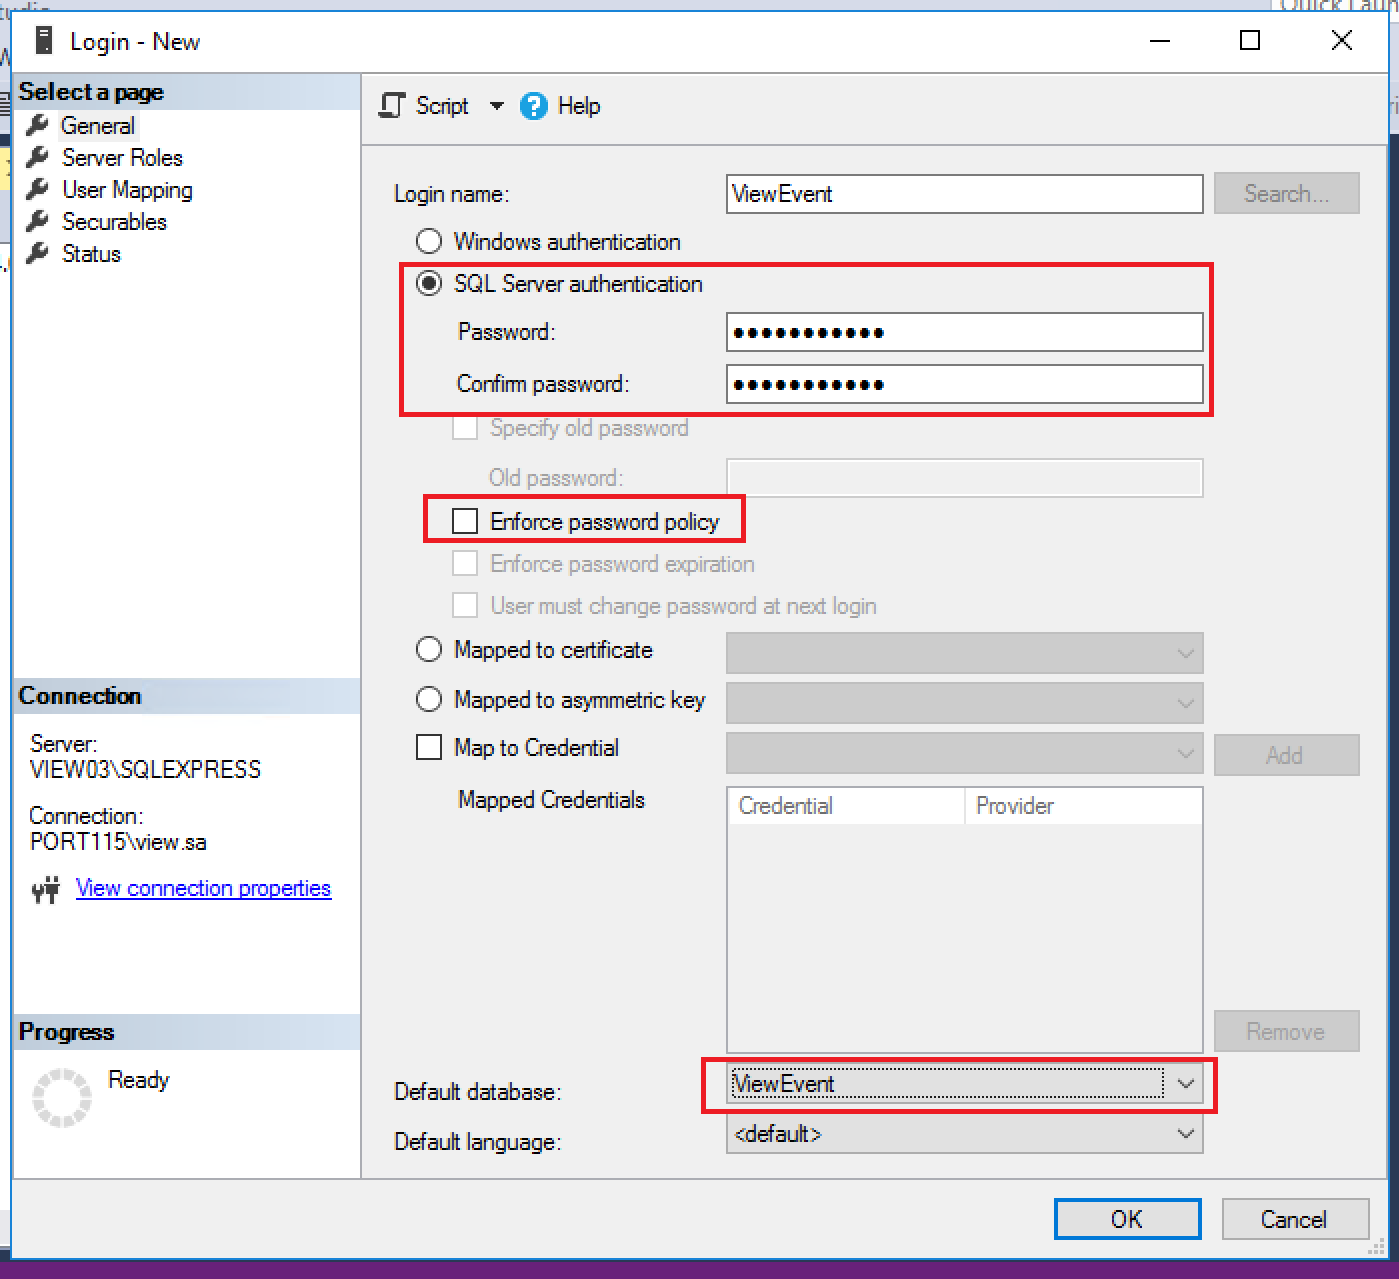
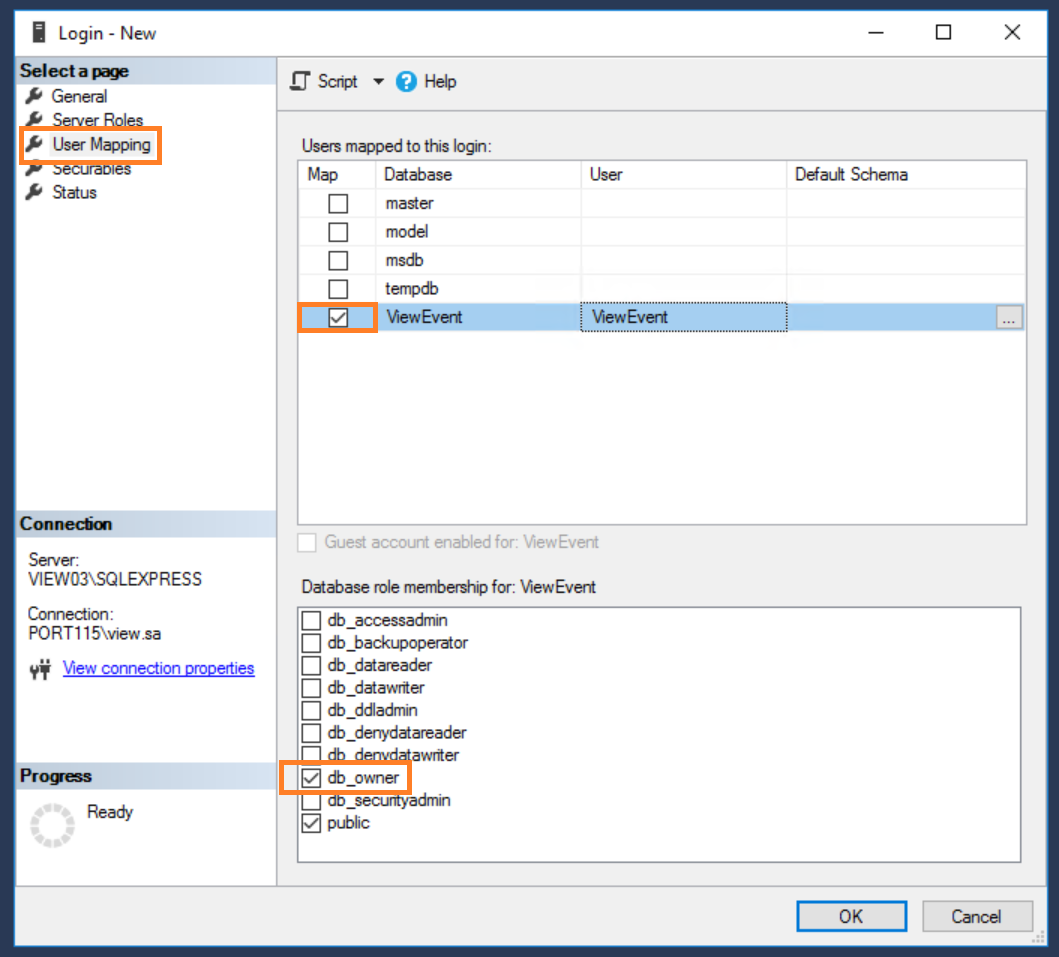
Before we run through the View install’s I’ll first go through setting up and configuring the CA, getting the cert onto the windows connection server, and configuring SQL for the two DB’s we’ll need.