Horizon View – How to create a Manual Desktop Pool

This is the most simple of pools that you can create. It requires a Desktop VM that has the Horizon view agent installed. It doesn’t really matter if its Windows or Linux as long as the Desktops are built and ready to go.

Before anybody asks, there are a few legitimate reasons that you’d want to have a manual pool. The most obvious be that the company security policy is that all Desktops need to be deployed from a central location such as a RedHat satellite server.

  1. Connect to your View Connection Server https://<connection_server>/admin with an account that has administrator permission.
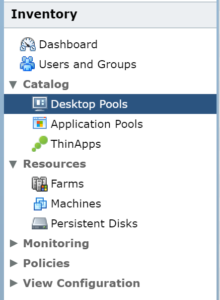
  2. Expand Category and select Desktop Pools.
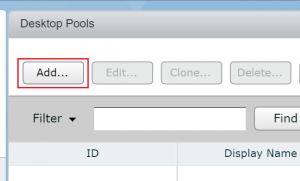
  3. Click Add.
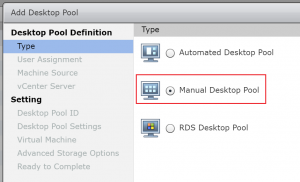
  4. Select Manual Desktop Pool and click Next.
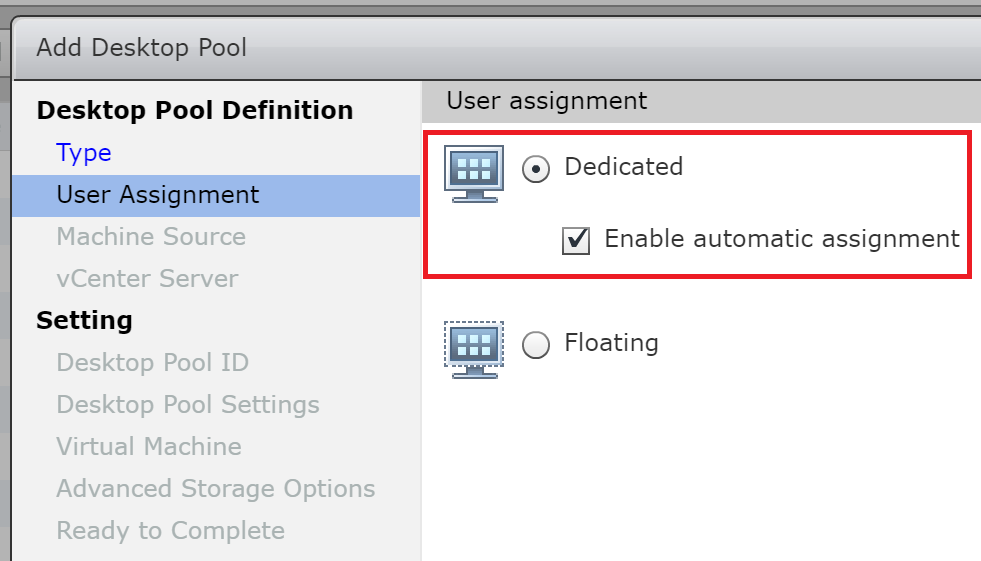
  5. Select Dedicated . Its up to you whether you select Enable Automatic Assignment. All it does is automatically assign a user to a free desktop, which will be a permanent assignment. Click Next.
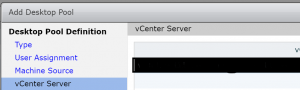
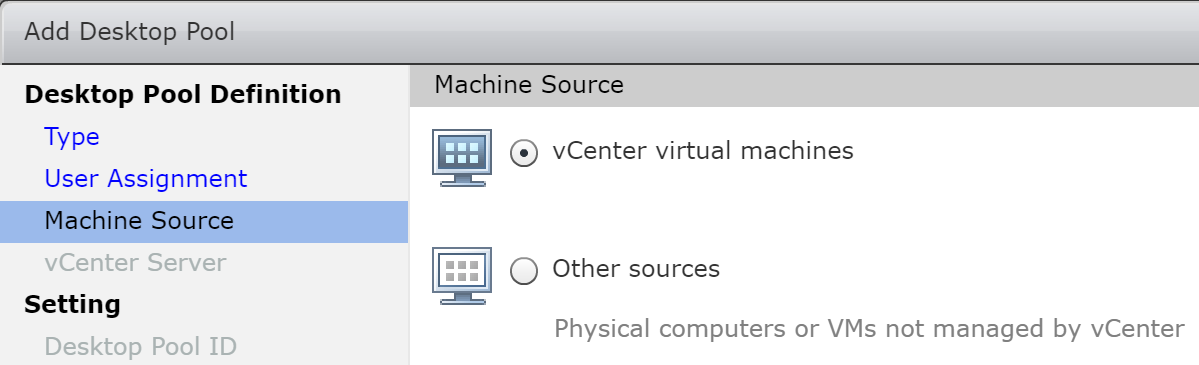
  6. Select vCenter virtual machines. Click Next.
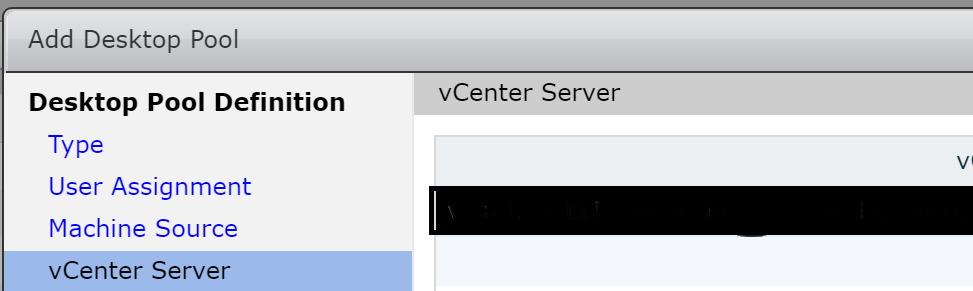
  7. Select your vCenter and clict Next.
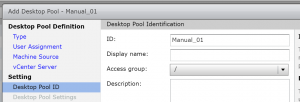
  8. Fill in a name for the ID and a Display name. While you can change the display name, teh ID name won’t change. 
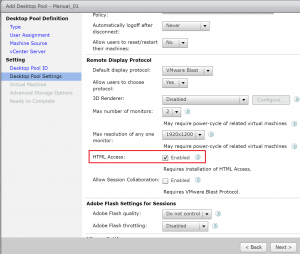
  9. In this page there a quite a lot of options you can configure, I’ll break them down in a later post but for now select HTML Access as this will allow us to connect to the desktop using a browser and click Next
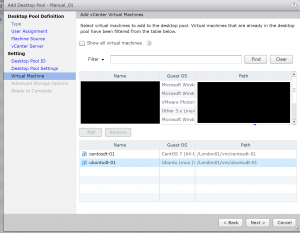
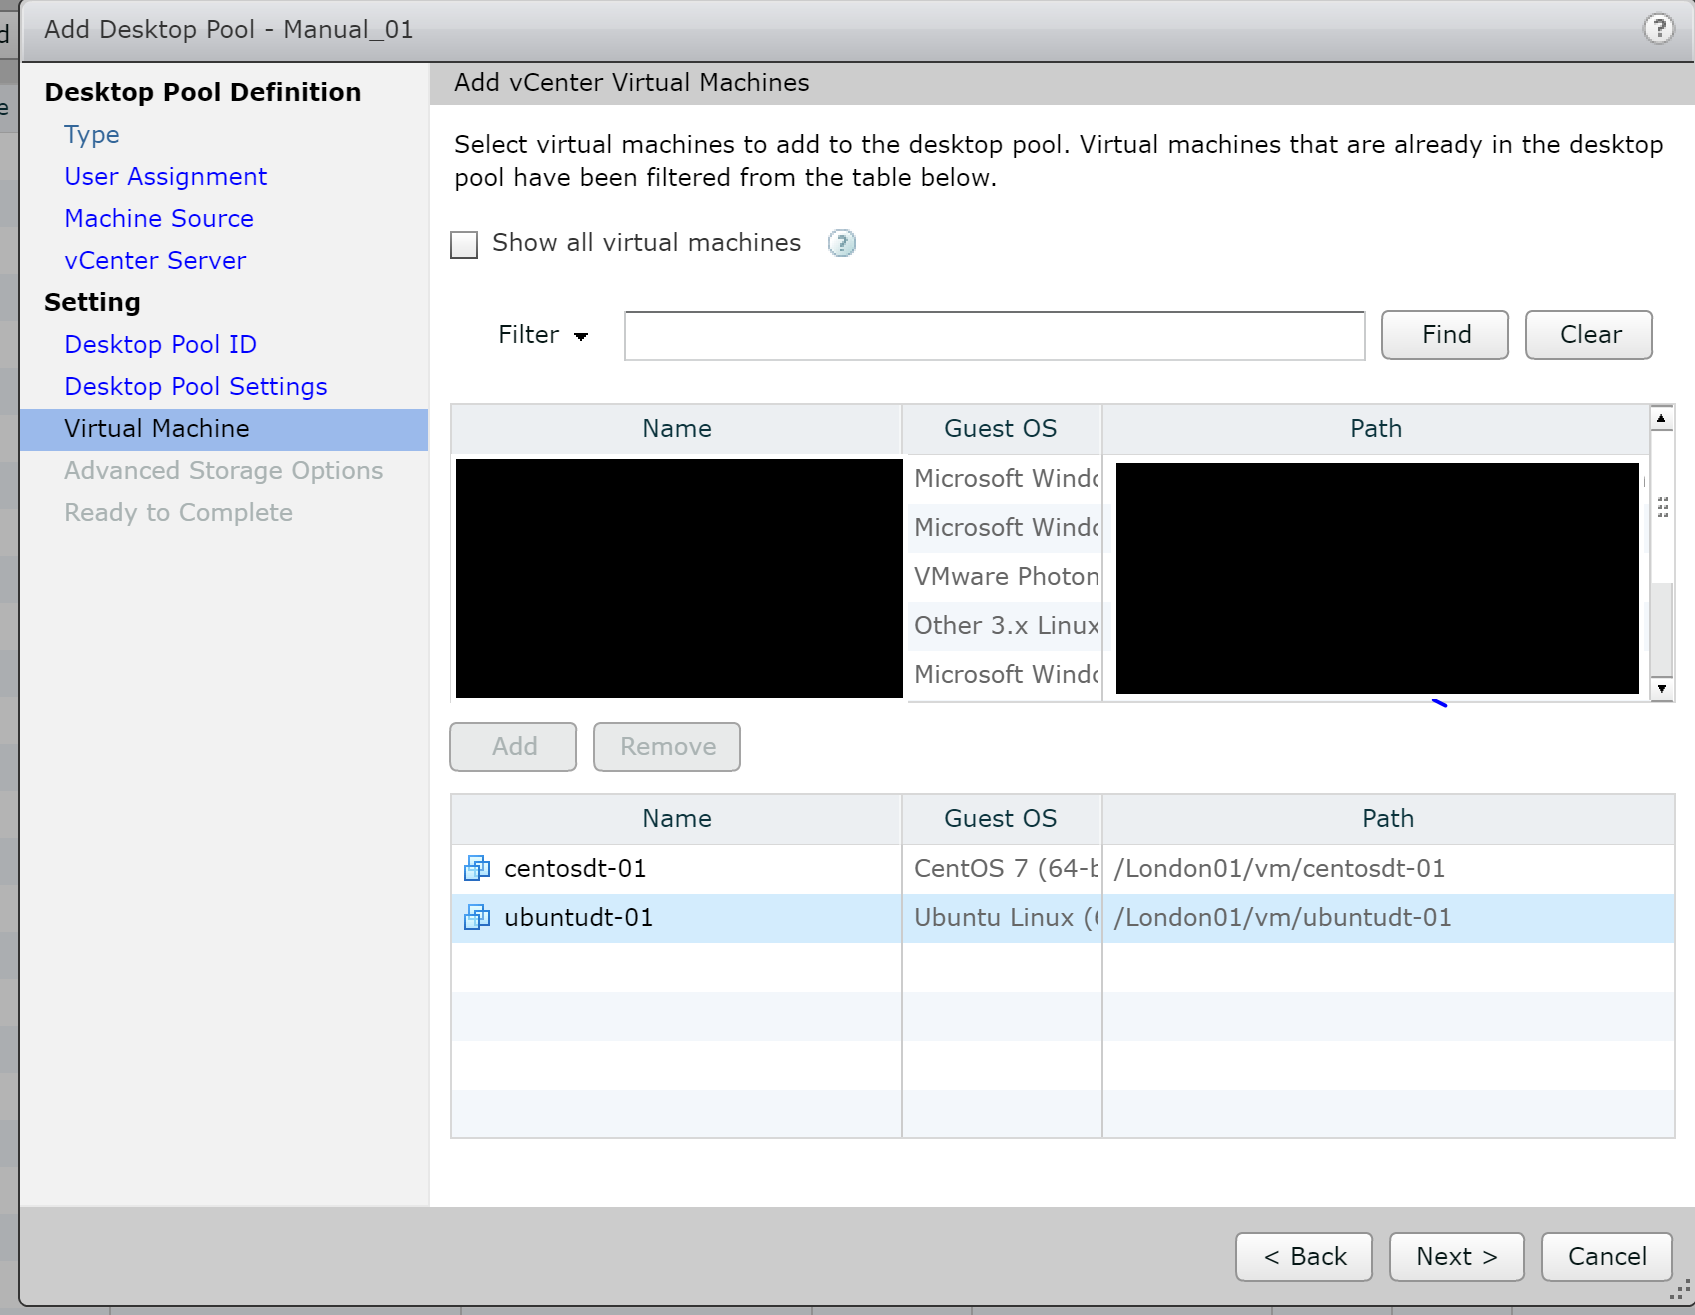
  10. Select the VM’s you’d like to add to the pool, click Add and click Next.
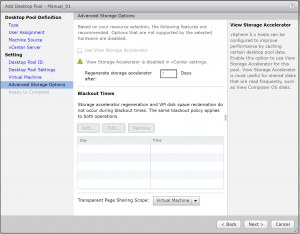
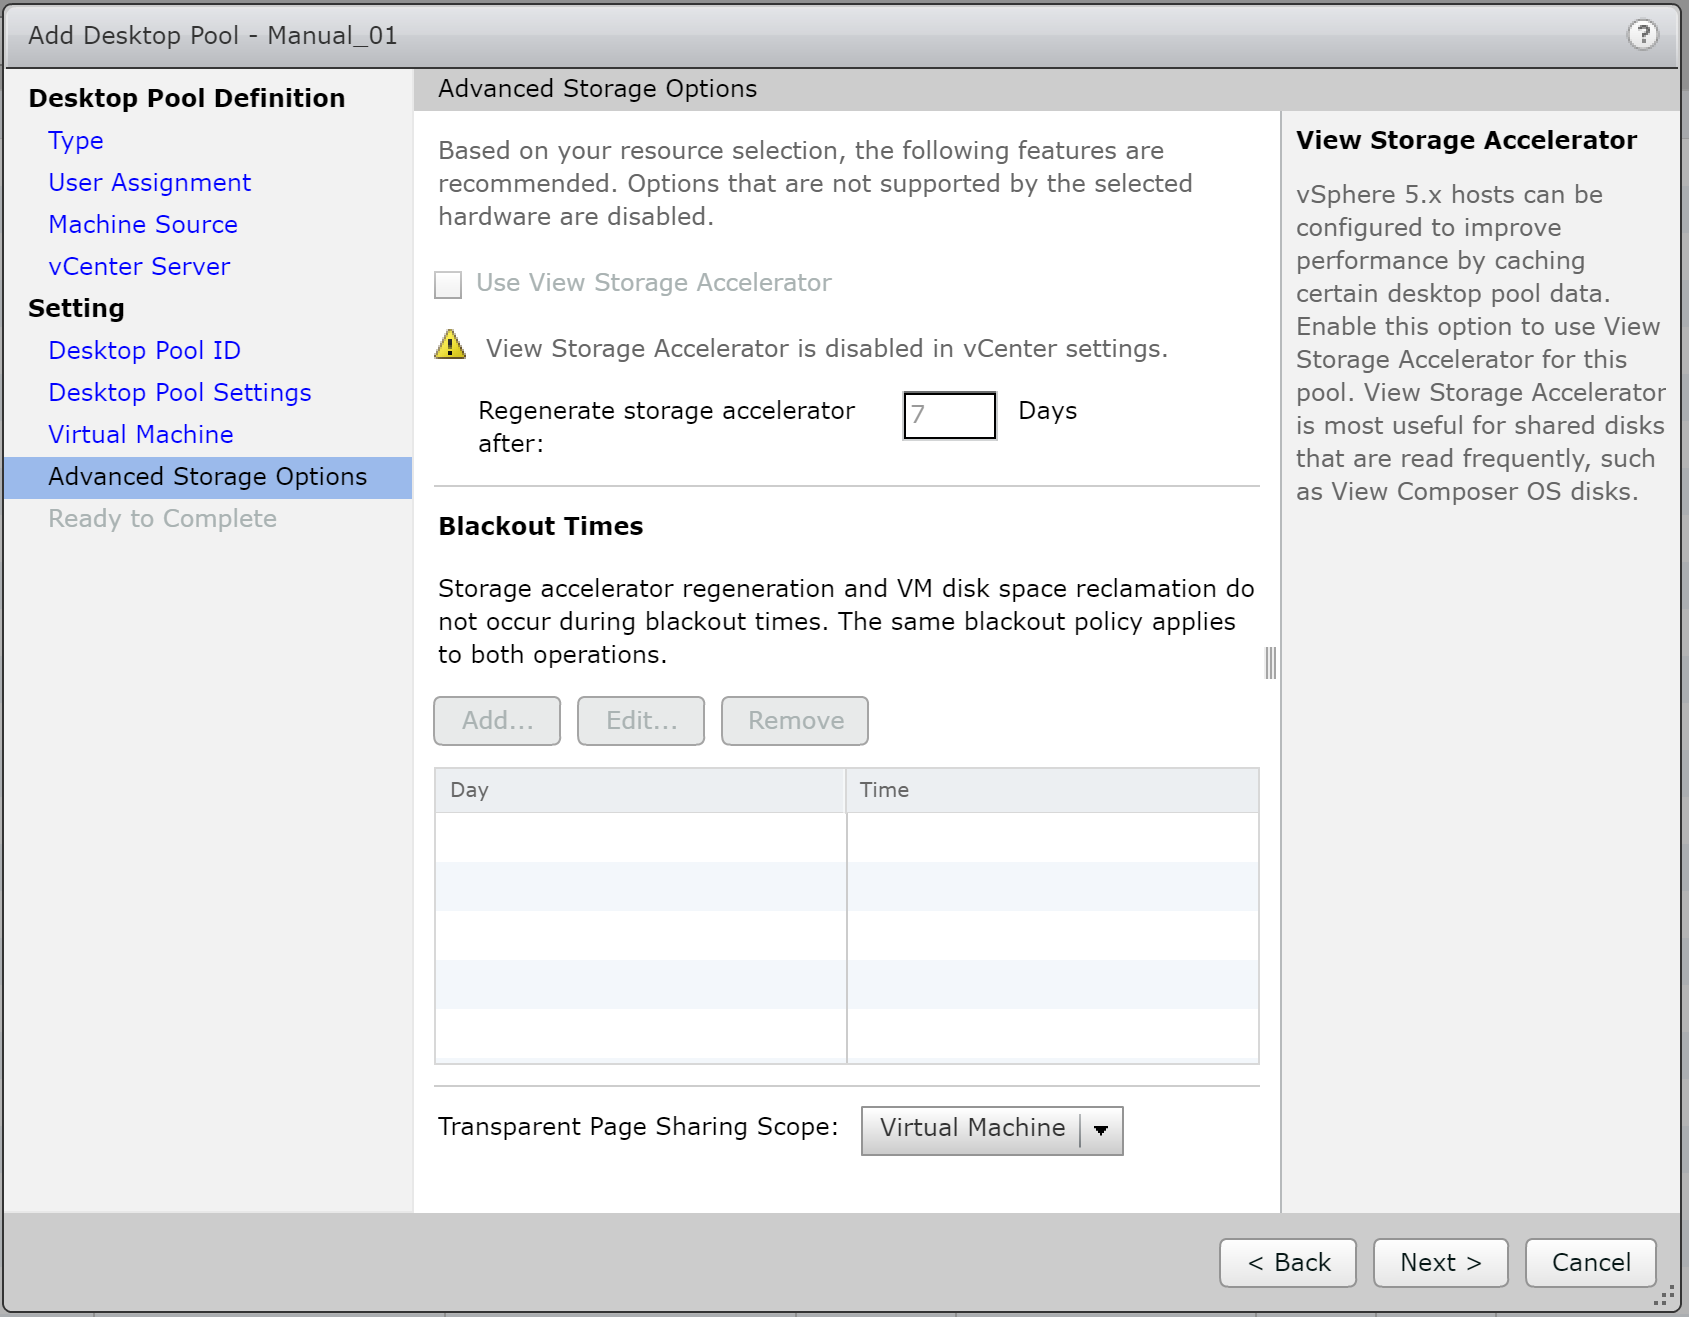
  11. Click Next
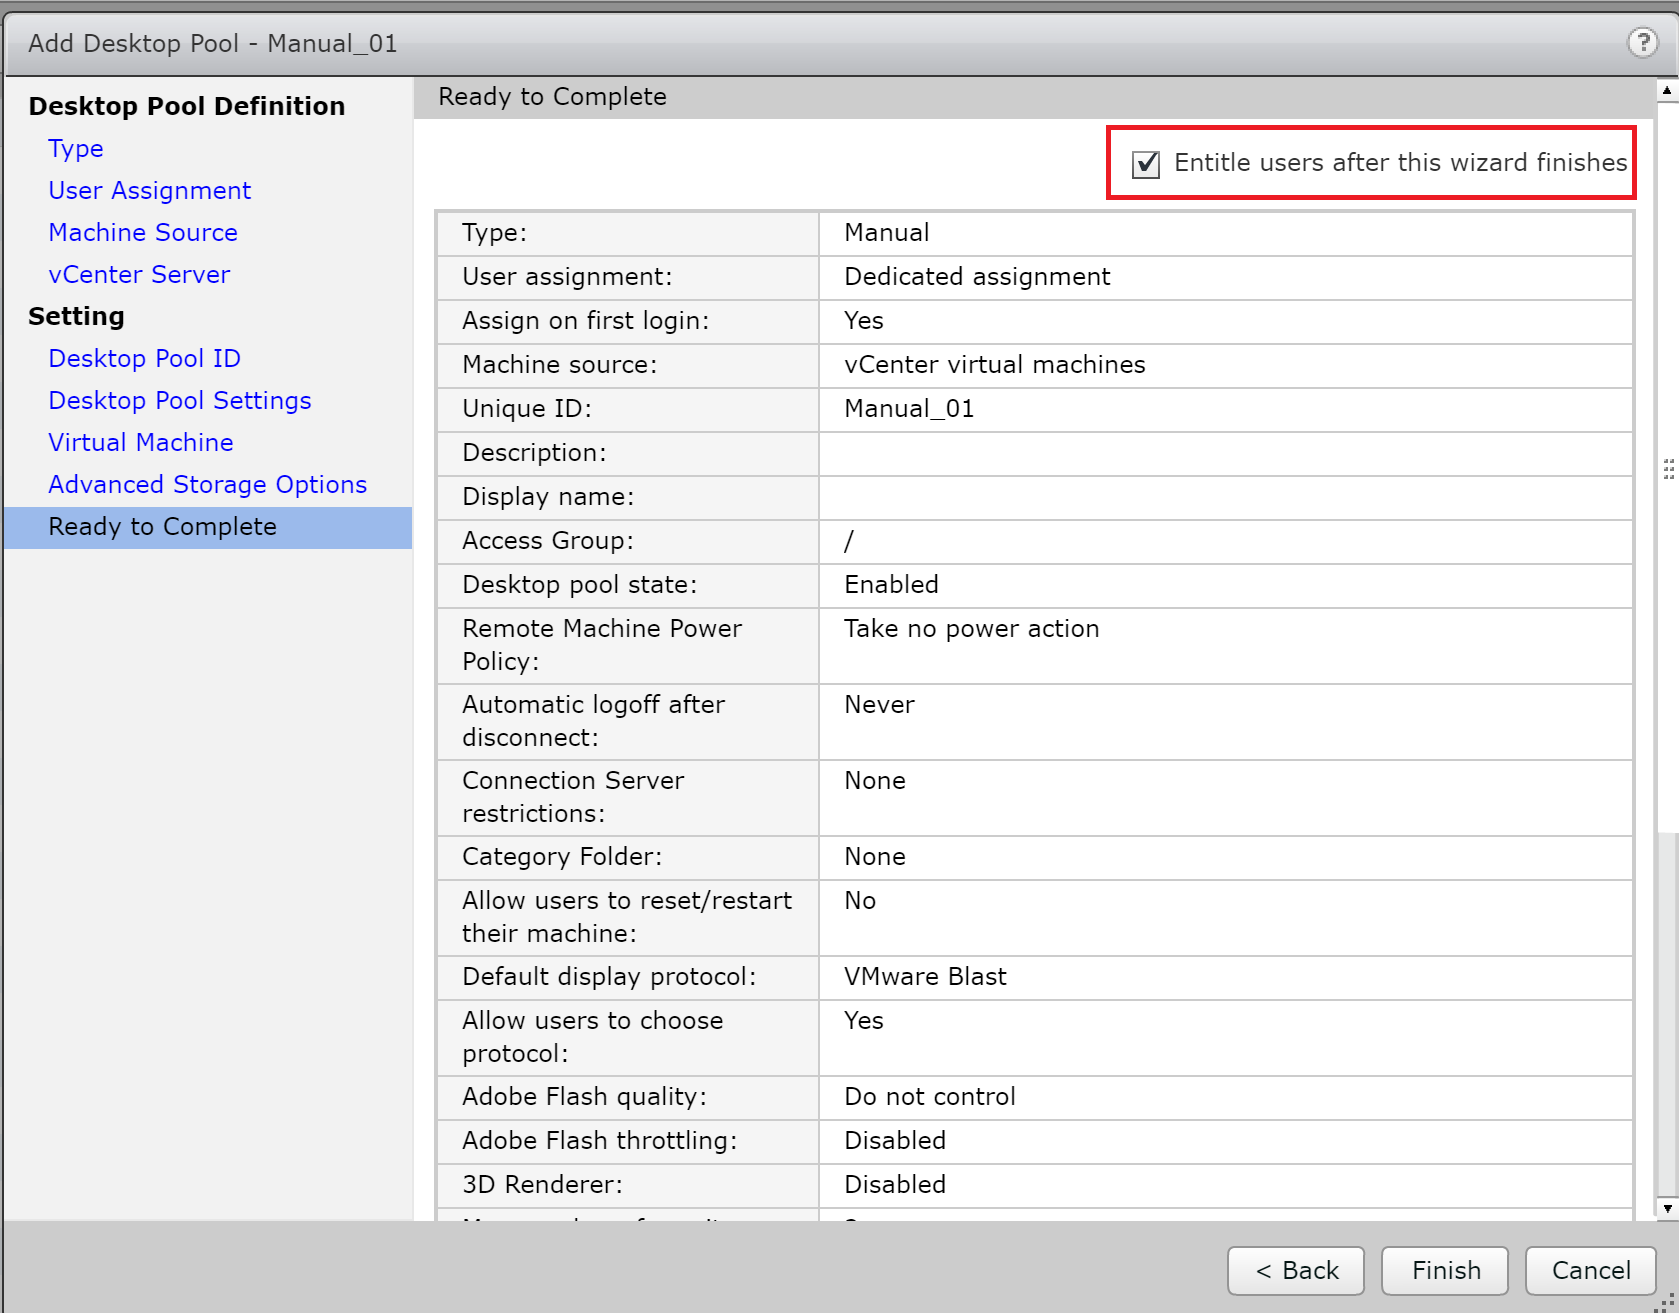
  12.  Select Entitle Users After this wizard Finishes to add users. `This will allow you to add users after the wizard finishes. Not necessary but a bit of a time saver. Click Finish.
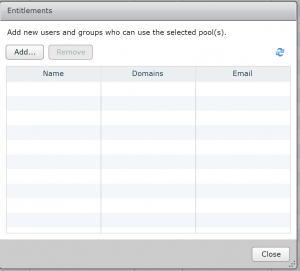
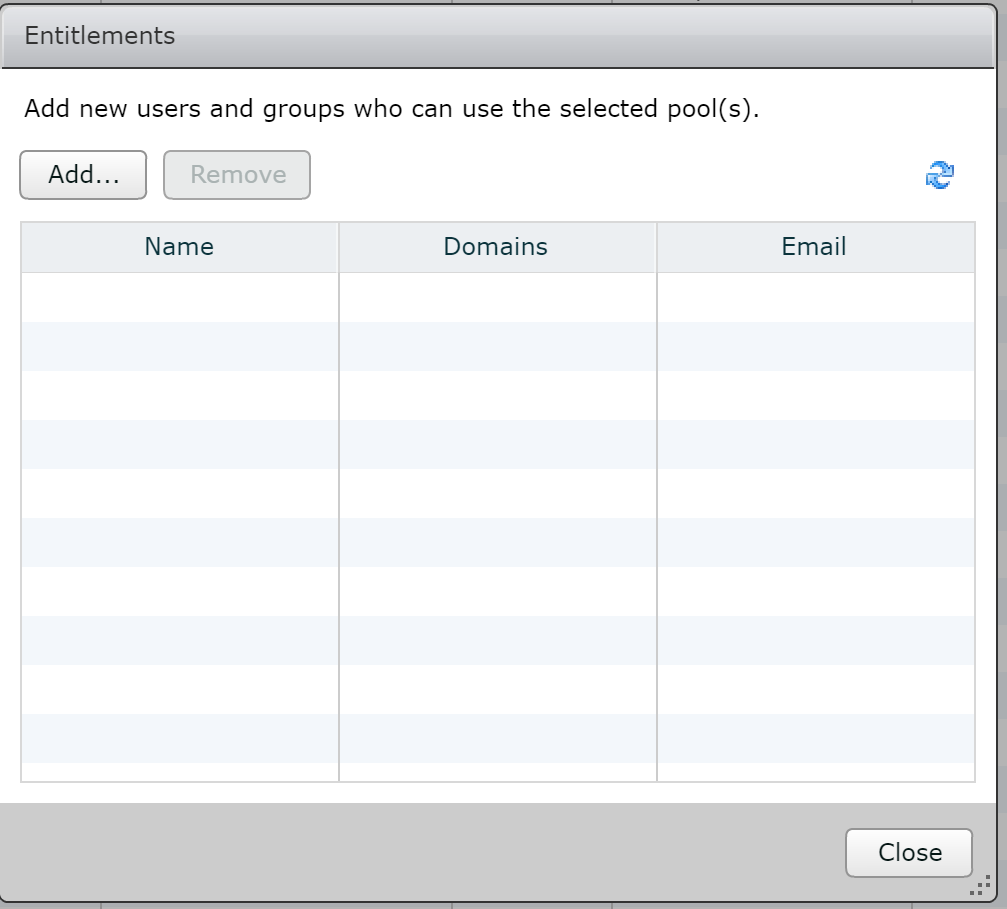
  13.  Once you’ve finished the New Pool wizard the entitlements wizard opens if you’ve selected it in the previous step. Click Add.
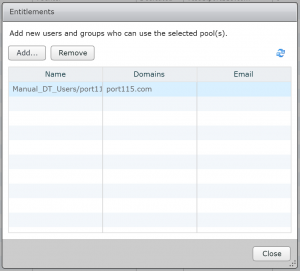
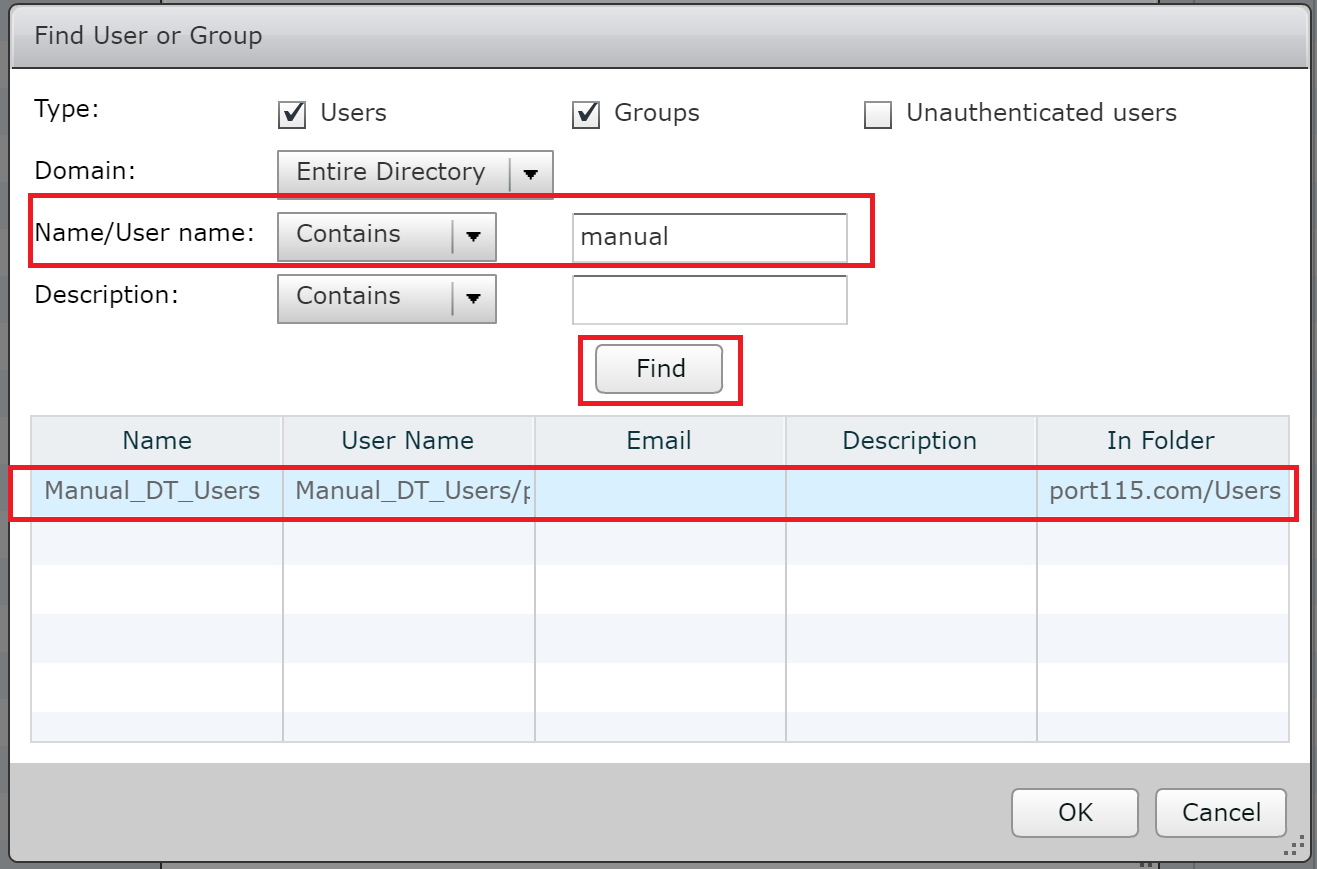
  14. In the Name/User name box type the name of the group or user you’d like to add and click find. Once it appears, select it and click OK. In production environments you’d usually add an AD group rather than an individual user. This allows for greater flexibility and monitoring.
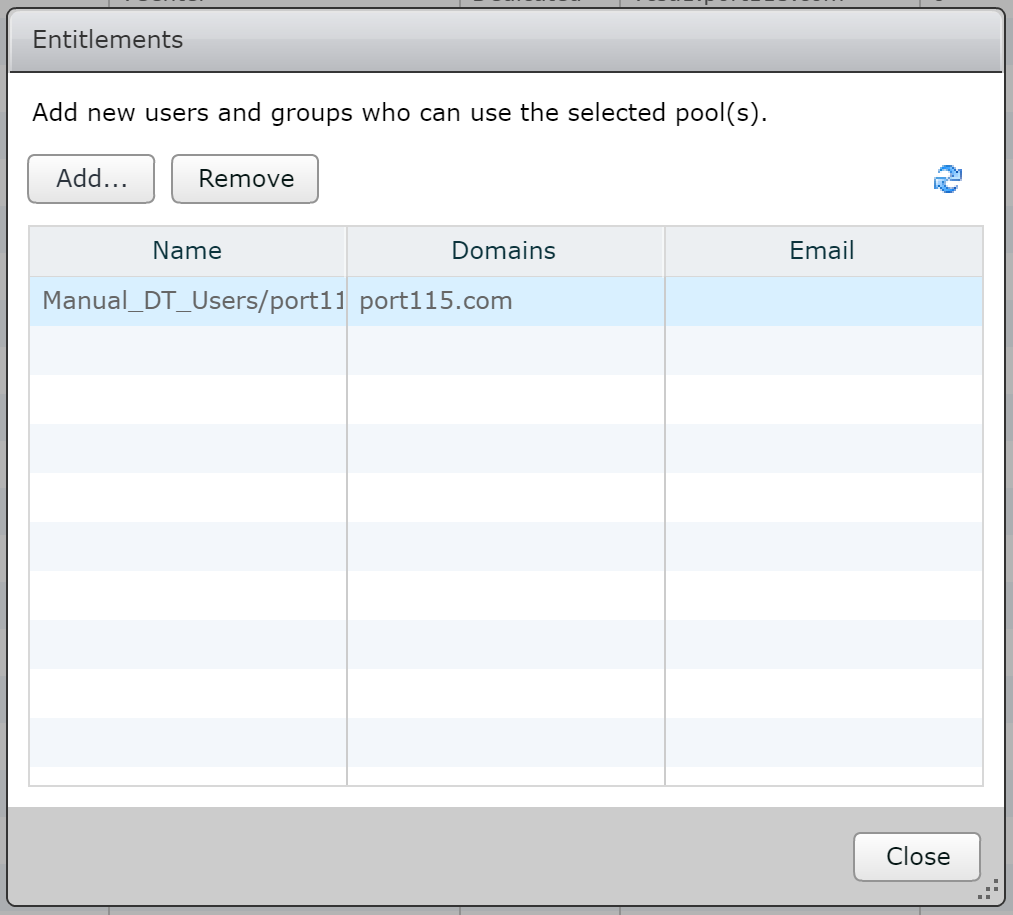
  15. To entitle other groups or users click add or if you are finished click close.

Testing our new pool.

  1. Log out of your Connection server and connect back to the server but this time without the /admin. just https://connection_server; Log back in as a regular user that is entitled to the Desktop pool
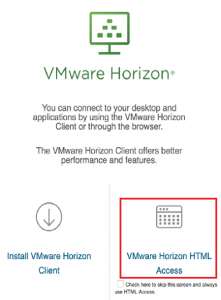
  2.  Click VMware Horizon HTML Access.
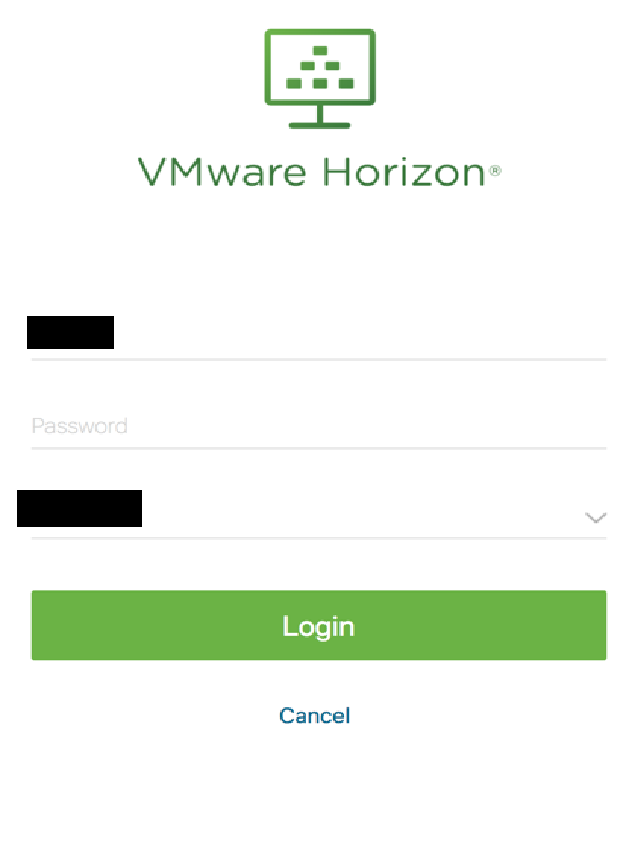
  3.  Enter in your username and password, and click Login. 
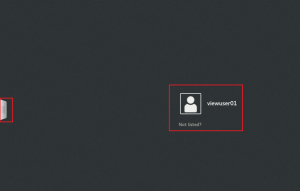
  4.  Select the pool you created earlier. In my case I called it Manual_01. 
  5.  If everything went according to plan you’ll now have access to your VM.  

Troubleshooting:

  • If you experience issues connecting via the web interface go back and have a look at step 9, did you tick the box to enable HTML access?
  • Can you connect using the full client?
  • Check the firewall on the Desktop OS. The agent on the desktop needs to speak to the connection server on port 4001.
  • Is the View agent installed?

We’ve created a very basic pool. Next few posts will look whats needed to create an automated Desktop pool using both Windows and Linux. We’ll also look at optimizing the Widows Desktop, including various design and storage considerations,  As well as discussing the various options available in the Desktop Pool wizard.

Horizon View – How to install the Linux Desktop agent.

In the previous post we looked at joining the Linux desktop to an Active Directory domain. While its not necessary for Linux desktop to be domain members I feel it should be done if a domain is available.

As before we’ll be focusing on two business ready distro’s; Centos 7.X (RHEL) and Ubuntu 18.04 (LTS). We’ll get the correct dependencies setup, and the agents installed.

To begin I have deployed CentOS 7, with a GUI (Gnome) and Ubuntu 18.04 LTS. VM’s. Both VM’s are fully patched and running the latest available official kernels as of 16/11/18. A local user has been created during install time called viewuser01. The VM’s are called centosdt-01 and ubuntudt-01 respectively. Static IP’s have been assigned. Ubuntu is running the GNOME desktop and CentOS is running KDE.

In addition I would recommend you go and take a look at this page System Requirements For Horizon 7 for Linux.

[EDIT 26/01/19]: Depending how your VM is installed you might get an error when trying to install the agent stating that the hostname is resolvable.  This is common if you are setting up a template to be referenced by an automated desktop pool and the hostname of the desktop pool isn’t in DNS. The fix is to add the hostname to the /etc/hosts file next to the entry 127.0.0.1.

Ubuntu:

Only certain desktop environments are supported in Ubuntu and unity is not one of them. VMware have written a kb detailing how to change the desktop in Ubuntu:  KB2151294.  Since I’m using 18.04 LTS its not an issue as the default desktop is Gnome.

  1. Open a terminal and run the following to update and install dependencies. Note that you’ll be asked to choose a display manager, choose lightdm:
  2.  sudo apt-get update
    sudo apt-get -y upgrade
    sudo apt-get -y install open-vm-tools python python-dbus python-gobject lightdm 
  3. Reboot (might not be strictly necessary but if there is a kernel update its a good idea)
  4. Download or copy across the VMware Linux agent. (Currently VMware-horizonagent-linux-x86_64-7.6.0-9857537.tar.gz)
  5. Open a terminal and locate the downloaded agent. Usually in /home/<user>/Downloads/
  6. Unpack the file.
  7.  tar zxvf VMware-horizonagent-linux-x86_64-7.6.0-9857537.tar.gz 
  8. Change into the unpacked directory
  9.  cd VMware-horizonagent-linux-x86_64-7.6.0-9857537 
  10. Run the installer, type y to accept the EULA
  11.  sudo sh ./install_viewagent.sh 
  12. Reboot your VM
  13.  sudo reboot 

Ubuntu is configured and ready to go.

CentOS:

It’s usually easier to get dependancies resolved in CentOS and CentOS is “aware” its running as a VM and will usually have the open VMtools installed.

  1. Open a terminal, switch to root and run the following to update and install dependencies, and fix the networking.
     yum -y update&amp;amp;amp;amp;lt;/li&amp;amp;amp;amp;gt;&amp;amp;amp;amp;lt;li&amp;amp;amp;amp;gt;&amp;amp;amp;amp;lt;pre&amp;amp;amp;amp;gt;yum -y install glibc
    virsh net-destroy default
    virsh net-undefine default
    service libvirtd restart
    
  2. Reboot (might not be strictly necessary but if there is a kernel update its a good idea),
  3. Download or copy across the VMware Linux agent. (Currently VMware-horizonagent-linux-x86_64-7.6.0-9857537.tar.gz)
  4. Open a terminal and locate the downloaded agent. Usually in /home/<user>/Downloads/.
  5. Unpack the file.
     tar zxvf VMware-horizonagent-linux-x86_64-7.6.0-9857537.tar.gz 
  6. Change into the unpacked directory
     cd VMware-horizonagent-linux-x86_64-7.6.0-9857537 
  7. Run the installer, type y to accept the EULA
     sh ./install_viewagent.sh 
  8. Add a Firewall rule so that the agent can talk to the Connection server
     firewall-cmd --add-port=4001/tcp --permanent
  9. Reboot your VM
  10. reboot 

CentOS is configured and ready to go.

Linux Desktop – How to Join an Active Directory Domain (general)

Not just for horizon view but since this is part of a series….

Getting Linux desktops to join an active directory domain is now fairly simple, it used to be quite painful and often a bit hit and miss.

Prep work

  • I’ve create a top level OU called Horizon and a nested OU called Virtual_Desktops.
  • A service account has been created called domainjoin, that has the following permissions to the relevant OU
    • Read All Properties
    • Write All Properties
    • Read Permissions
    • Reset Password
    • Create Computer Objects
    • Delete Computer Objects

Here’s the procedure for Centos (RedHat too) and Ubuntu.

Ubuntu 18.04 LTS

  1. Open a terminal and run the following to get the required dependencies. Note that during the krb5-user install your be asked for the domain name. Fill it in in CAPITAL letters.
  2. sudo apt-get update sudo apt-get upgrade sudo apt-get install realmd sssd sssd-tools oddjob oddjob-mkhomedir adcli samba-common krb5-user
  3. Run the pam-auth-update command and select Create Home Directory on Login
  4. The next set of commands creates a computer account in the following Virtual_Desktops OU, nested under Horizon and joins the desktop to the domain.
  5. sudo echo [domainjoin_password] |sudo realm join --computer-ou="ou=Virtual_Desktops,ou=Horizon,dc=port115,dc=com" --user=domainjoin port115.com
  6. Since there is no confirmation you’ve joined the domain correctly run the following command realm list. You’ll get an output stating things like the domain name. If the desktop didn’t join successfully, there’ll be no output.
  7. You should now be able to login using DOMAIN\user

CentOS 7.X

  1. Open a terminal and run the following as root to get the required dependencies. Note that during the krb5-user install your be asked for the domain name. Fill it in in CAPITAL letters.
  2. yum -y update yum -y install realmd sssd oddjob oddjob-mkhomedir adcli samba-common samba-common-tools ntpdate ntp libvirt-client virsh net-destroy default # This might not be nessesary, depending on your base install virsh net-undefine default # This might not be nessesary, depending on your base install service libvirtd restart # This might not be nessesary, depending on your base install systemctl enable ntpd.service ntpdate 0.uk.pool.ntp.org systemctl start ntpd.service 
  3. The next set of commands creates a computer account in the following Virtual_Desktops OU, nested under Horizon and joins the desktop to the domain.
  4.  echo [domainjoin_password] | realm join --computer-ou="ou=Virtual_Desktops,ou=Horizon,dc=port115,dc=com" --user=domainjoin port115.com exit
  5. Since there is no confirmation you’ve joined the domain correctly run the following command realm list. You’ll get an output stating things like the domain name. If the desktop didn’t join successfully, there’ll be no output.
  6. You should now be able to login using DOMAIN\user

VCP-DTM 2018 Exam and My Studies 2V0-51.18

One of the reasons I’ve been a bit lax posing new content is that I’ve busy spending my free time (what little of it there is) studying for the VCP-DTM exam, the 2V0-51.18 to be exact. VCP-DTM is the certification. I’ve been involved in a View deployment at work and  since I’ve been working with the tech a fair bit over the last few months I though “why not?”.

There are three exams currently offered for Horizon View:

  • 2VO 51.18 – VCP-DTM 2018
  • 2V0-751 – VCP7-DTM
  • 2V0-651 – VCP6-DTM

The 2VO 51.18 is the latest and fits into VMware’s new Certification naming. There is a bit of a write up about it here.

The main notable difference between the 751 and 51.18 exams is that the requirement for Mirage is missing from the latter and the exam preparation guide clearly states that it is focused on Horizon View 7.5 and related products. So get the preparation guide and use that as your base to get going.

Studying – The Lab:

So first and foremost was my trusty lab. I am fortunate enough to have a fairly beefy workstation with 64GB RAM, running ESXi. This allowed me to run quite a few infrastructure VM’s and 4 or 5 desktops. While a machine of this spec isn’t strictly necessary, you will need a lab of some kind.

When you start looking at whats needed it can look like a lot of infra is needed but it doesn’t all need to be running at the same time. You can get away with only one running desktop as you test the different deployment types. The Composer server is more than happy to run on the same VM as the SQL Express install and once the VCSA is deployed you can shave off some of the RAM. vROPS, Identity Manager, App Volumes and User Manager don’t need to be up and running all the time or even together. If this is internal, turn off the UAG as soon as you’re done with it.

Much of this can be run in VMware workstation but you will need an ESXi server at some stage to deploy desktops onto.

Study – The Hands on Labs.

This resource from VMware is amazing. Its also free. Some of the Horizon Requirements I wasn’t familiar with at all, so this helped. I went in and did a search for Horizon 7.1 and did them inline with the Official Study guide. “HOL-1951-01-VWS – VMware Workspace ONE – Getting Started” isn’t strictly needed (but still worth doing) but I would strongly recommend the first two modules of “HOL-1951-03-VWS – VMware Workspace ONE – Advanced Topics” as it covers “Identity Manager”.

Studying – The Videos:

The most popular videos are the ones Greg Shields has created on Plural sight called VMware Horizon 7 Desktop and Mobility (VCP7-DTM). These are well presented and you can follow along in your Lab and have been collected into a learning path.

There are also a bunch on the official VMware YouTube channel which are worth watching.

While attending a class is a great experience, I do often prefer video study. I can work at my own pace, jump back and forwards as it suits me.

Studying – Reading Material:

To be honest I didn’t find any really up-to-date books on 7.5, which was a bit disappointing.

It was mostly going through the official material and blogs. The release notes and Architecture Planning Docs I found good, and I bounced quite a lot from these into the other official documentation

This blog post on the network ports is quite interesting too.

A very notable blog (much better than is one) is by Carl Stalhood over at www.carlstalhood.com. Its really well formatted and kept current.

The Exam Experience:

The exam itself is 59 questions over 105 minutes. Its not easy, I give it that.

I arrived just in time and after the usual round of stuffing my stuff into lockers, form signing, photos, and checking of pockets, was rushed through into the exam room. 59 questions later (several of those flagged) and I got the popup stating that I’d passed. I don’t particularly enjoy sitting for tests but I really enjoy that moment.

Exam tips:

Arrive about 15 minutes early and bring photo ID. First and foremost, nobody is out to trick you, but you are being tested to a high standard. Always make sure you read the questions carefully and in full. The questions are usually always clear and concise, and even if you don’t know the answer you can sometimes work out what what answer is not. It’s easy to get rattled during any kind of test, if you are not sure of your answer mark it for review and come back to it once you’ve gotten to the end.

If you decide to go for this exam, good luck!