Got the install done and now on to the setup. We’re going to look at doing 4 bits of config and 1 check:
- Check the certificate is recognised.
- Licensing your install
- Connecting to a vSphere server.
- Configuring the events Database
- Adding a syslog server.
Before you begin any of the below login to your Connection server https://<full_server_name>/
Licensing your install
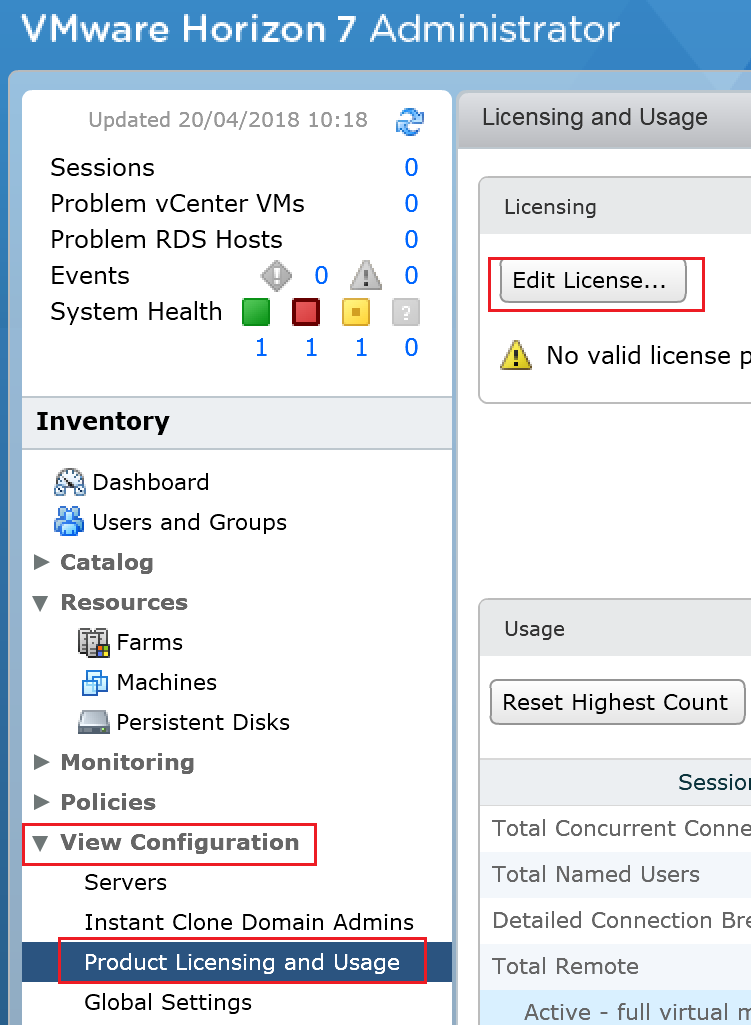
- On the right hand panel labelled Inventory.
- Expand View Configuration.
- Select Product Licensing and Usage
- Click Edit License…
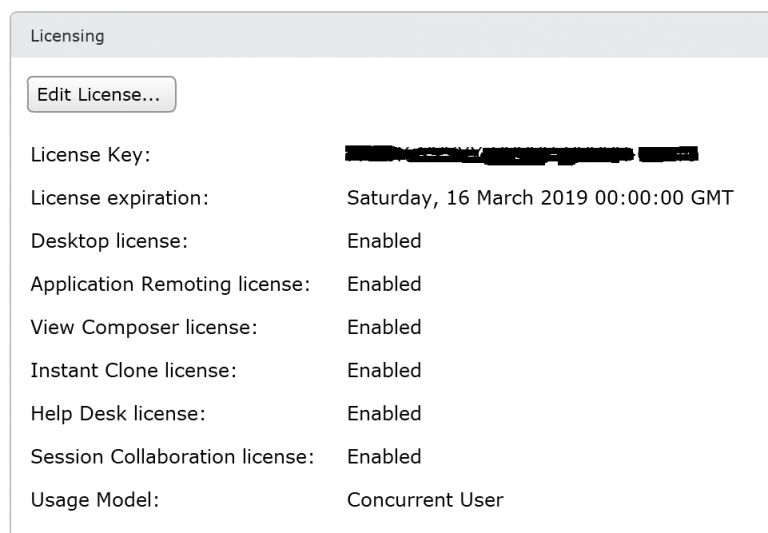
- Enter in your serial number and click OK.

- Your license info should now be shown.


Configuring the events DB
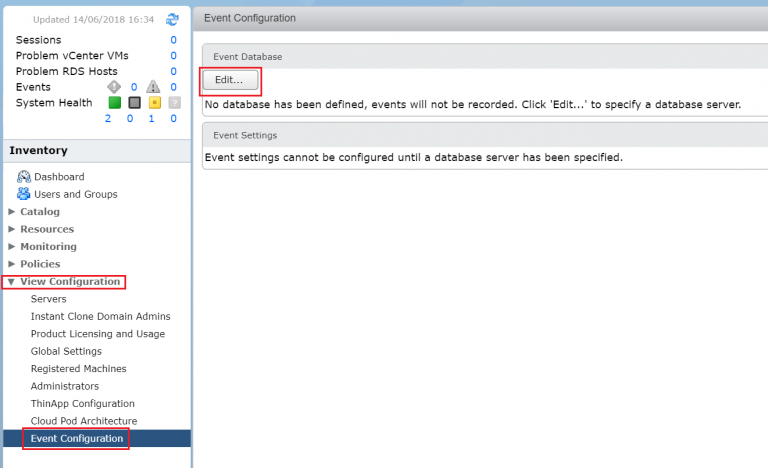
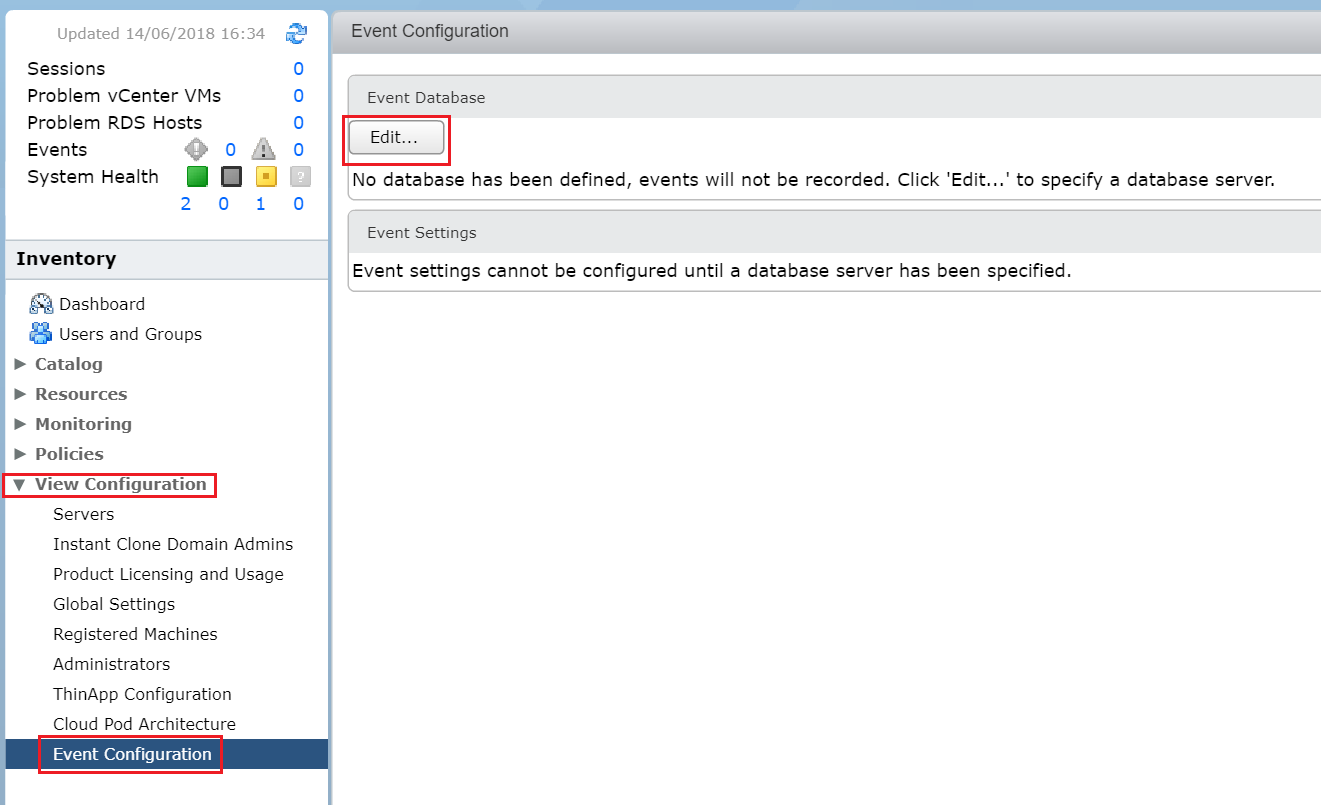
- On the right hand panel labelled Inventory.
- Expand View Configuration.
- Select Event Configuration
- Click Edit…
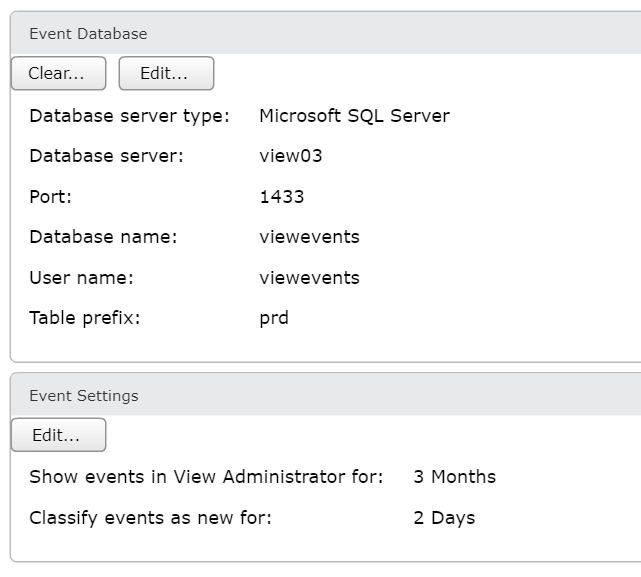
- To see how to create the events database here is a previous post where we looked at creating the events database using SQL Express. Fill in the details that you used to create the database.
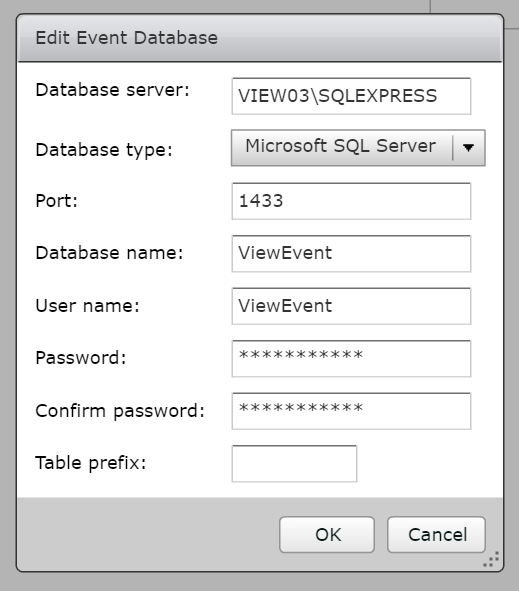
- If the connection is successful you’ll see the following:
Connecting to the vCentre Server Server
- On the right hand panel labelled Inventory.
- Expand View Configuration.
- Select Servers.
- Click Add…

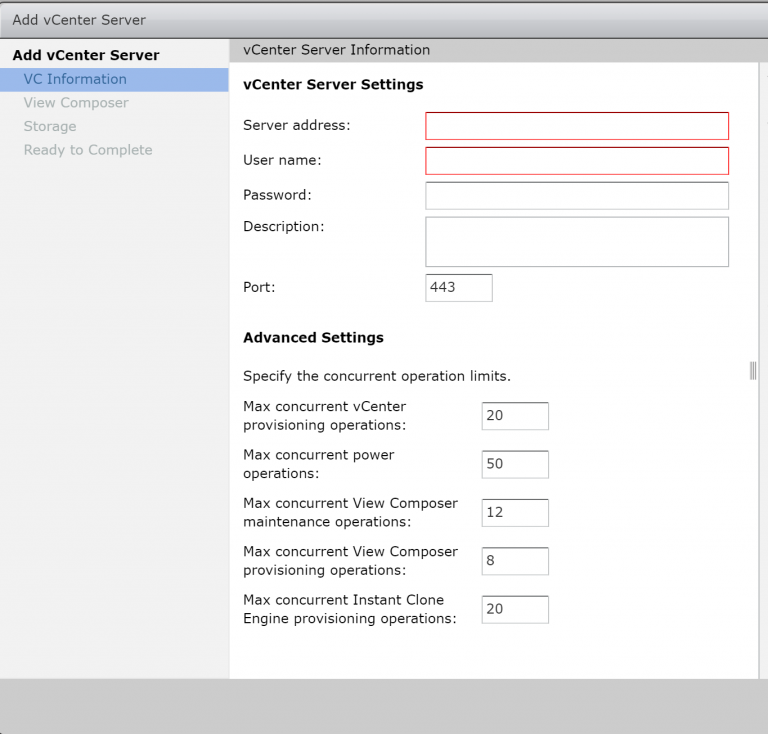
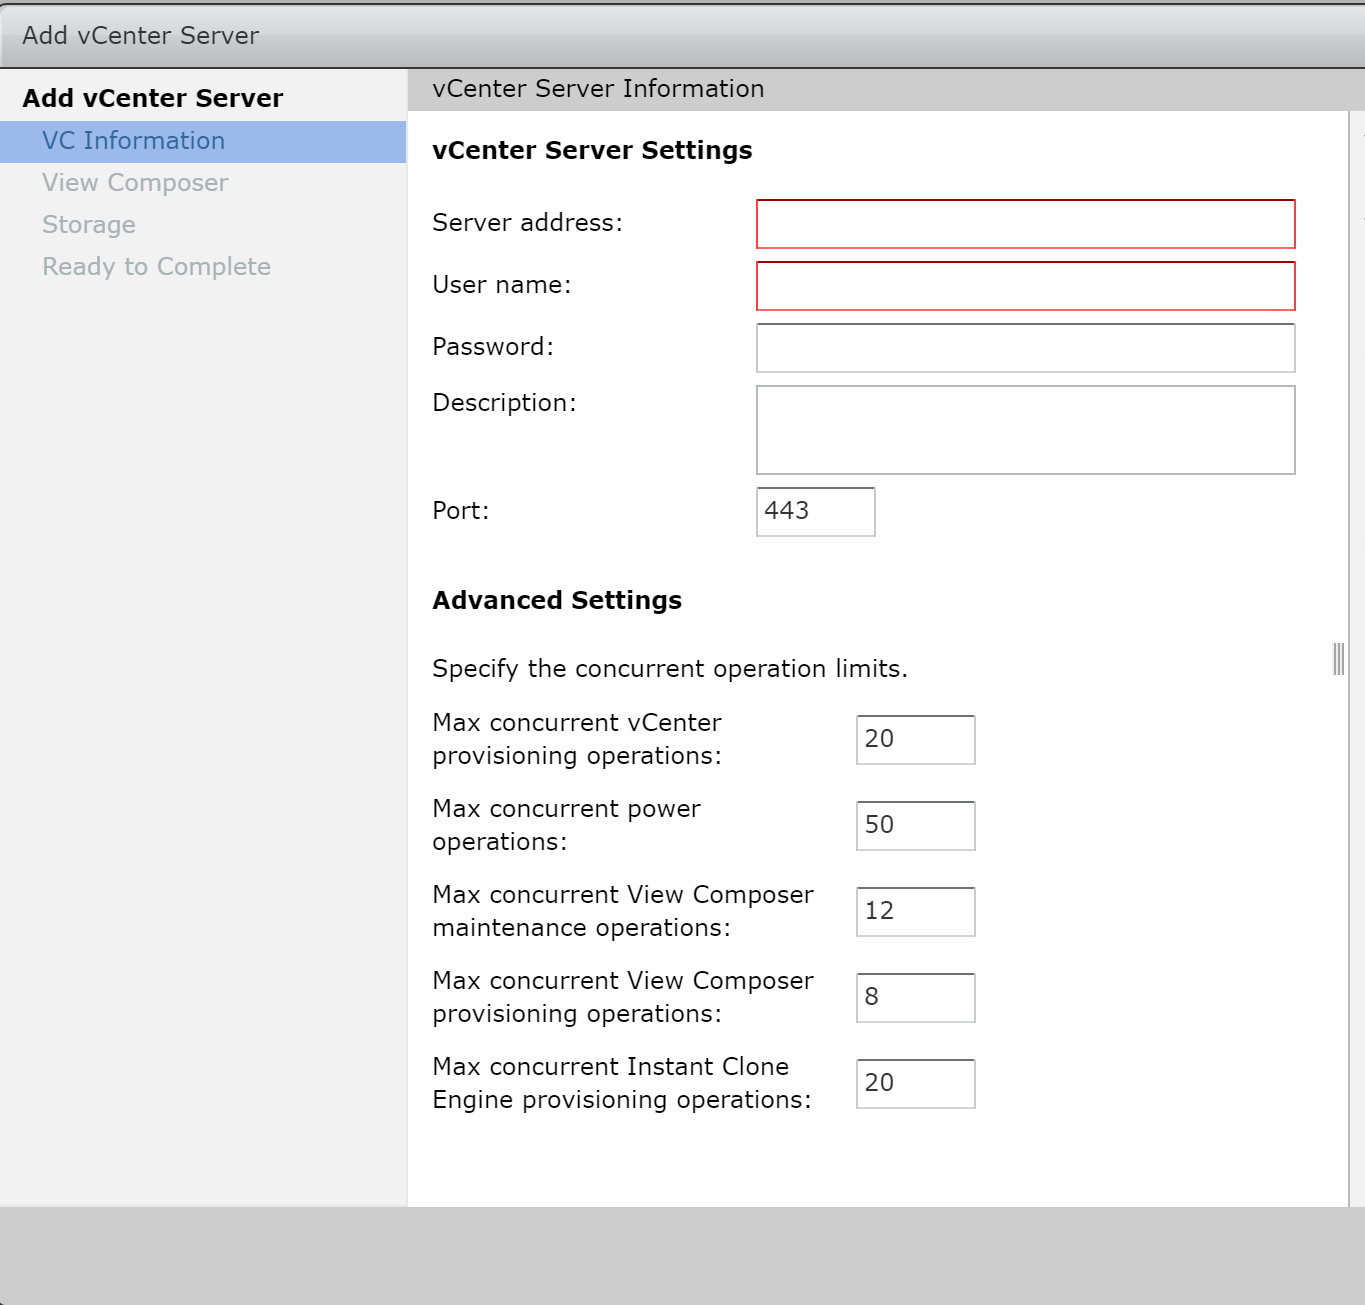
- Enter in the details of the VCSA and a user that has the correct privileges. For most medium sized deployments the default Advenced Settings will be fine. Generally speaking you need to determine how much connection traffic your environment will receive and how the storage will cope.
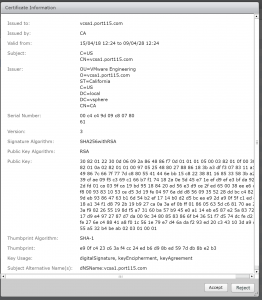
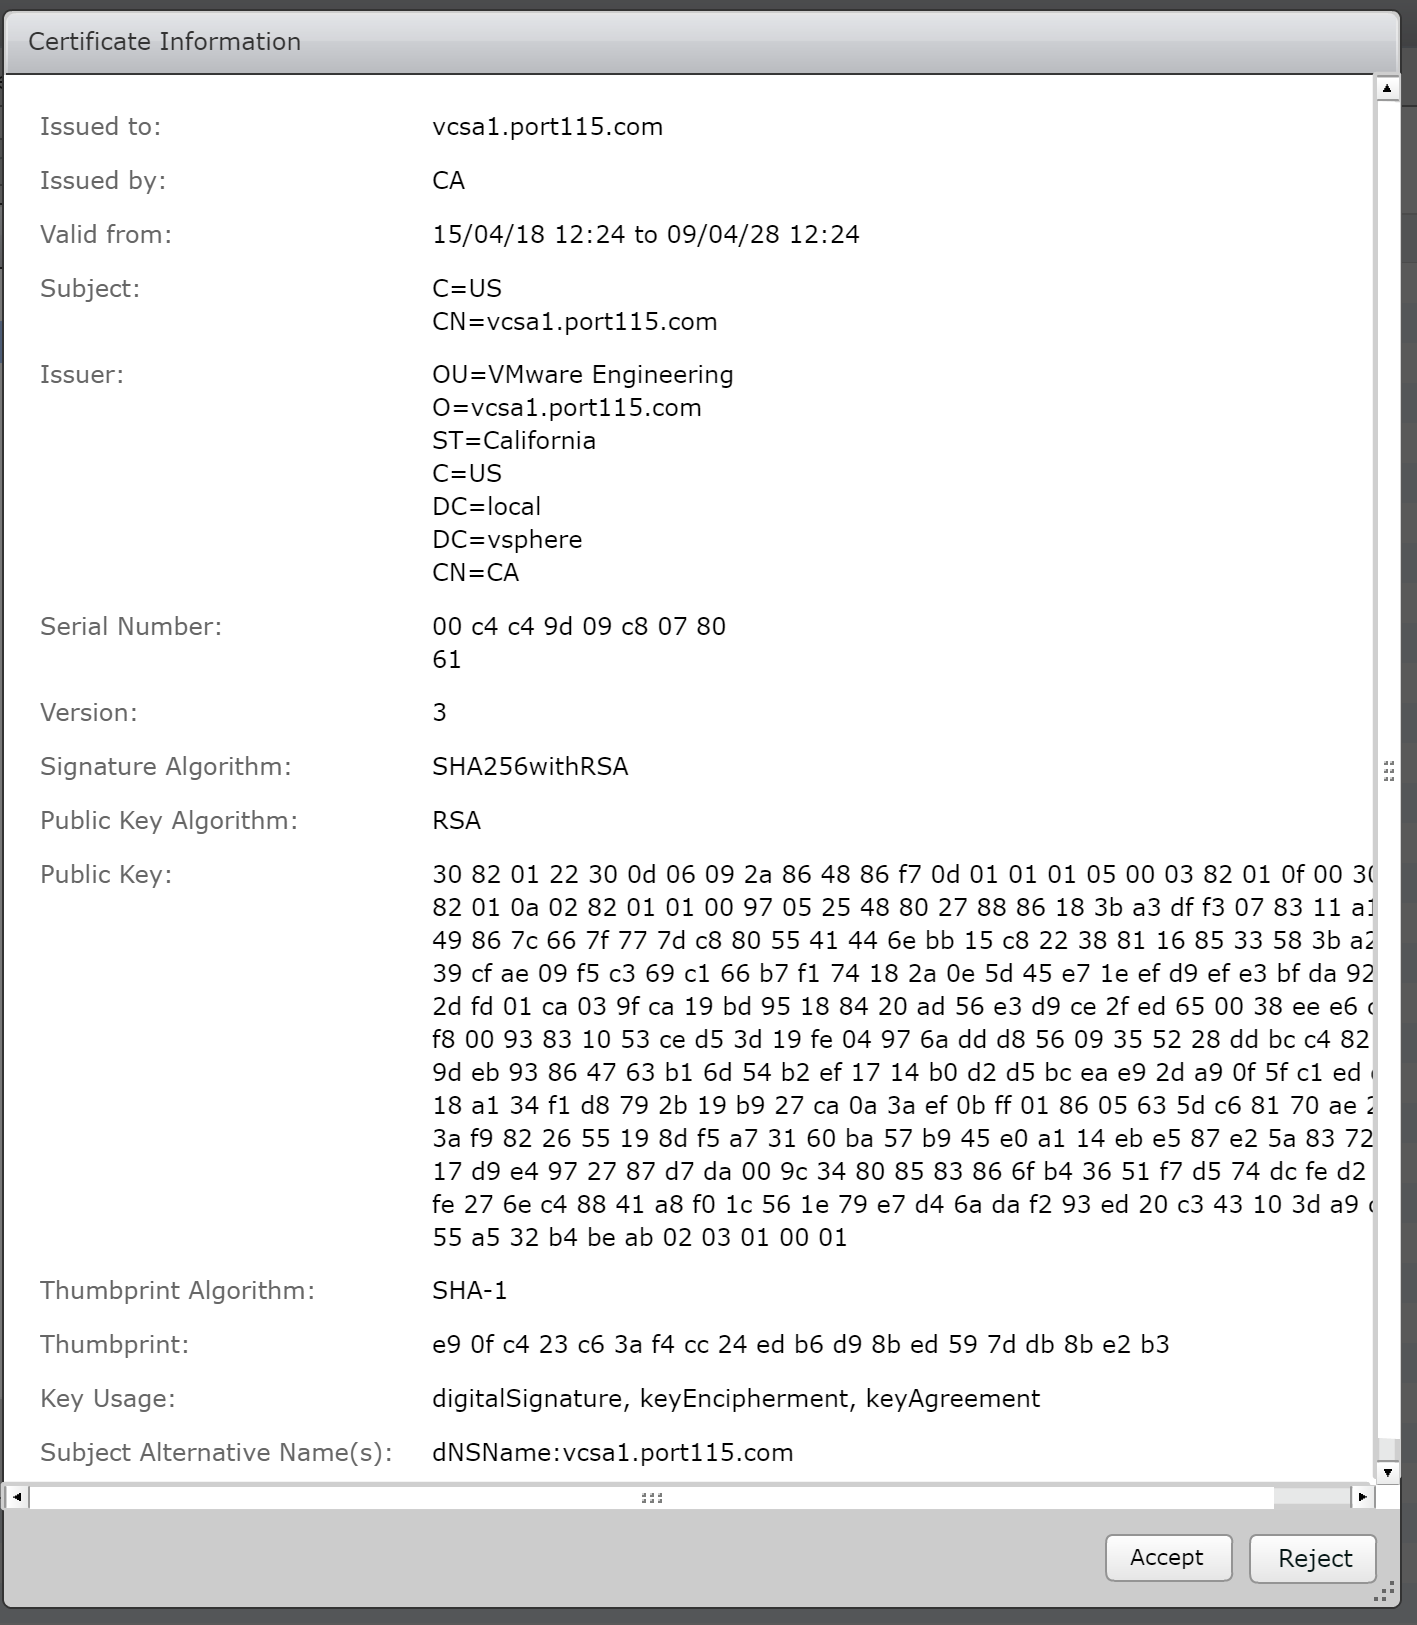
- This warning will pop up if you are using the default certificates generated by the VCSA. Click View Certificate…
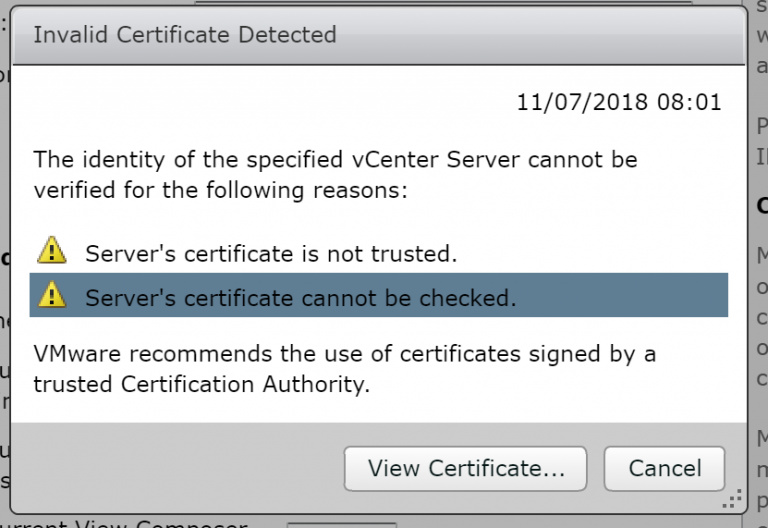
- Click Accept…
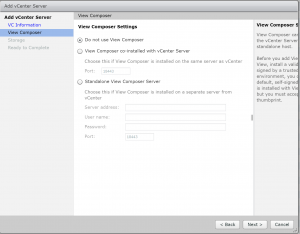
- Select Do not use View Composer (we’ll do this later) and click Next.
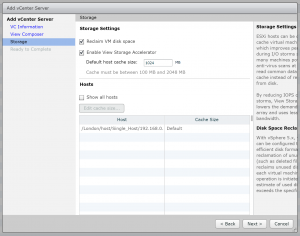
- Select Reclaim VM disk space and Enable View Storage Accelerator and click Next. Changing the Default host cache size can help with storage acceleration but will take the memory away from the host that it dedicates to VM’s and use it for storage caching.
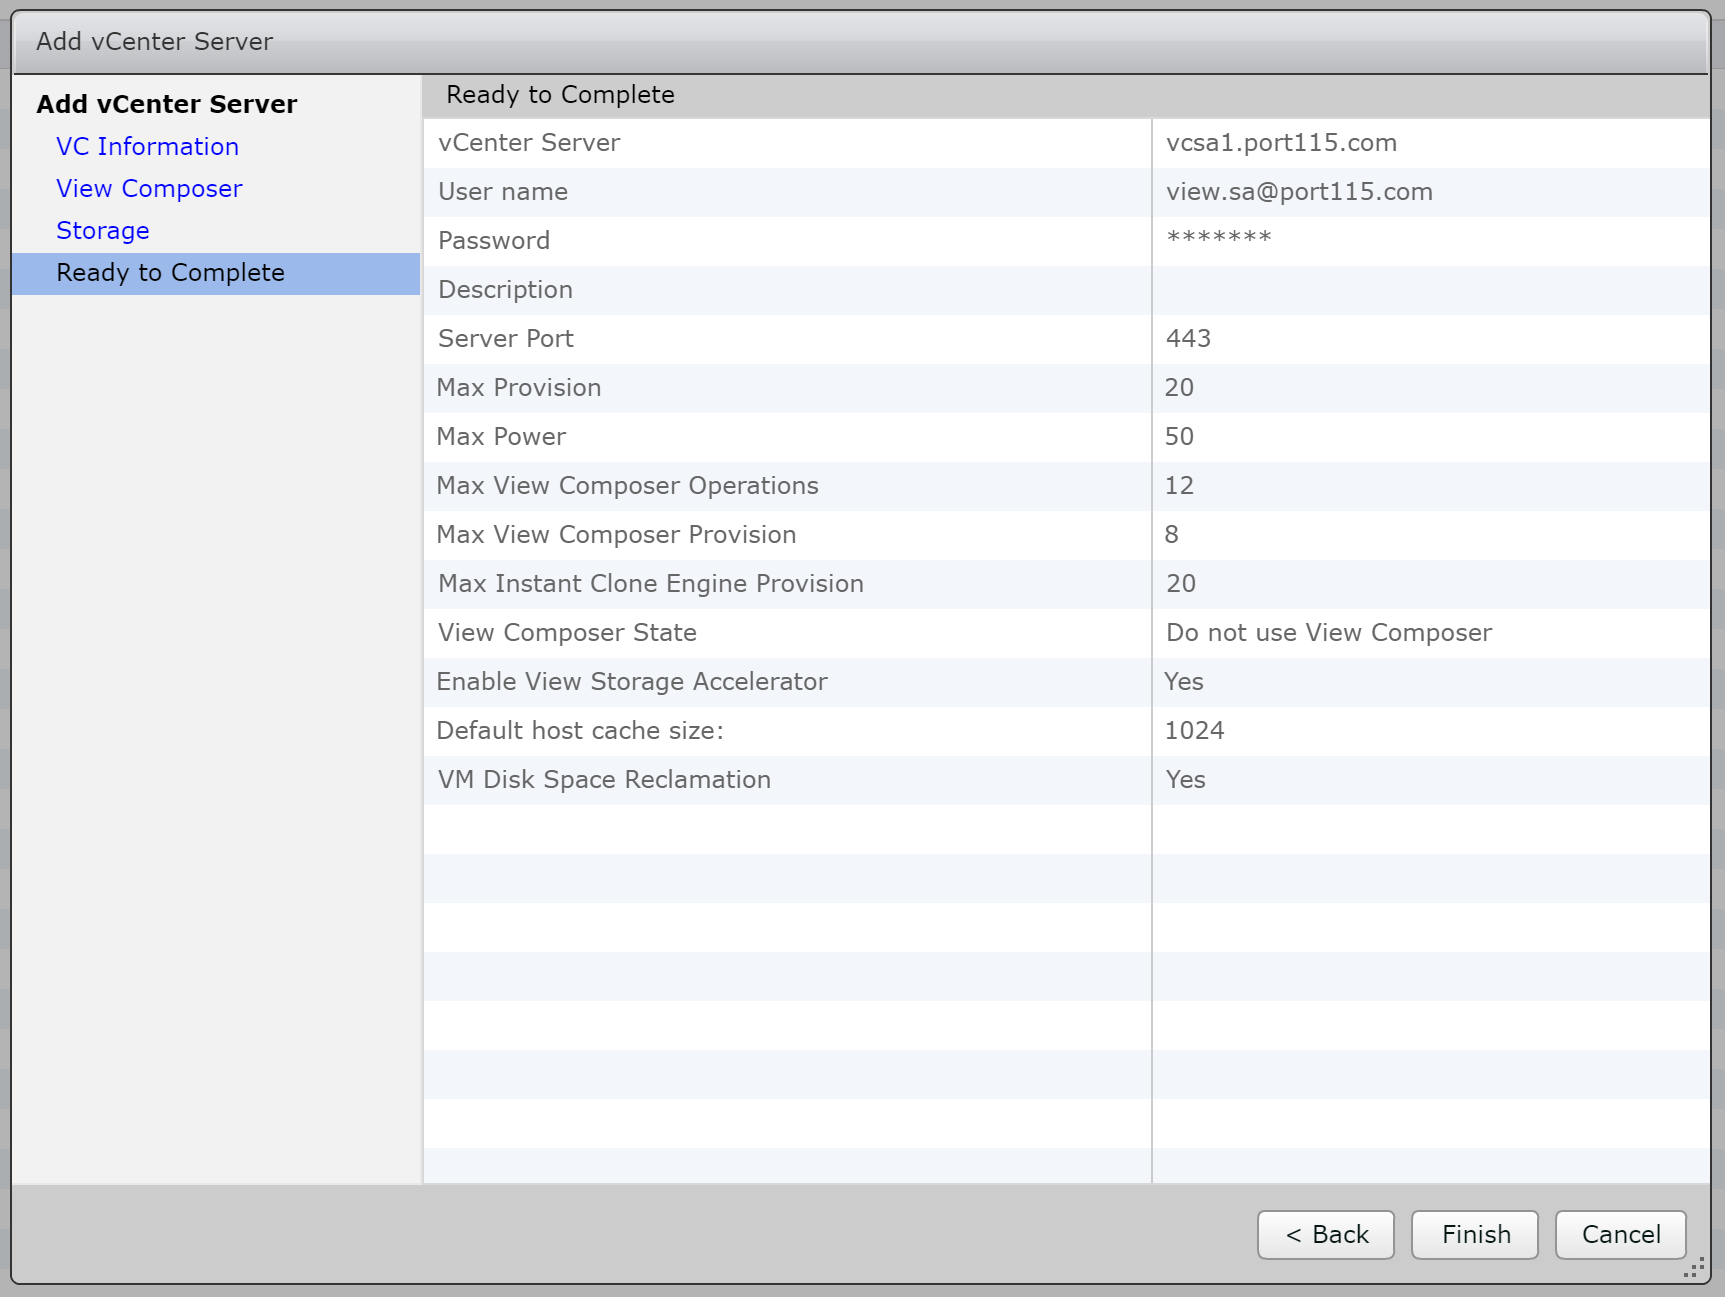
- A final check your selected options, if all looks good click finish.
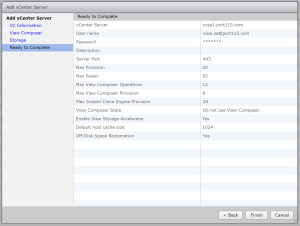
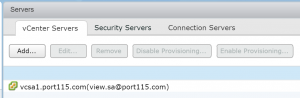
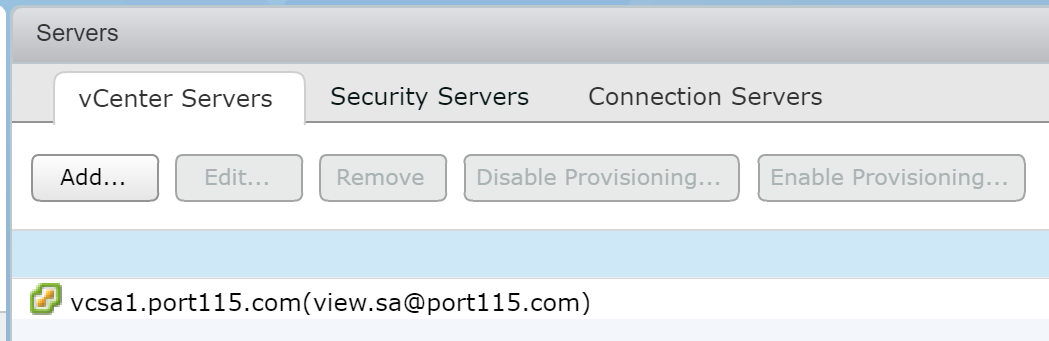
- If the connection is established successfully then you see the VCSA added to the vCenter Servers tab.


So now we’re configured and ready to go, except for the vRealise and Log Insight server which well add as we build them out. The next post will look at installing the bits needed for connecting to a Windows Desktop as well as putting together the first pool.