We’ve done all the hard work. Now you’ll see how easy it is to actually enable VSAN. Once this is done you’ll have a lab ready to go.
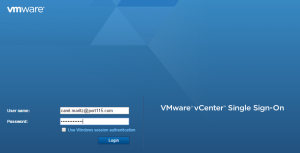
- Log in using an account that has permission to configure the environment.
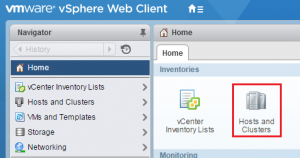
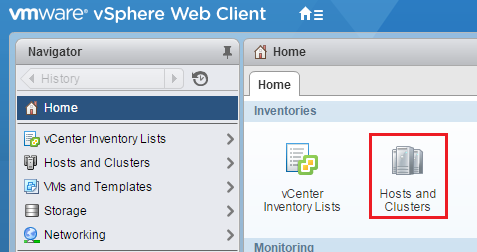
- Select Home and Hosts and Clusters.
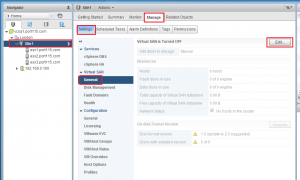
- Expand the Cluster you want to enable VSAN on. Select Manager, Select Settings, Select (under Virtual SAN) General, Select Edit.
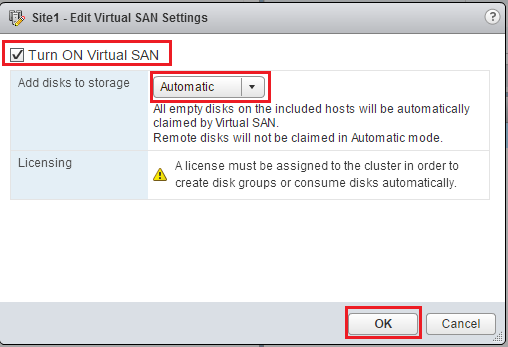
- Check Turn on Virtual SAN. Change the Add disks to storage to Automatic. Click OK
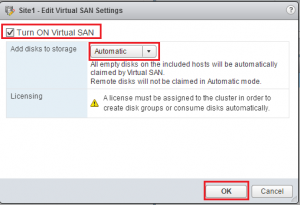
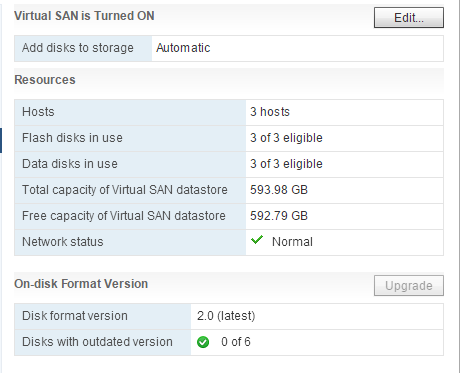
- You should now have a functioning VSAN cluster.


NOTE: You will initially see the error below. Its normal and should clear in a minute or two. If it doesn’t you need to go back and edit your networking.![]() And that’s it. You can now load some VM’s and start testing. In earlier posts I recommended a couple of Linux distro’s, however I have been playing about with Photon and its a really good light weight alternative.
And that’s it. You can now load some VM’s and start testing. In earlier posts I recommended a couple of Linux distro’s, however I have been playing about with Photon and its a really good light weight alternative.
Have fun labbing!