Part of this Horizon view deployment will be to have the connection server logging its events and a configured view composer server. For this we’ll need two databases.
While I am working with the Express version of MSSQL, the following steps will also apply to other versions of MSSQL (excluding the Linux version). In a production environment you definitively will want to run either standard or enterprise. There is also the developer edition, which is a full featured version for testing and development only.
One quick change before we begin:
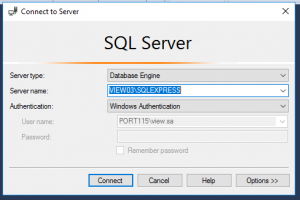
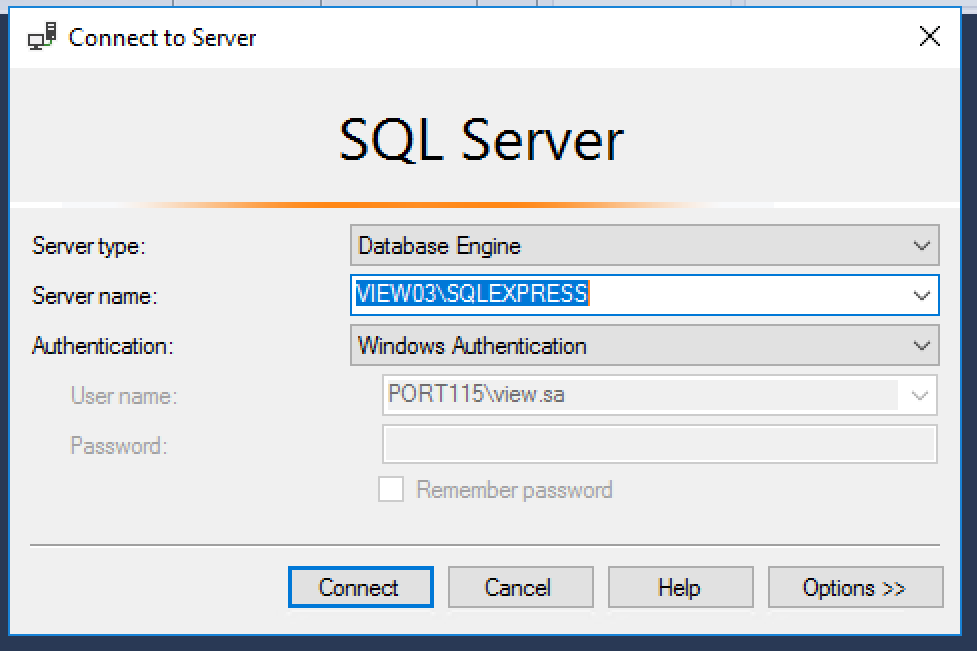
- Start the Microsoft SQL Server Management Studio.

- Select Connect to login.
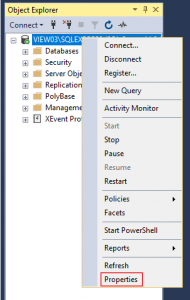
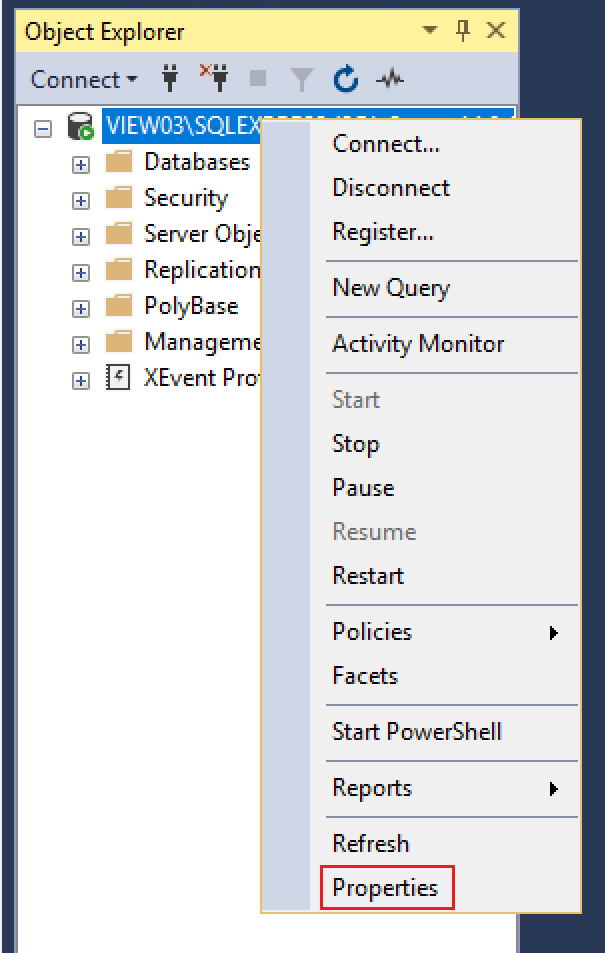
- Right click the server name and select Properties.
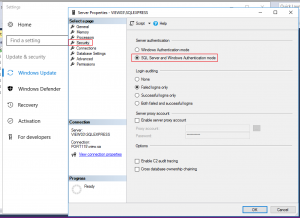
- Select Security and change the Authentication mode to SQL Server and Windows Authentication Mode and click OK.
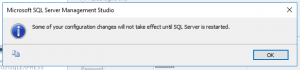
- Click OK. While you can restart the service to get the new security changes to apply, I usually just reboot the server.


Setting up the Horizon View Events Database and creating the user.
- Start the Microsoft SQL Server Management Studio.
- Select Connect to login.
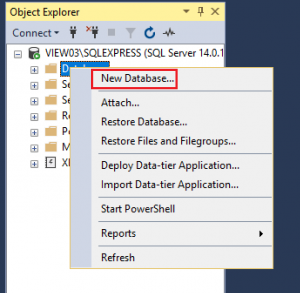
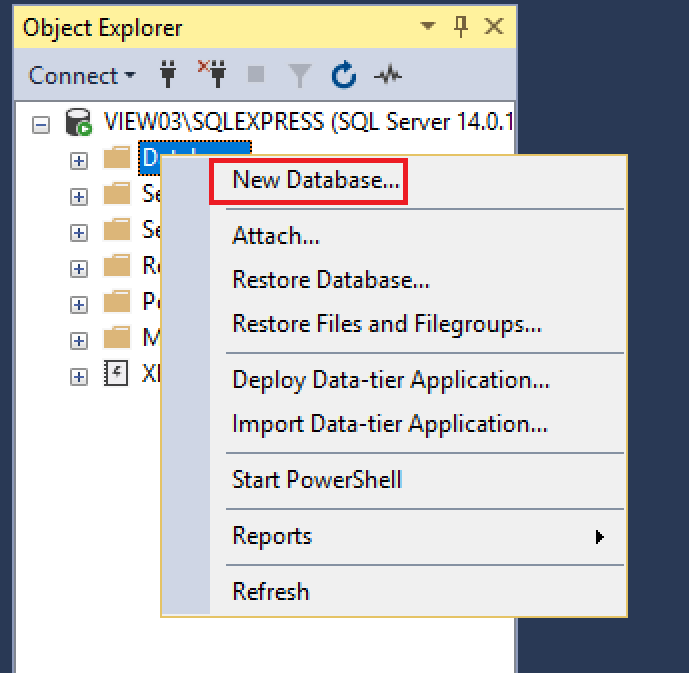
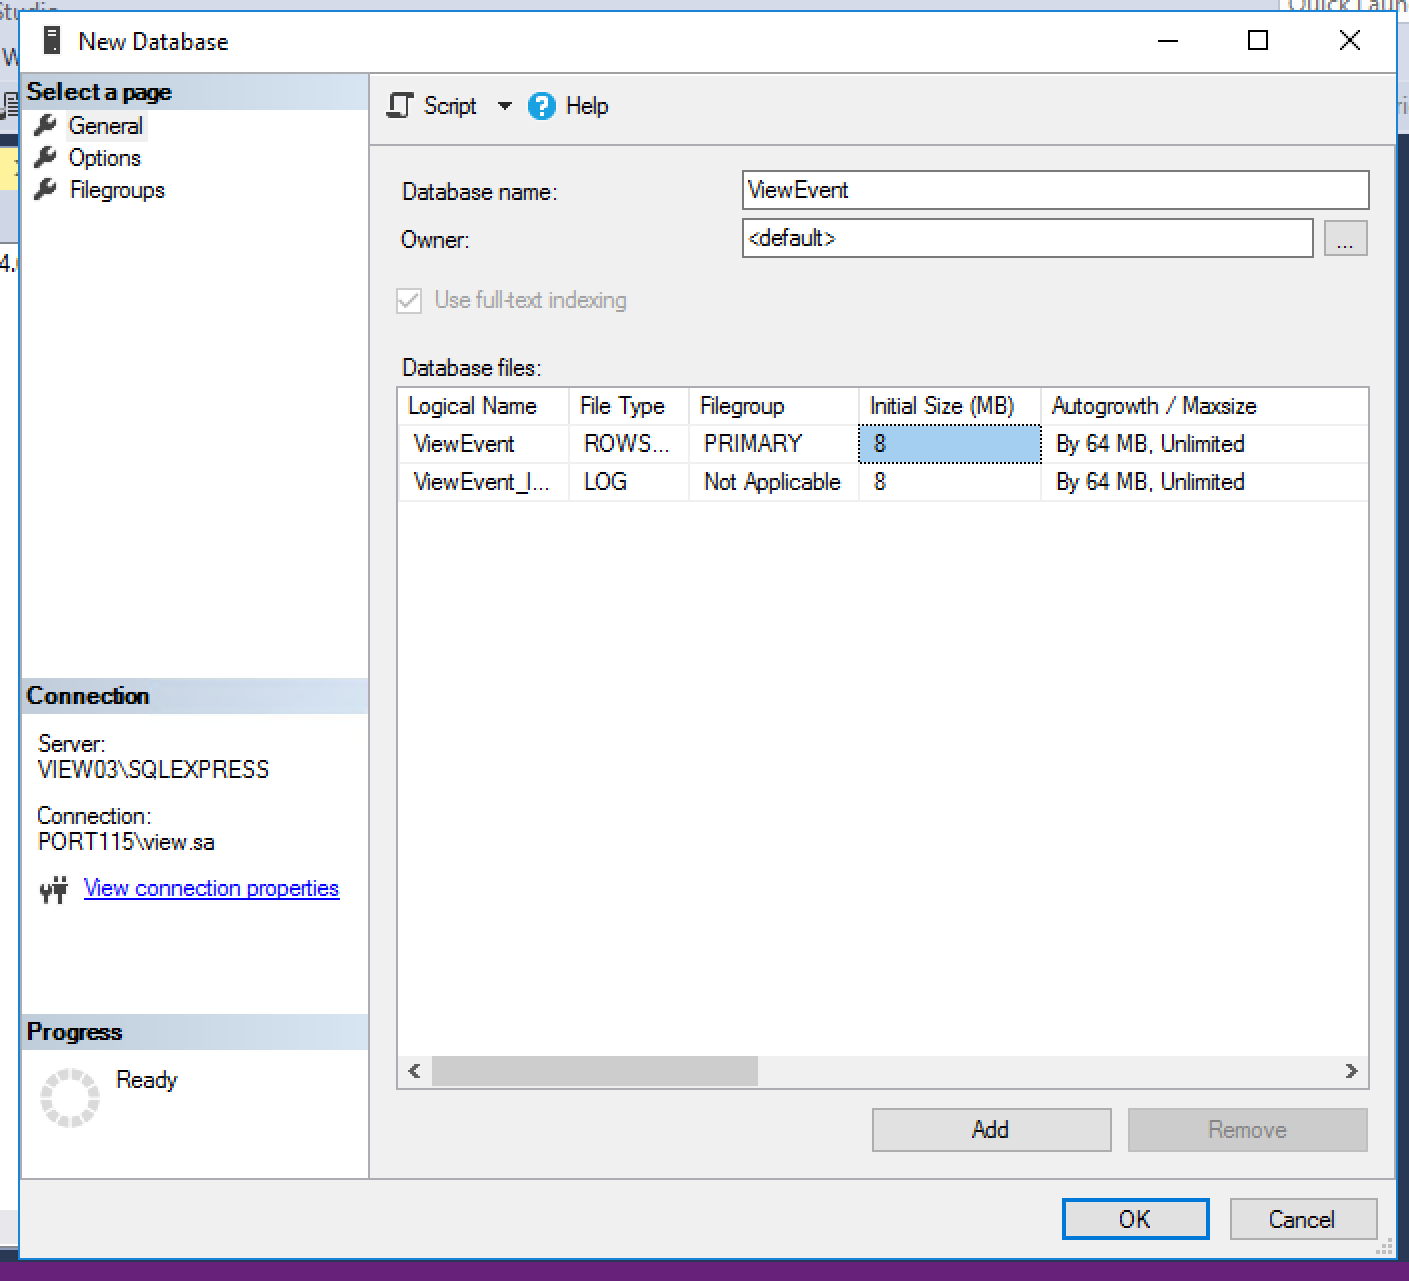
- Expand the instance, right click on Database and select New Database…
- Give the database a name. I chose ViewEvent.
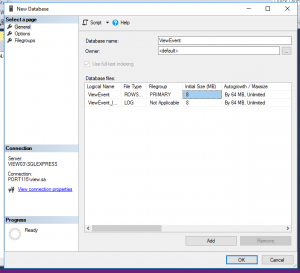
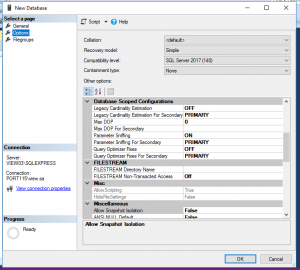
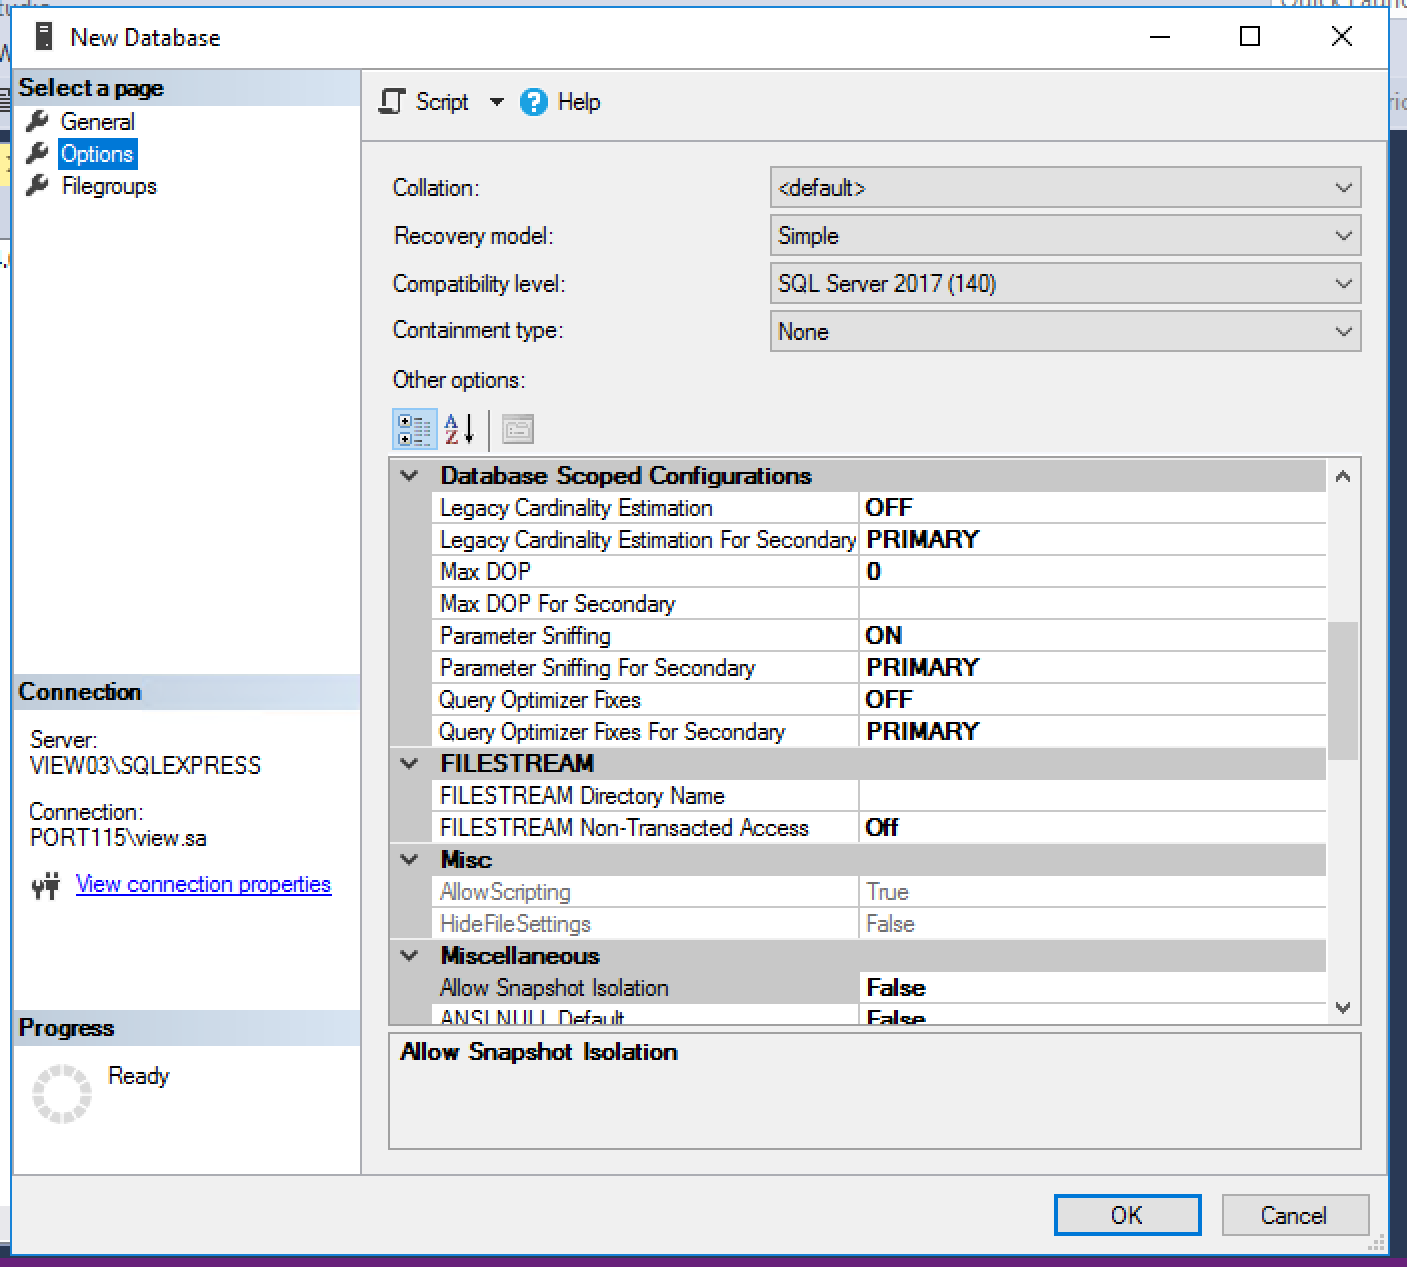
- Select Options and make sure the options match the attachment below and click OK.
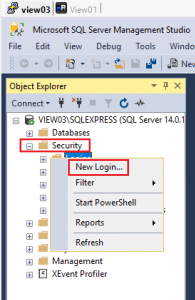
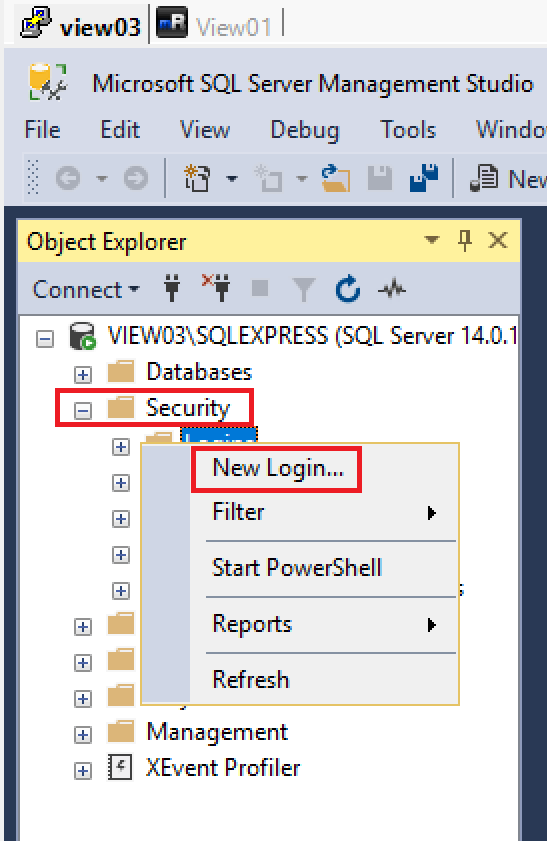
- Expend Security, right click Logins, and select New Login…
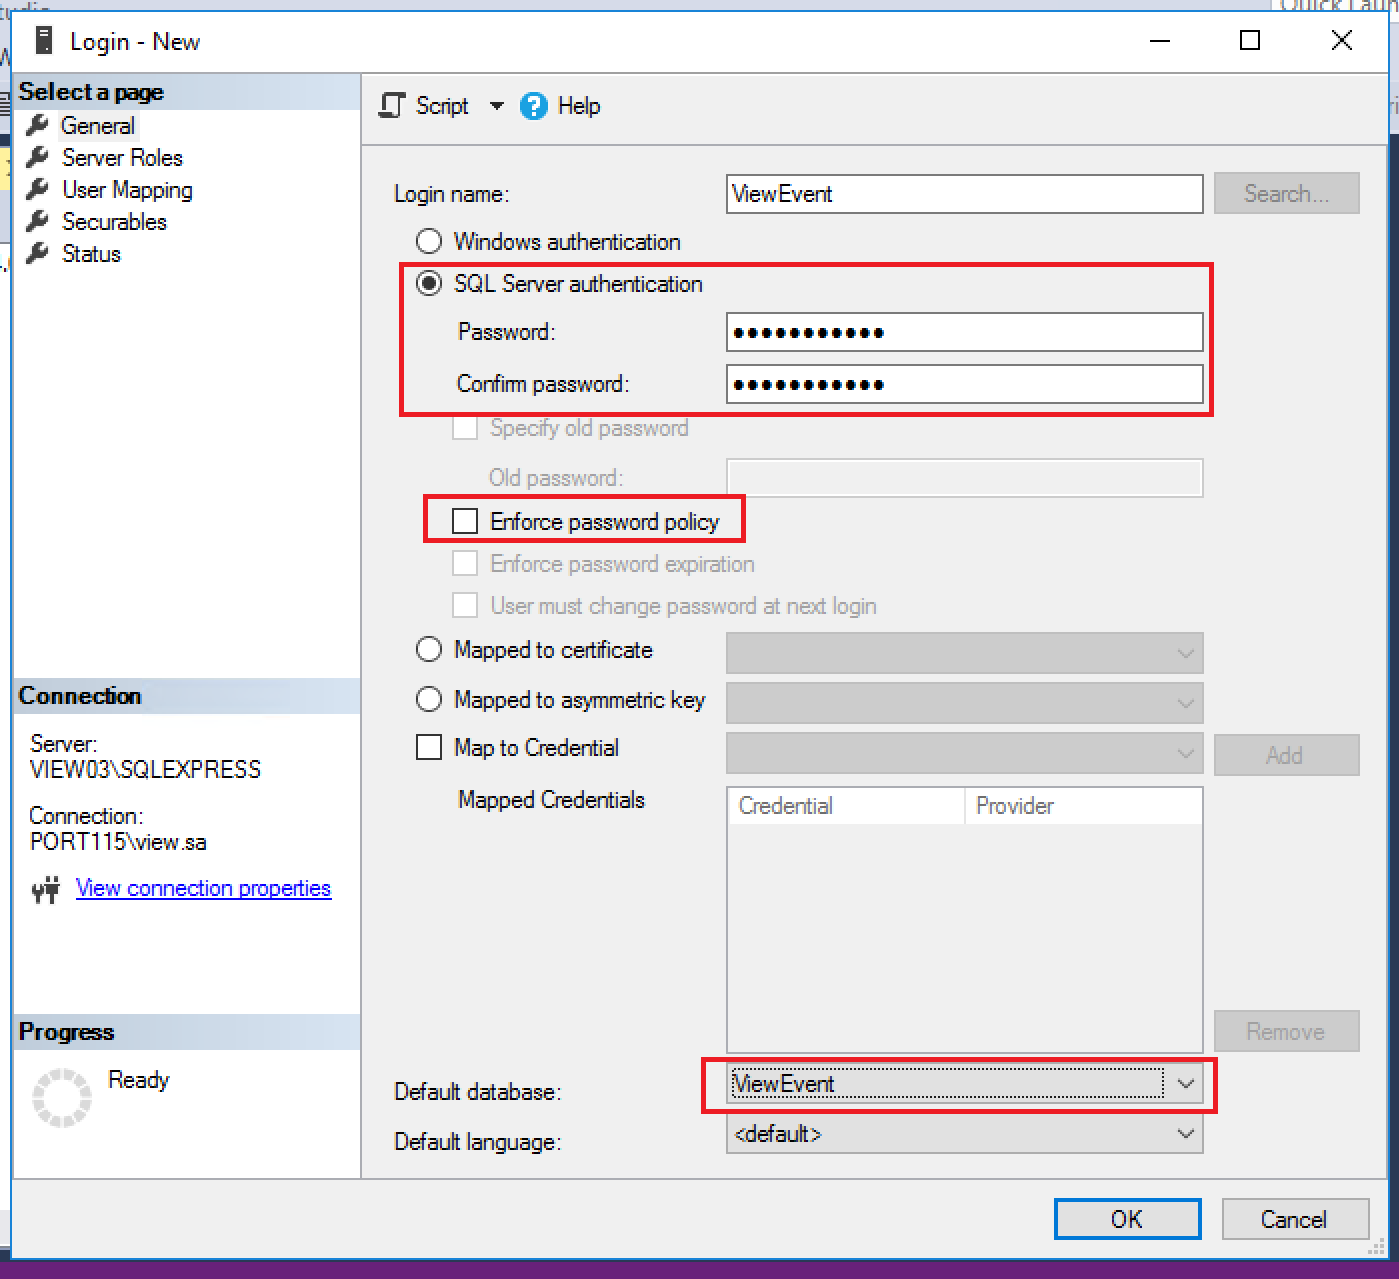
- Type in a name for your user (I used ViewEvent). Select SQL Server authentication and type in a password. Unselect Enforce password policy. Change the Default database to ViewEvent or whatever you named you database in step 4.

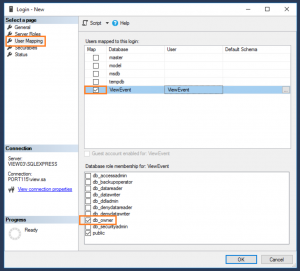
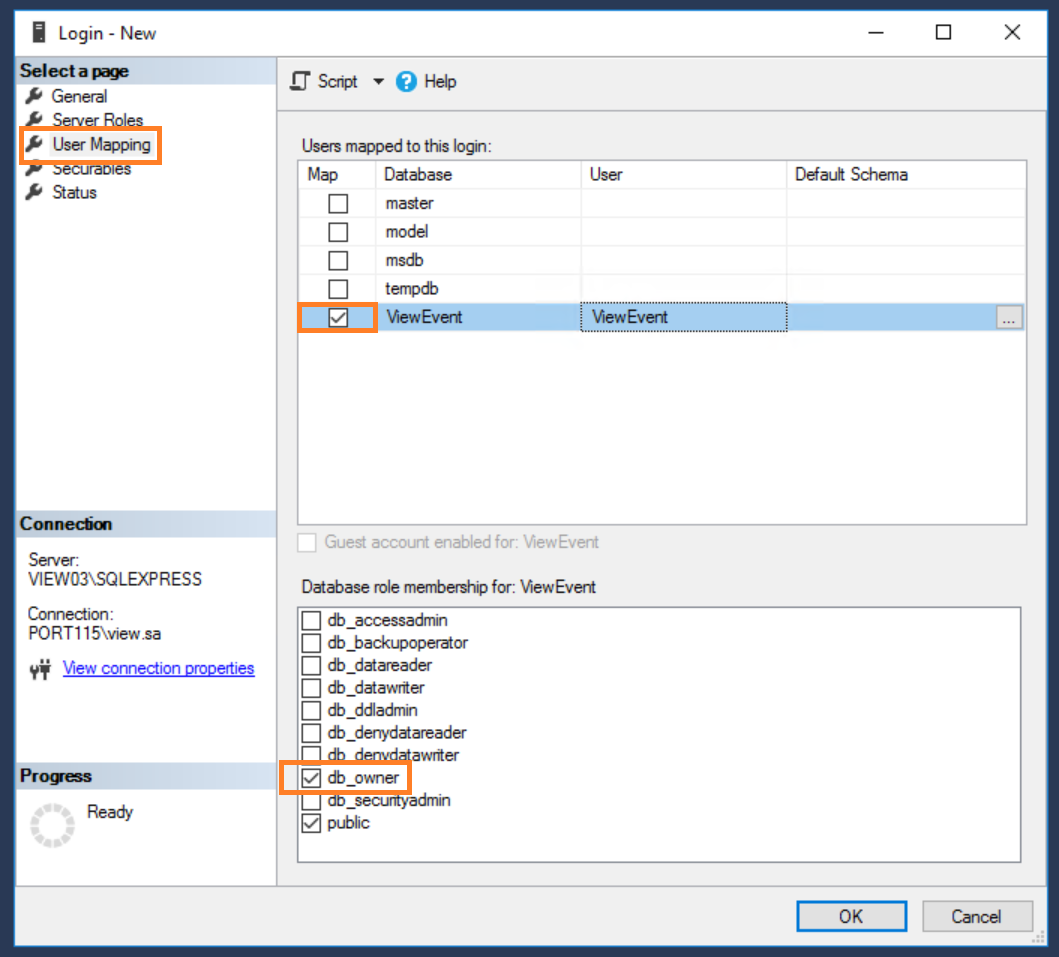
- Select User Mapping. Select the database you created above and in the bottom pane select db_owner.
- Click OK and we’ve successfully created the Events database and user. Now onto the composer DB.
Setting up the Horizon View Composer Database and creating the user.
- Start the Microsoft SQL Server Management Studio.
- Select Connect to login.
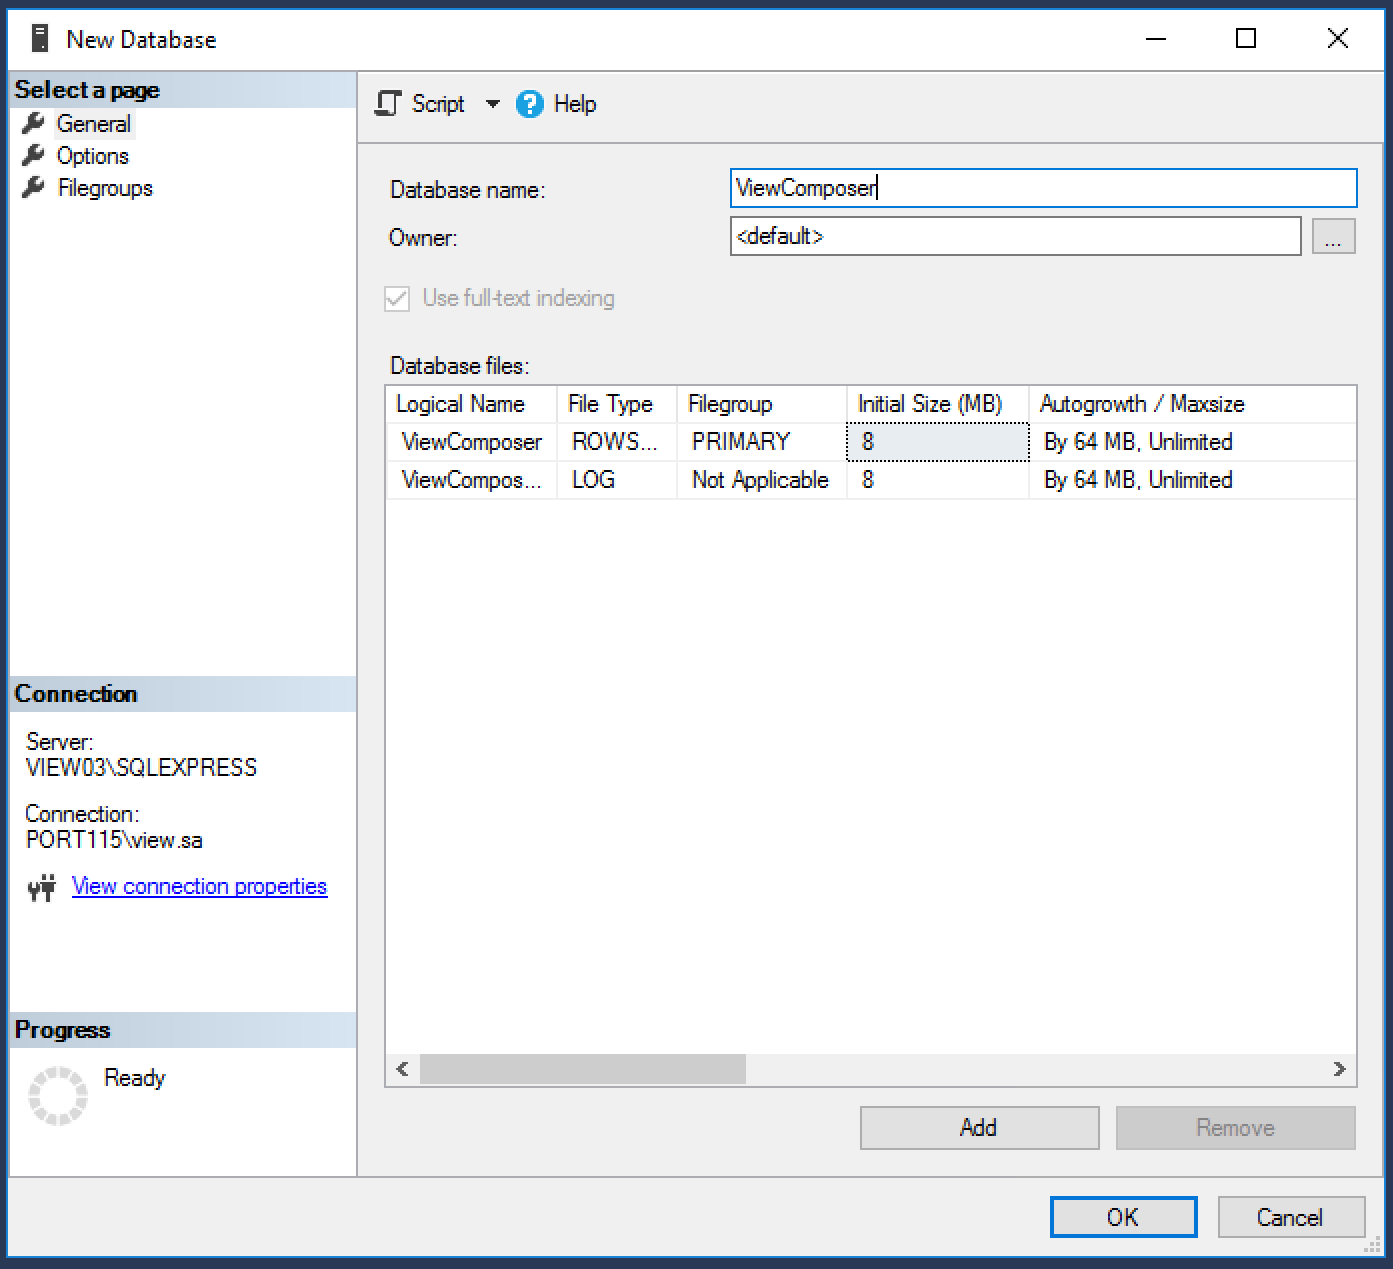
- Expand the instance, right click on Database and select New Database…
- Give the database a name. I chose ViewComposer.
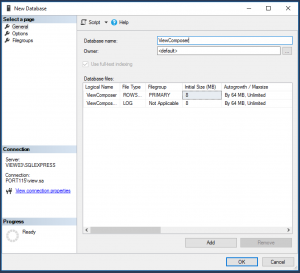
- Select Options and make sure the options match the attachment below and click OK.
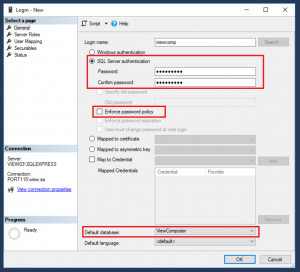
- Expend Security, right click Logins, and select New Login…
- Type in a name for your user (I used viewcomp). Select SQL Server authentication and type in a password. Unselect Enforce password policy. Change the Default database to ViewComp or whatever you named you database in step 4.
- Select User Mapping. Select the database you created above and in the bottom pane select db_owner.
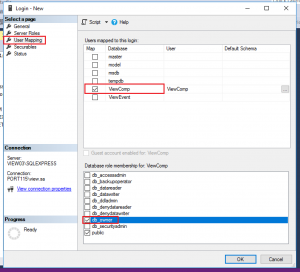
- Click OK and we’ve successfully created the Composer database and user.


In this part we’ve created the two main DB’s we’ll need for view. So just something to note. In this setup I have used SQL accounts for the databases however in most prod environments that would most likely be heavily discouraged. If you do choose to go down the domain account route then you don’t need to change the authentication mode.