I like ThinApps, I really do. They’re efficient, easy to create, portable and they just work (most of the time). They can be streamed, deployed locally, and are a great way to run older, legacy apps on later OS’s (although the last bit might not technically be supported).
We’re got to go through the process of installing ThinApp and then creating our own ThinApp. It’ll be a basic app but will still work.
Before we start you’ll need the following:
- A clean install of windows, in this case I’m using Widows 10.
- Fully patched
- My preference is to have no AV installed. It doesn’t really matter as we’ll be rolling the VM back to a clean snapshot at the end.
- The Thinapp Installer which can be downloaded from VMware’s website
- An app to install and package. Make sure its from a trusted site. I’ve used Notepad++ for this particular post.
Deploying ThinApp Enterprise.
- On your “clean” VM, run the ThinApp installer
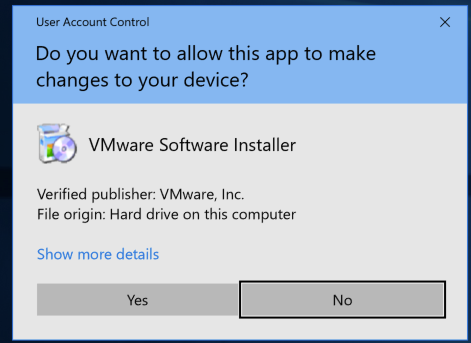
- Accept the security warning. Click Yes.
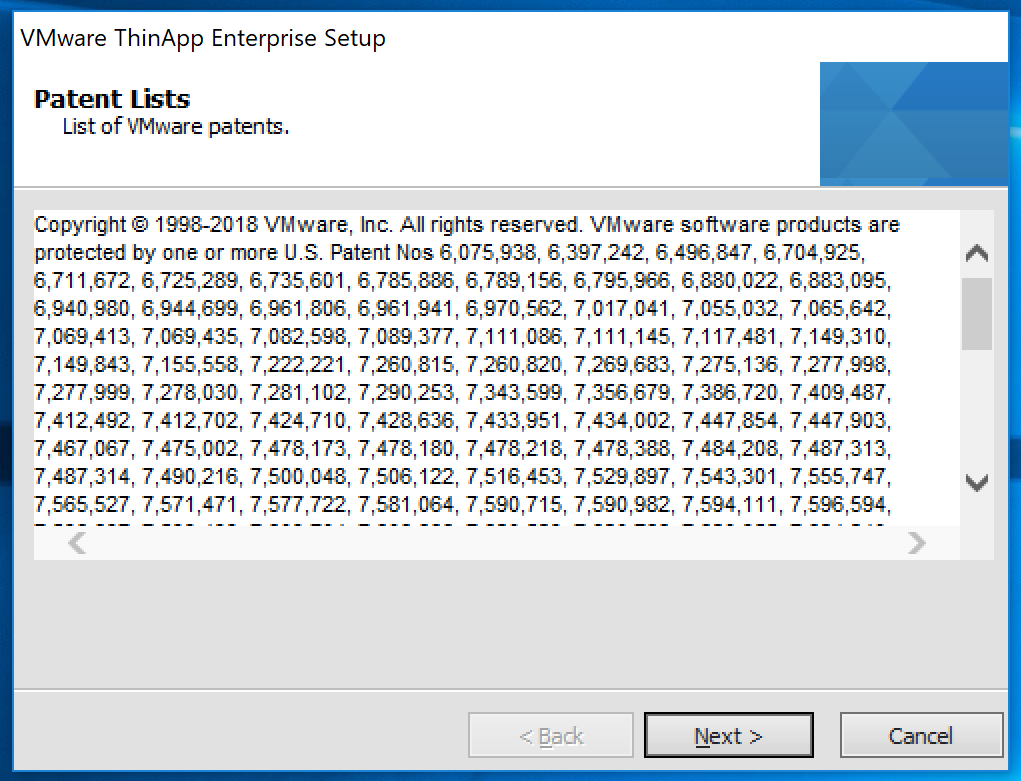
- You’ll be presented with a patent wall. Click Next.
- Like everybody does, read the License agreement and Select “I accept the the terms of the license agreement.” and click Next.

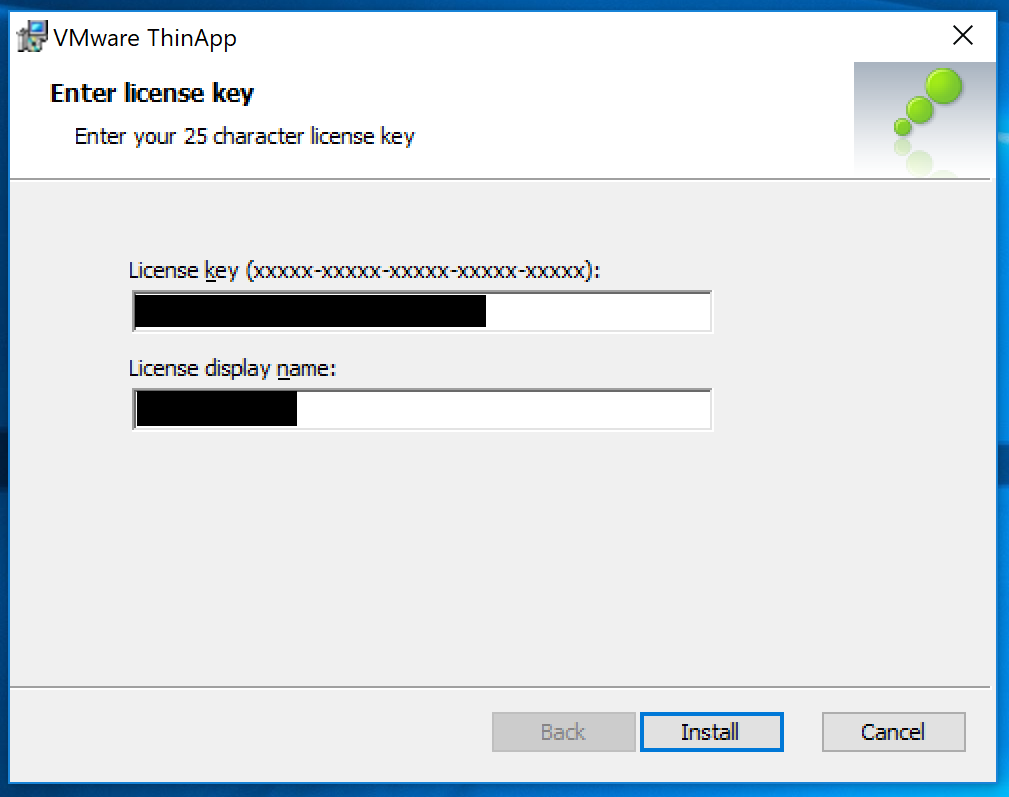
- Here you’ll need to enter in your Horizon View License and give it a name. Click Install.
- Once the installer is done Click Finish.

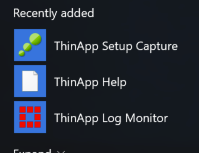
- You’ll now see three new icons in your Start Menu.
- Now that we have ThinApp installed, Shut down your VM and take a snapshot. You’ll want to have a clean state every time you go to package a new app.
Packaging an App.
Our first App is going to be Notepad++. Its a great little app and, in my opinion, should be part of any VDI deployment.
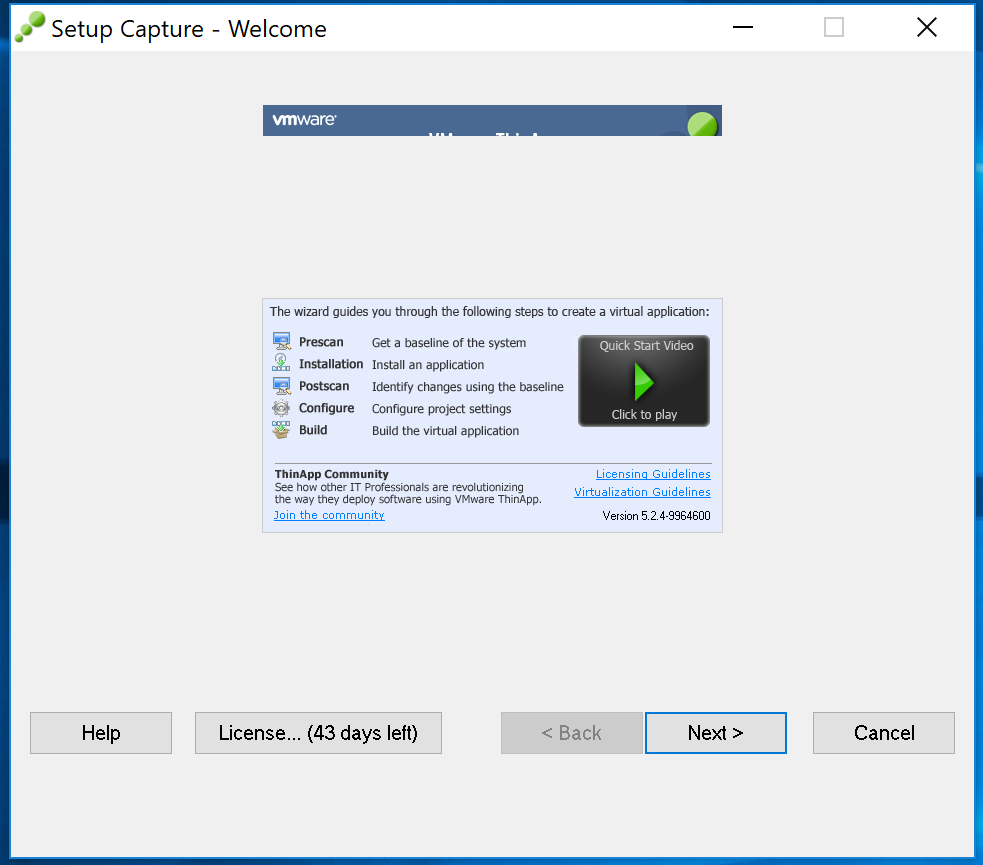
- Start ThinApp Setup Capture.
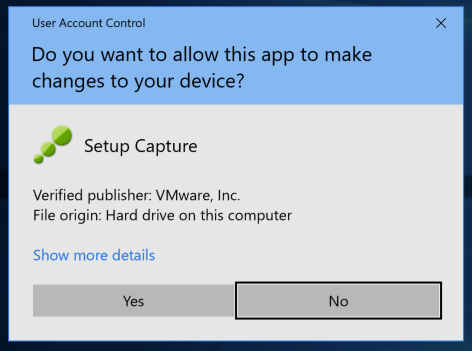
- At the User Account Control, Click Yes.
- Click Next.
- Here we’ll trigger the prescan. This is where ThinApp goes off and profiles the current system state, hence the need for a clean system. Click Prescan.

- Go ahead and install you app. I would strongly recommend that you start it at least once, to finish any post install config, before clicking Postscan, which will trigger a second profiling of your system to see what has changed.
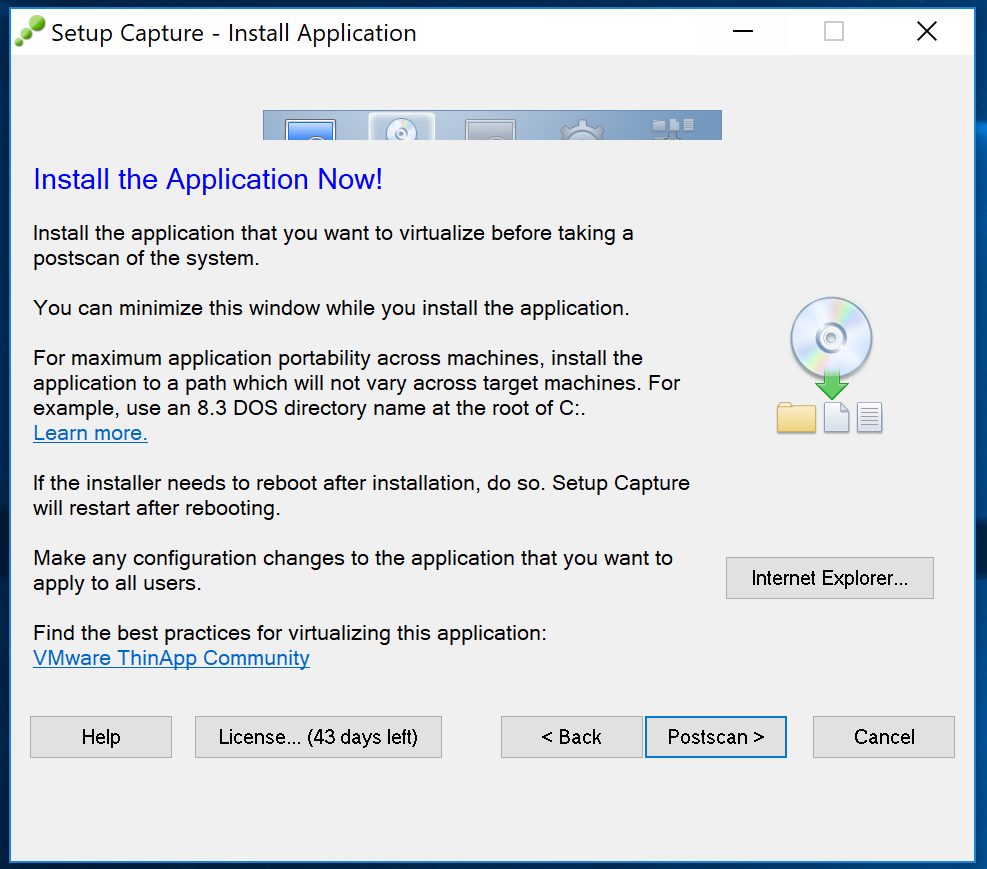
- Just to confirm what I said above. Click OK.

- Select the Executable file. I’m installing NotePad++ here so it makes sense to select the notepad++.exe executable. As its a ThinApp I’ll not be needing any of the other executable. Click Next.

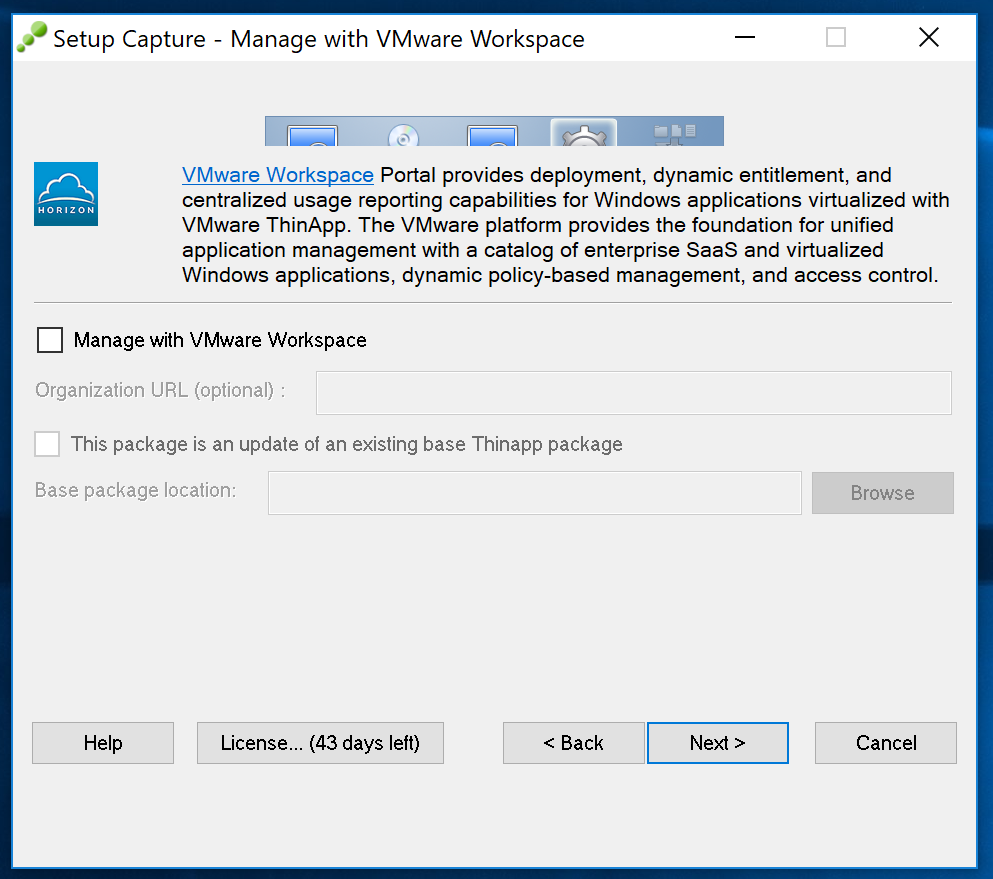
- We’ll be importing this into our connection server later so won’t be managing this with VMware Workspace.
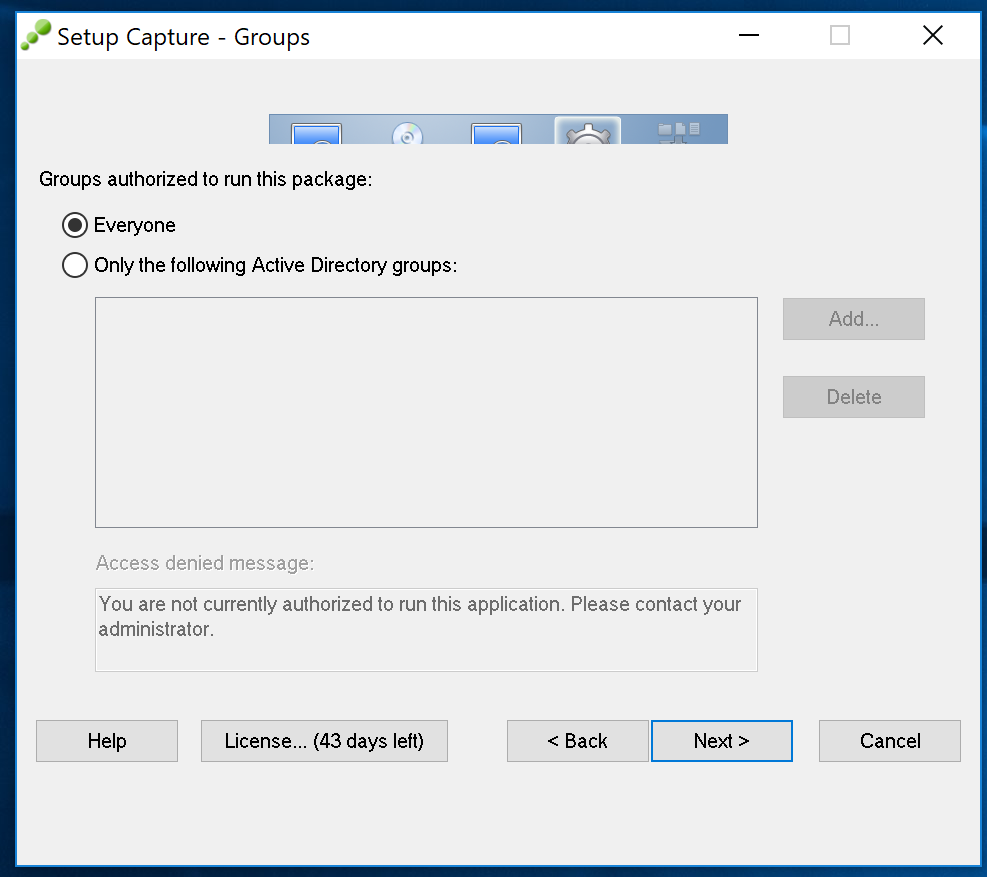
- I want everybody to be able to run this but you might want to restrict it to certain groups. Click Next.
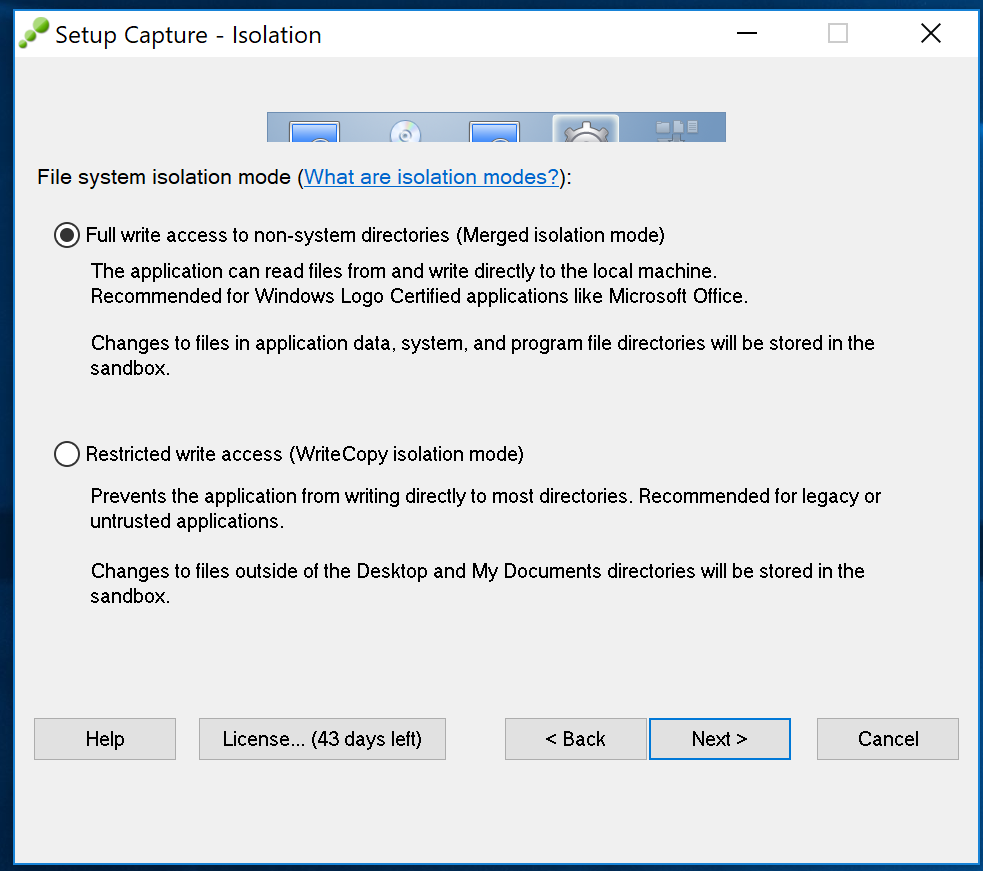
- I’m installing an editor so it makes sense to me to have it be able to access as much as possible. Click Next.
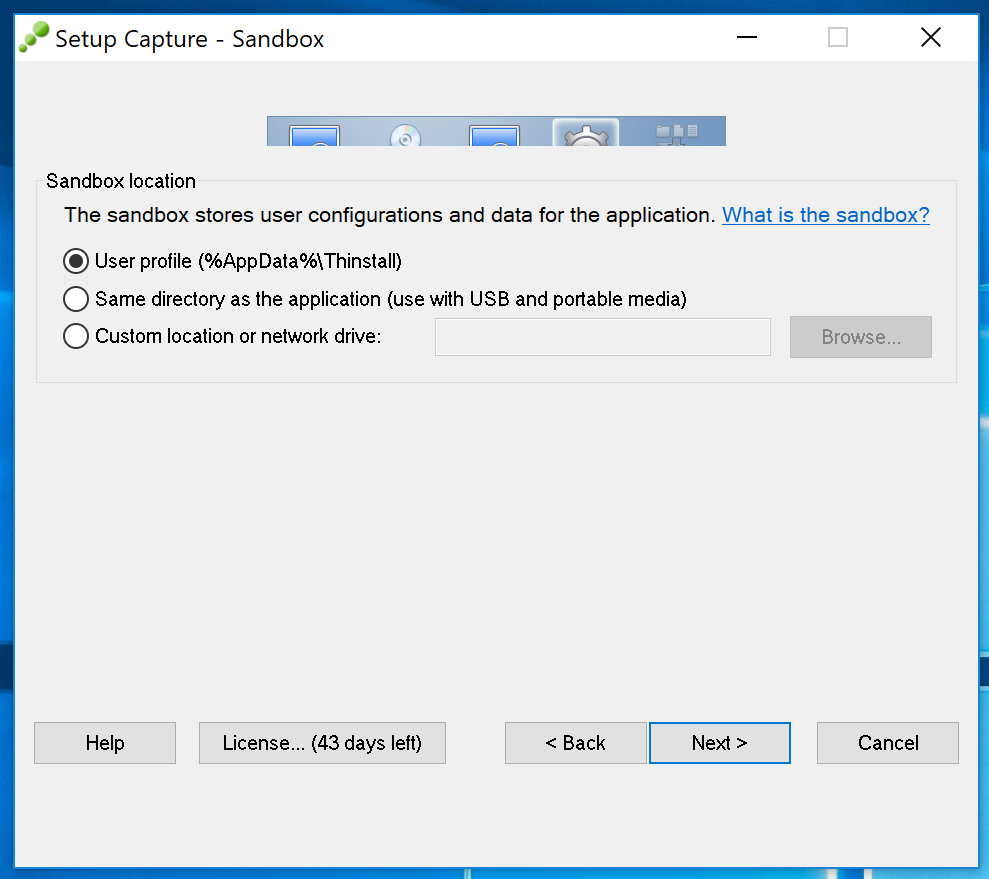
- We’re running this app through Horizon View and want the setting and hostpry to persist so I’ll leave the default here. Click Next.
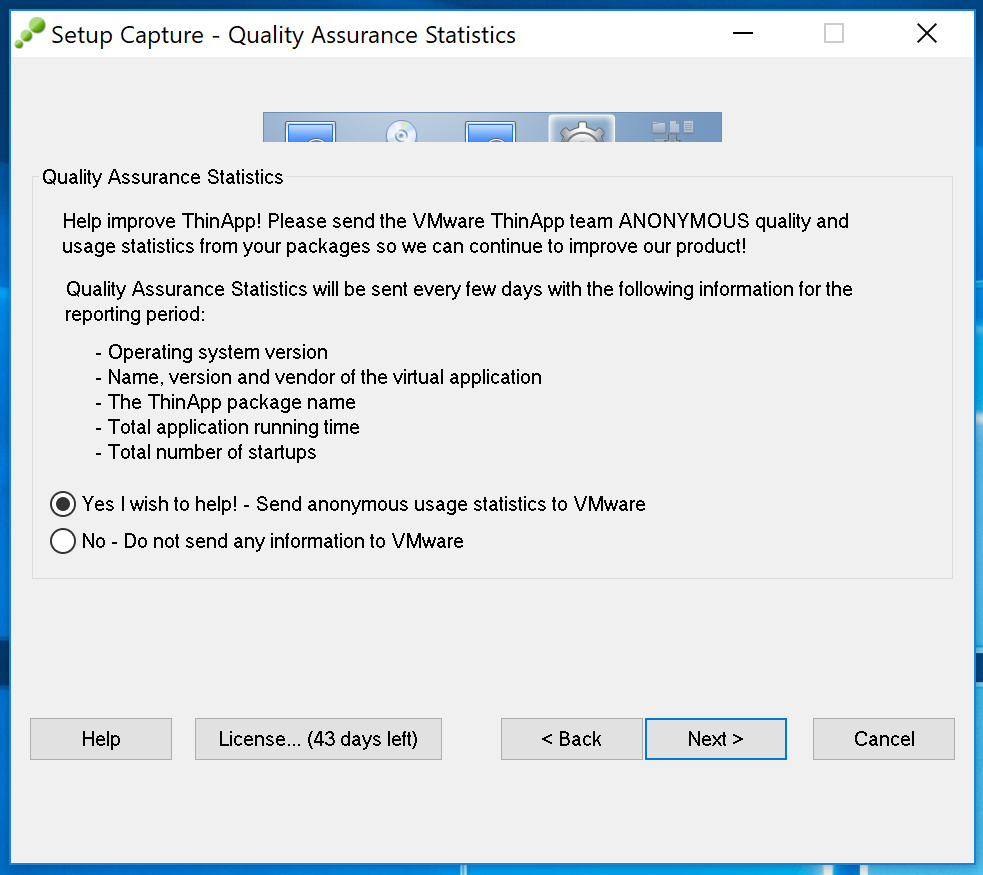
- So this step depends on your companies security policy. Most I would imagine don’t want any information sent out. I’m using this in a lab so I don’t mind to send the usage info out. Make your selection and Click Next.
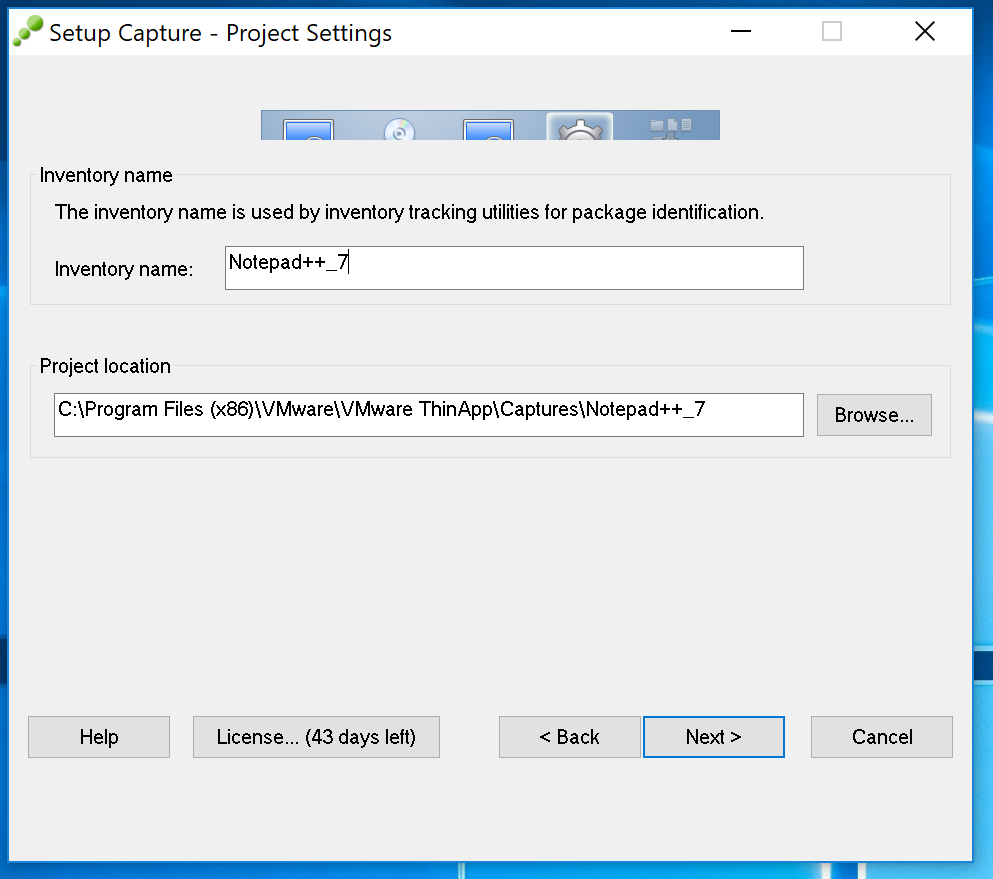
- Name your App. I’ve kept the default but added the version number. If you have a central location for your apps, you can also set it here. Click Next.
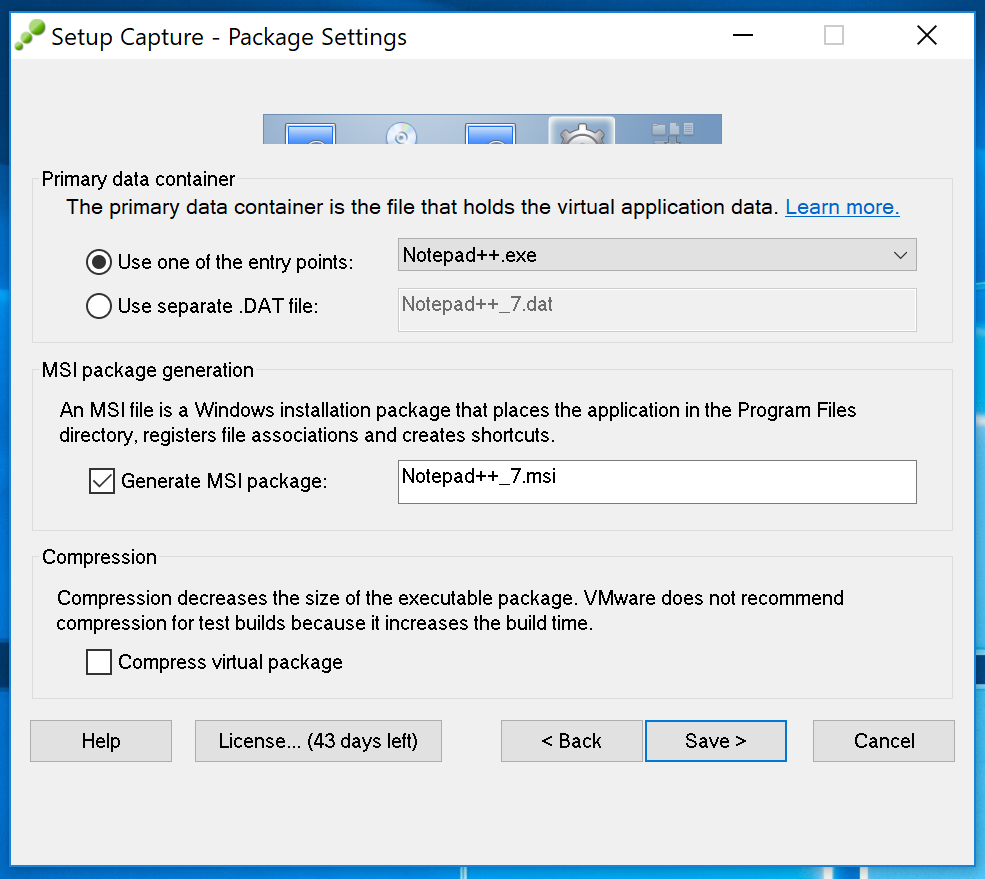
- IThe package settings are usually fine as they are. I did however select Generate a MSI Package. In the next post we’re going to look at the two ways to deploy a ThinApp though Horizon View. Click Save.
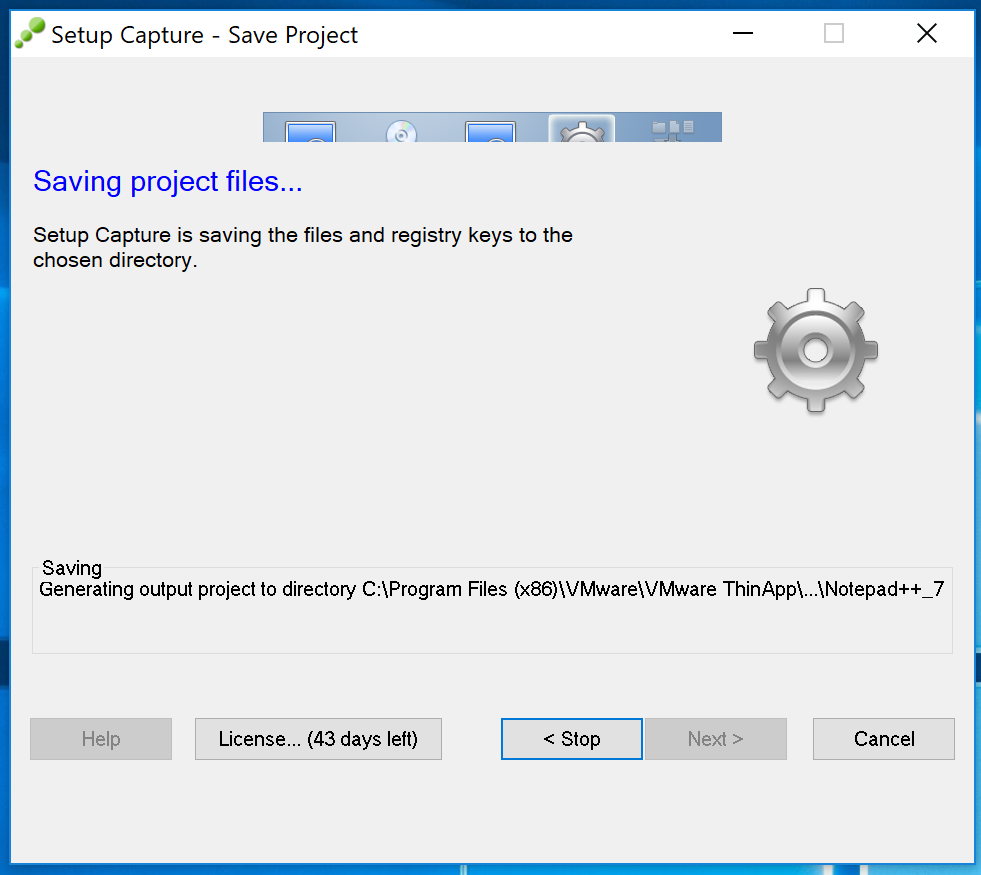
- All the various changes that were made during the App install, such as file creation, reg keys, etc. Will be put into a build folder. This can take a while depending on the size of the App.
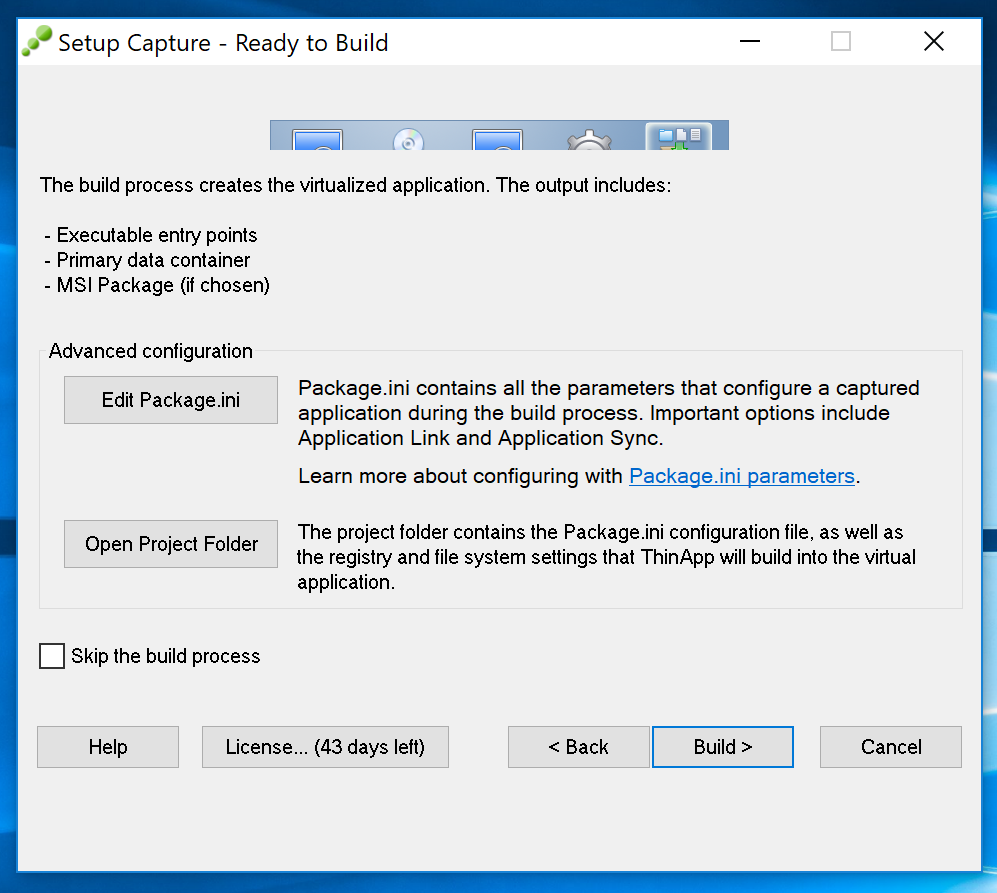
- And now we get to trigger the build, you have the option of editing the ini file to change some of the more advanced options that were not available during the profiling.. This can take a bit of time. Click Build, and go get yourself a coffee.
- If successful you’ll see an output similar to the below.
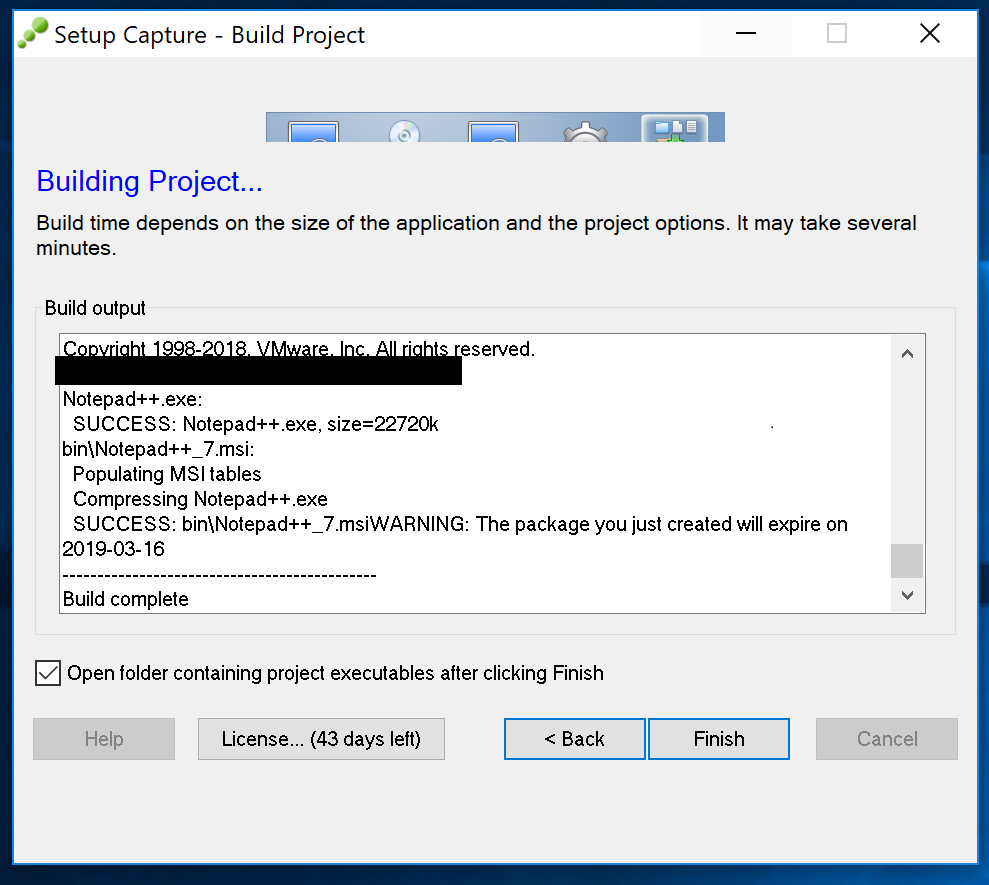
- Your app is built, packaged, and put into the specified folder. As you can see I have two files; one the exe that I chose as the entry point, and the other is the MSI, which we”ll use in the next post.

- Once you’re done, copy the files out of the VM and roll back the snapshot. Unless you are putting together a bunch of apps (which I wouldn’t recommend with ThinApp) its always best to start in a clean state.
Packaging an App can take awhile but for some deployments it make perfect sense.