[Edit – 31/10/19 – Updated for Dynamic Environment Manager]
In this post we’ll be installing the management console and starting it for the first time. This is what I really like about this solution “No server backend. The management console is a fairly small executable and once installed gets pointed at the share we put together in the previous post, where it goes off and creates the folder structure, if it isn;t already there.=.
It’s a smart way of controlling desktops and in my opinion is much more powerful and flexible than using GPO’s.
Installing the Management Console.
- Extract the downloaded DEM ZIP.
- Run the executable VMware Dynamic Environment Manager

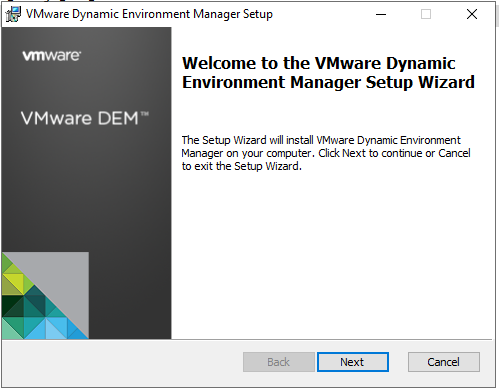
- Click Next.
- Tick “I accept the terms in the License Agreement“.

- Click Next.
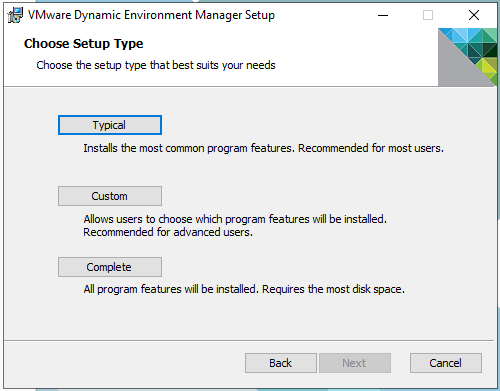
- Select Typical and click Next.
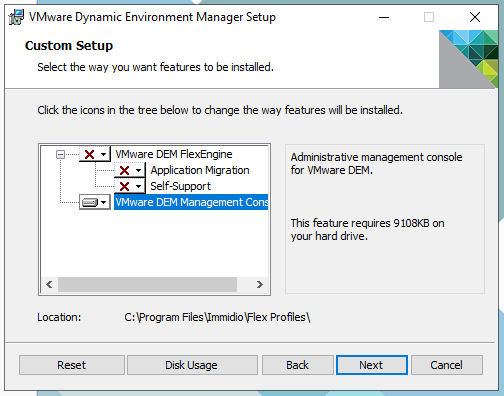
- Unselect VMware DEM FlexEngine and Select VMware DEM Management Console.
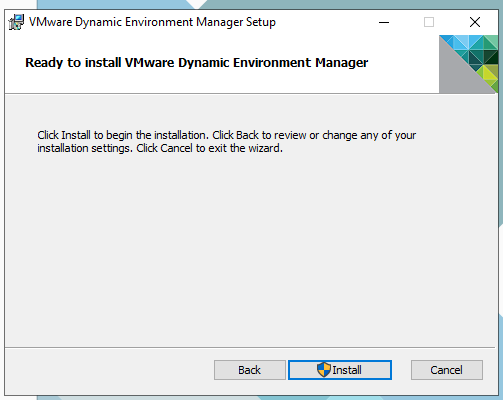
- Click Install.
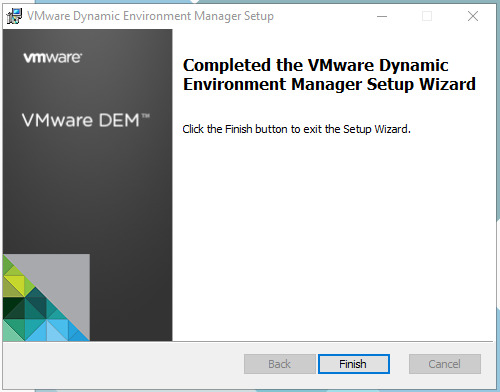
- Click Finish.
Installing the Management Console.
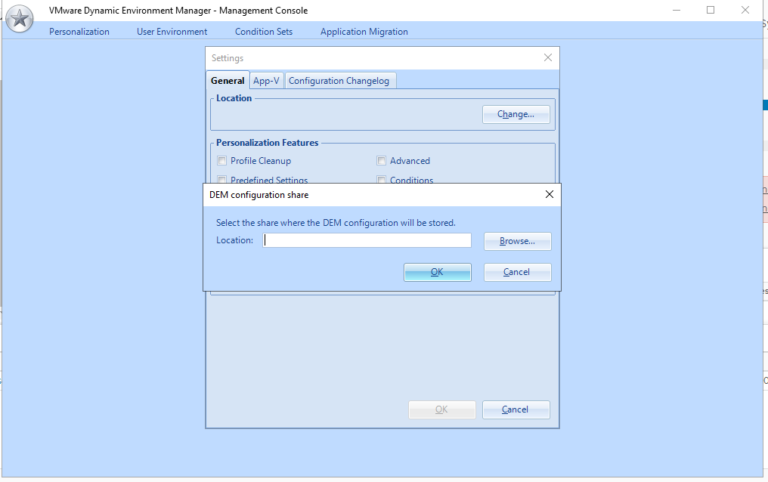
- Select Start -> VMware DEM -> Management Console.

- During the first run you’ll be asked for the location of the confguration share.
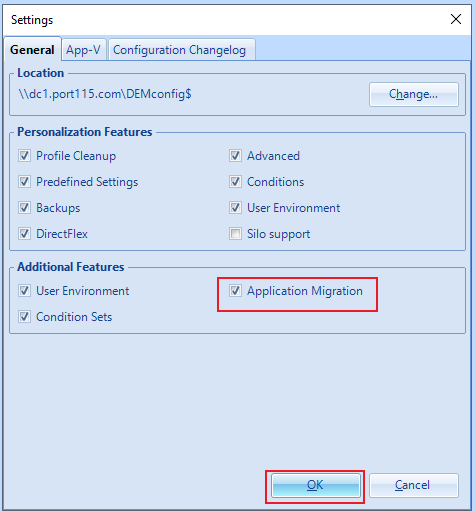
- Select Application Migration and Click OK.

We’re almost ready to go. Next we need to install the agent onto a desktop. This can be a physical or virtual machine.