The first step we need to take on the road to DEM domination is to get the share setup. This will hold the configuration files that the agent will read to apply to the desktop. Once the share is setup you install the DEM manager and point it at the share, at which point it will create the initial directory structure, if it isn’t already there.
There are two types of permissions we need to address. Share permissions and security permissions. Thankfully in this case we’ll set the same for both. The DEM admins will need full control and DEM users will need read only. I’d consider it best practice to create separate AD groups called DEM admins and DEM Users.
Creating and configuring the DEM Share.
- Connect to your file server. When testing this out in my lab I just created a share on my DC, but in a prod environment you’ll want to get this setup on a dedicated file server.
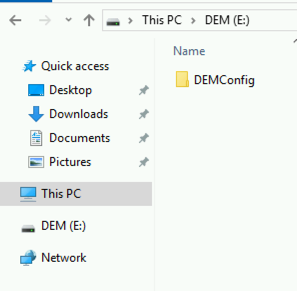
- Create a folder. In my case I called it DEMConfig.
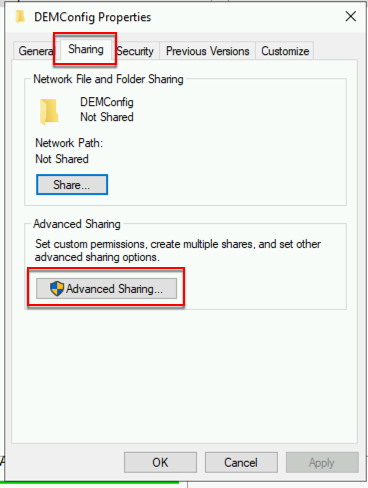
- Right click on the folder and select properties. Select the tab labeled Sharing and click Advanced Sharing.
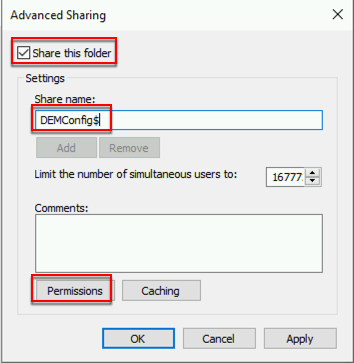
- In the Advnced Sharing window check “Share this folder”. If you add a $ sign to the end of your folder name it becomes hidden from casual browsing. Click Permissions.
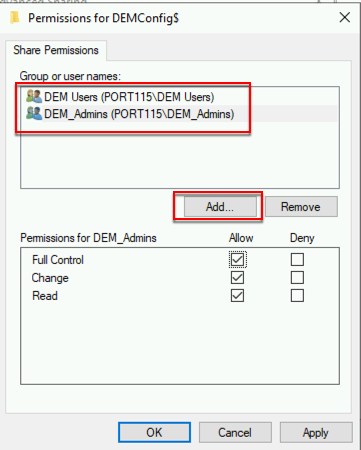
- Select Everybody and click Remove. Click Add and add your DEM user and Admin groups. The DEM Users should only have read and the DEM Admins should have full control. Click OK. Click OK.
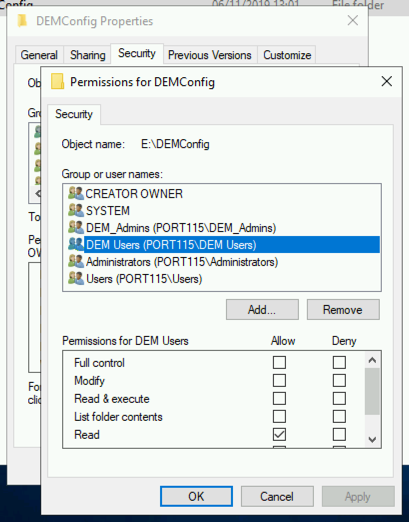
- Back in the Properties windows select the Security tab and click Edit. Add the DEM user and administrators. The DEM Users should only have read and the DEM Admins should have full control. Click OK. Click OK.
Now we’ve created the share it’s on to installing the management console and putting together the first XML file for noAD mode.