While Horizon View does come with self signed certificates but it is always best, in a production environment, to your own SSL certificates.
I connect to my lab remotely using, either my laptop, or other mobile device and like to know that my connection is secure.
If you don’t want to setup your own cert server Lets Encrypt is a public CA and does offer certificates (wild card certs too) for free. If you do choose to use them please consider donating. They are an opensource and free setup and could use your help.
Installing a root CA.
I used a windows 2016 server for this deployment.
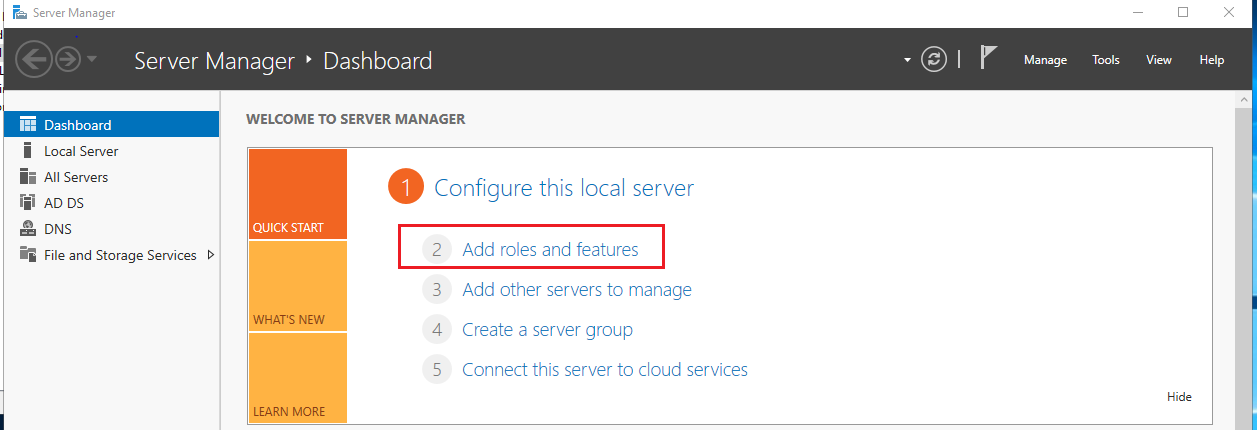
- In the Server Manager window click on Add roles and features.

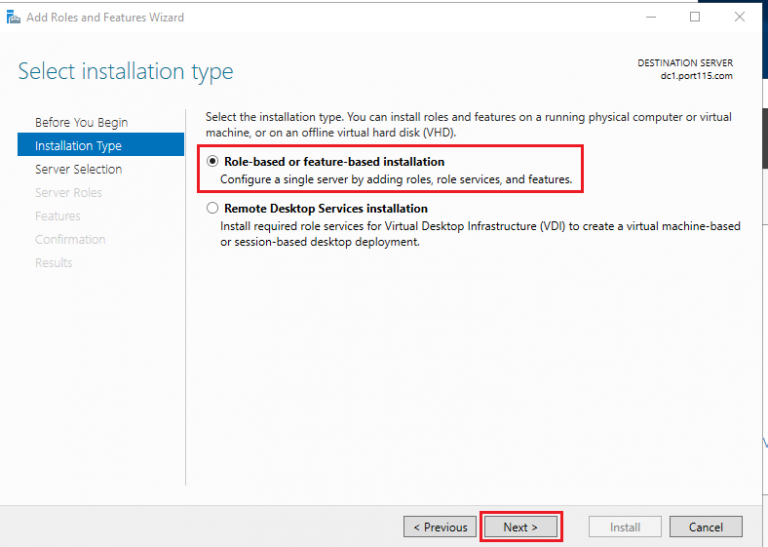
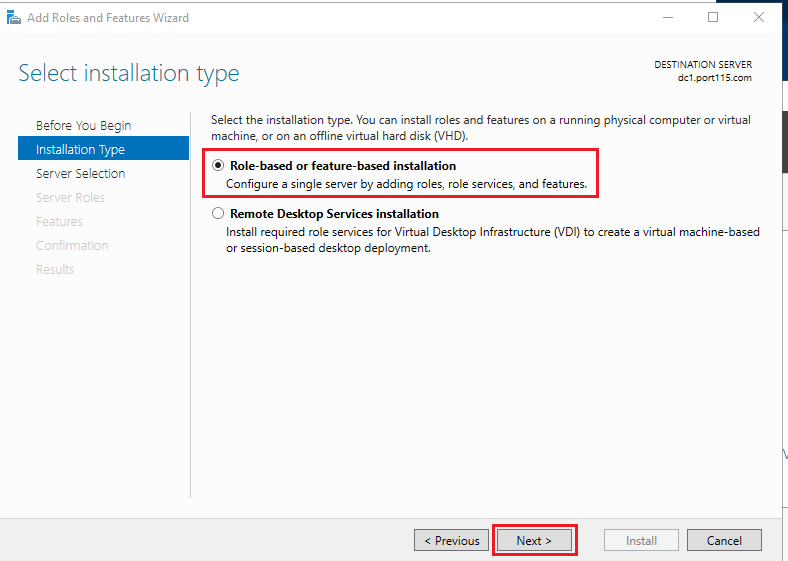
- Select Role-Based or feature-base installation and click Next.
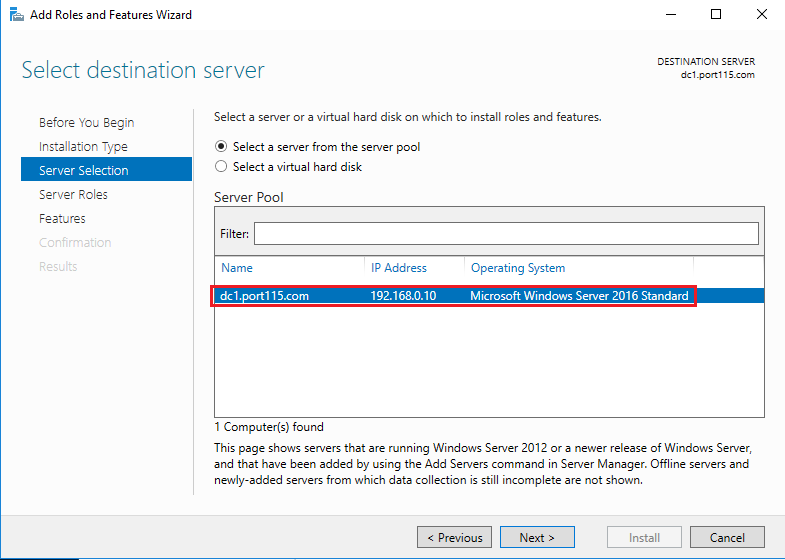
- Select the local server and click Next.

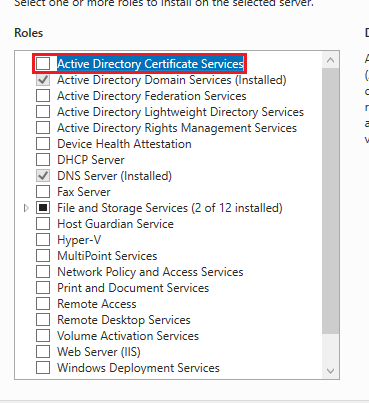
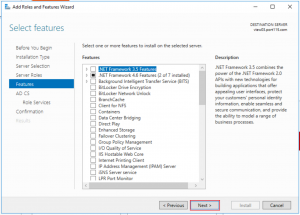
- Select Active Directory Certificate Services, and click Next.
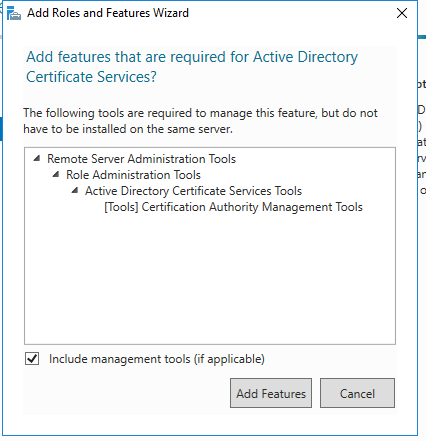
- Check Include management tools (if applicable). Click Add Features.
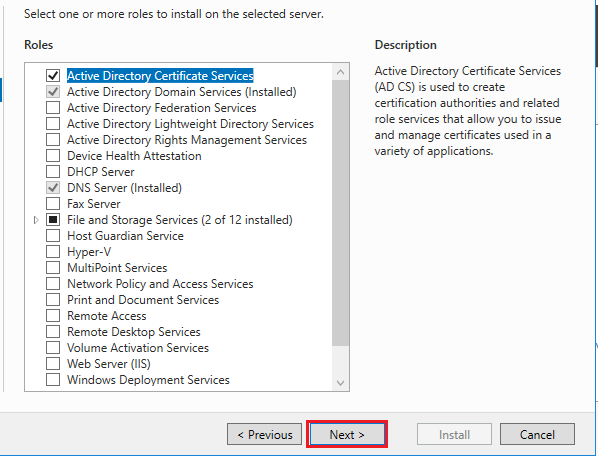
- Click Next.
- Click Next.
- Click Next.
- Click Next.

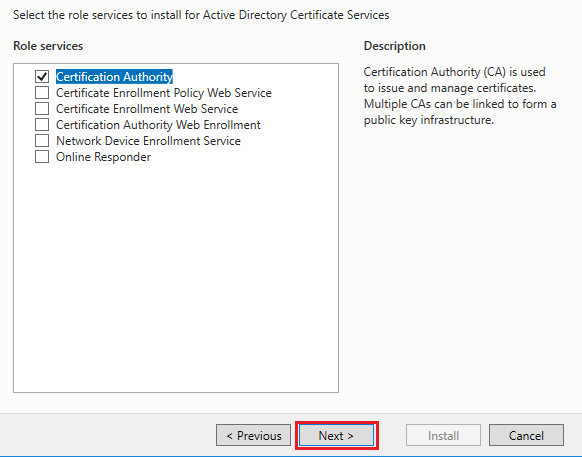
- Select Certificate Authority. Click Next.
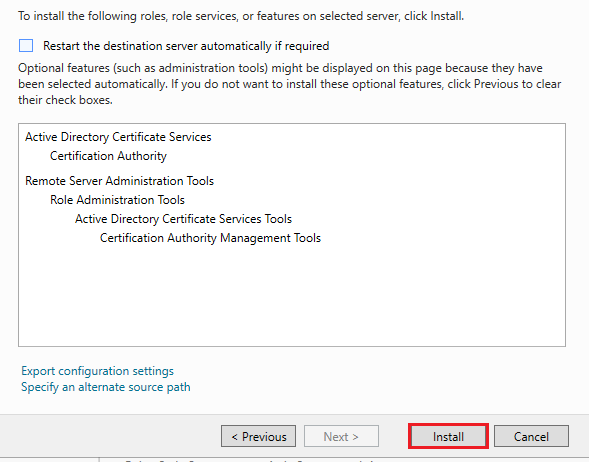
- Click Install.
- Once the install is complete Click Close.
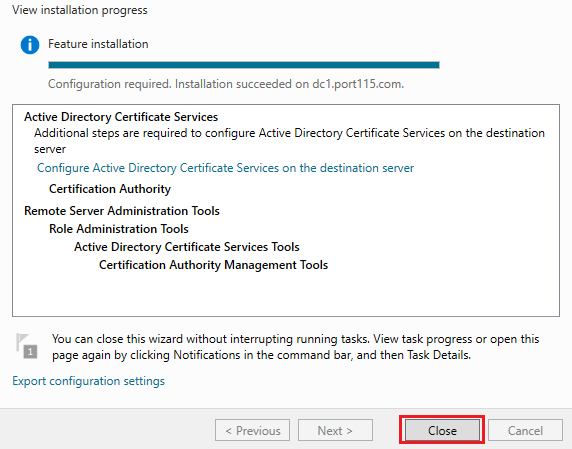
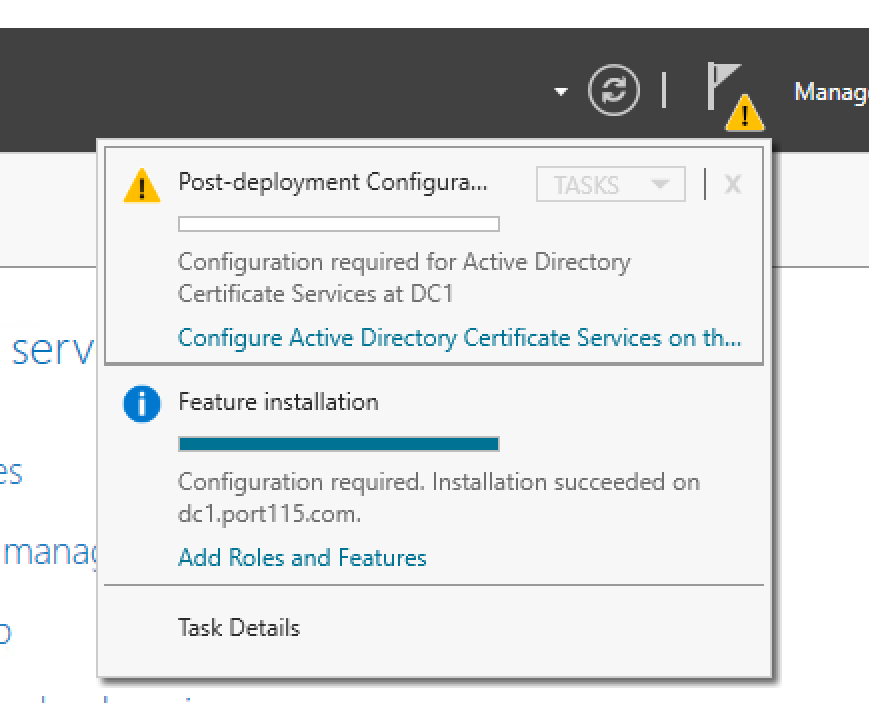
- Once the Install is finished we need to complete the post install tasks. Navigate to Server Manager and click on the alert icon. Click on the post deployment task that needs to be completed.
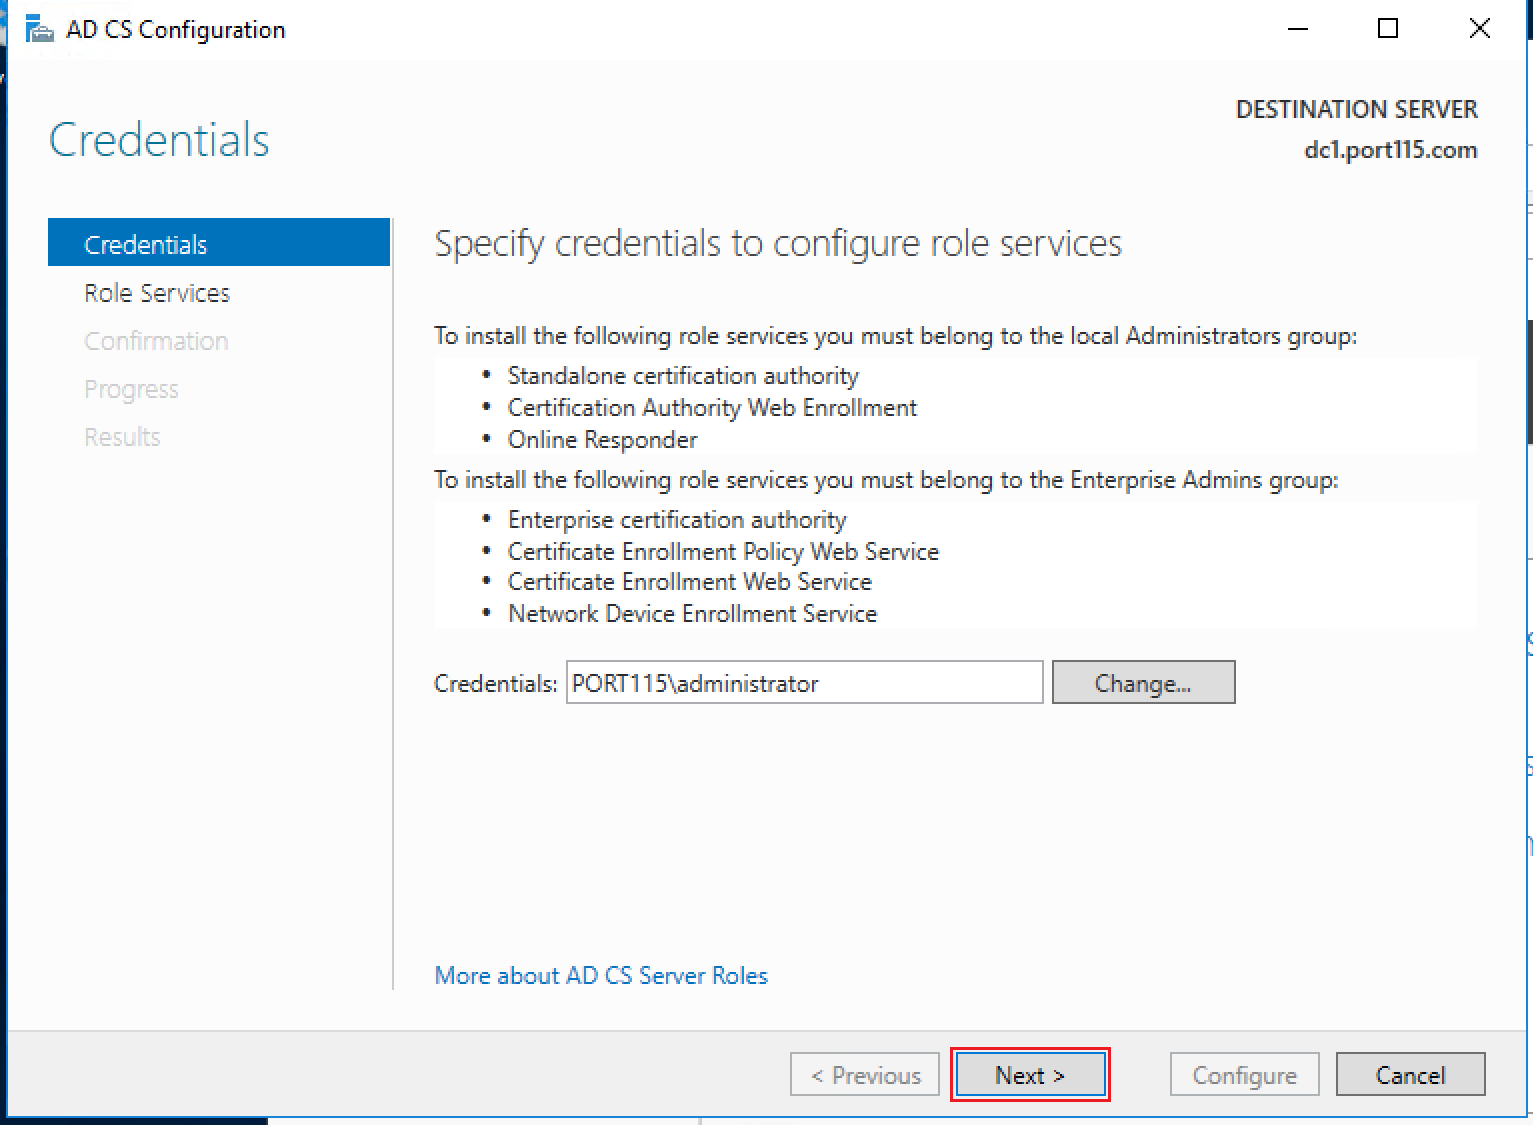
- If you need to change the credentials do so here. I just used the creds I was logged in with. Click Next.
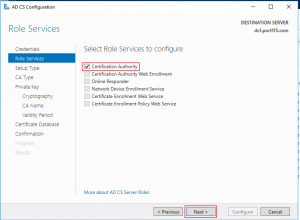
- Select Certification Authority and click Next.
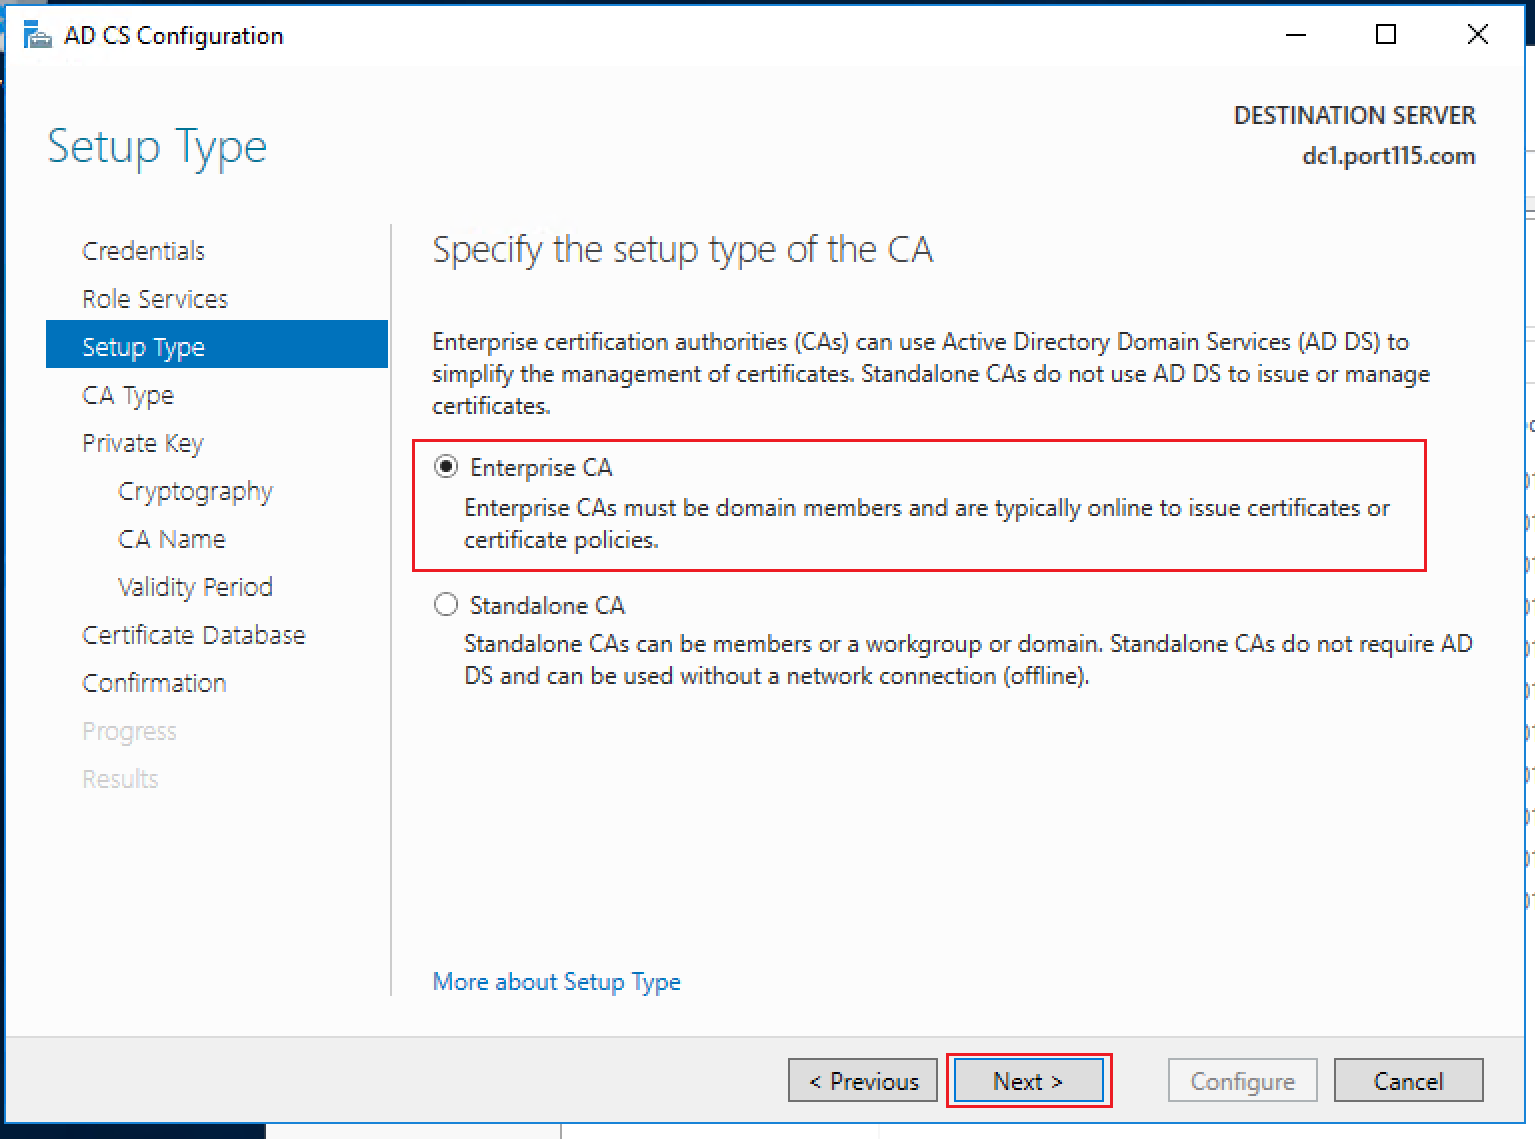
- Select Enterprise CA and click Next. You can select Standalone CA if that’s what you need. The options might be slightly different.

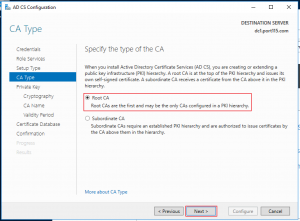
- Select Root CA and click Next.
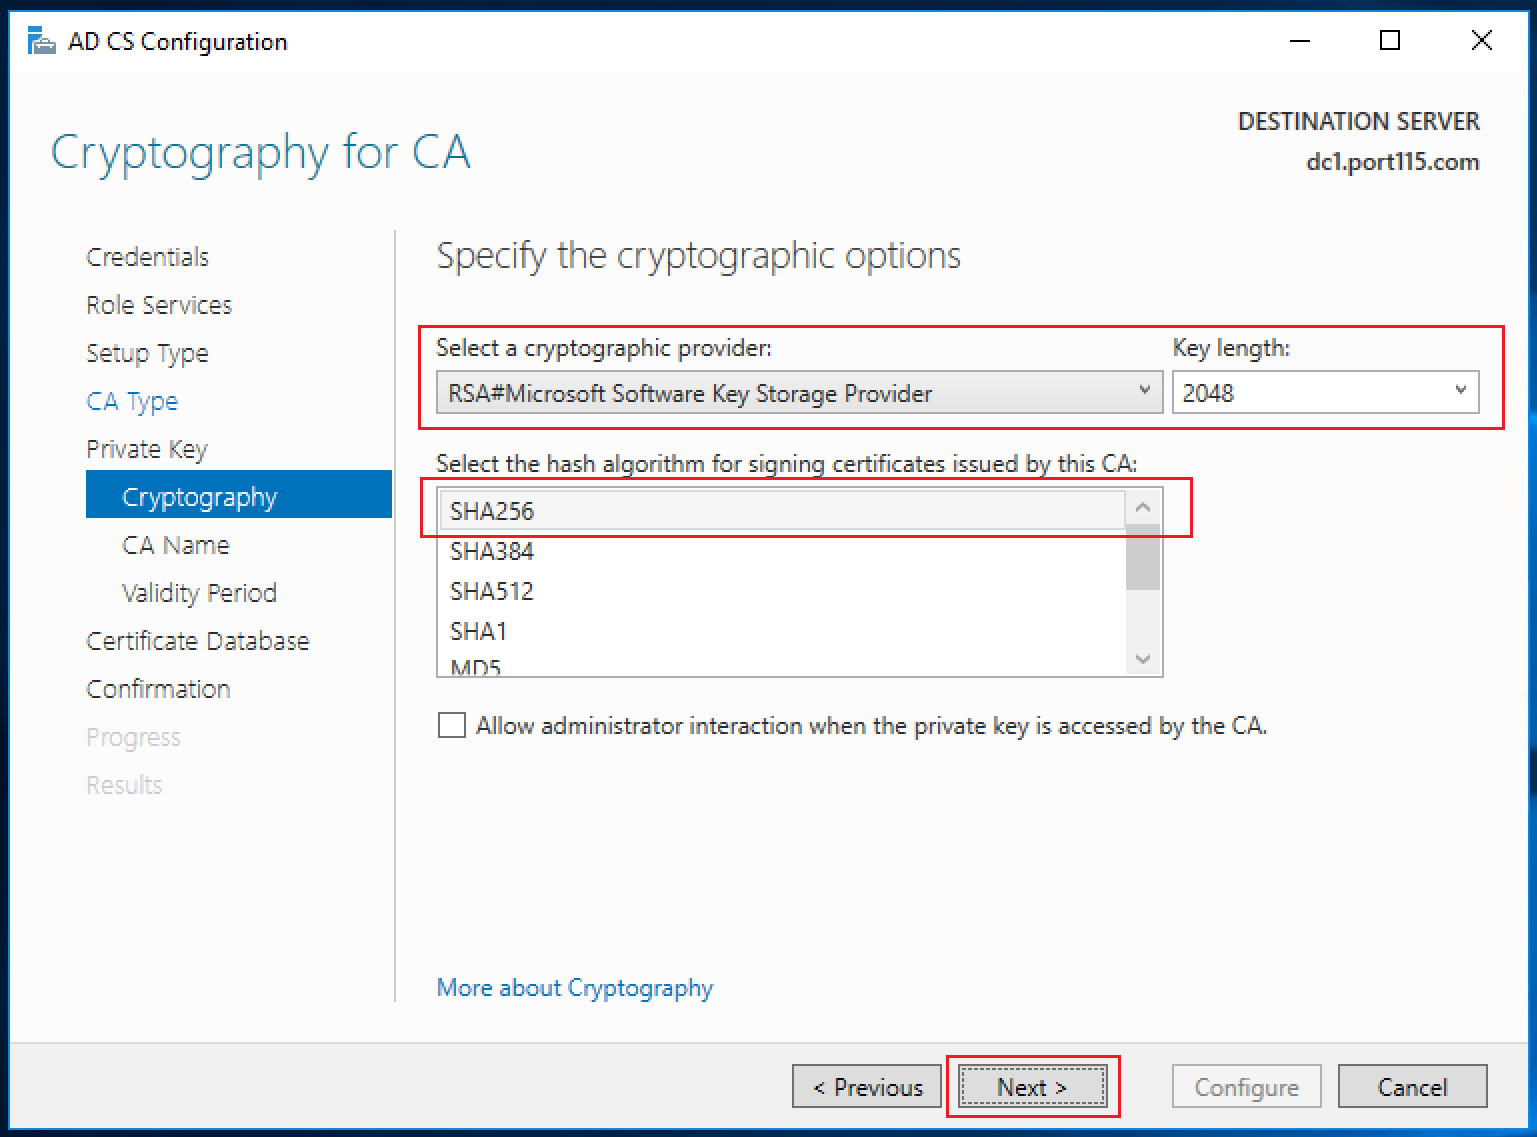
- Select Create a new private key and click Next.
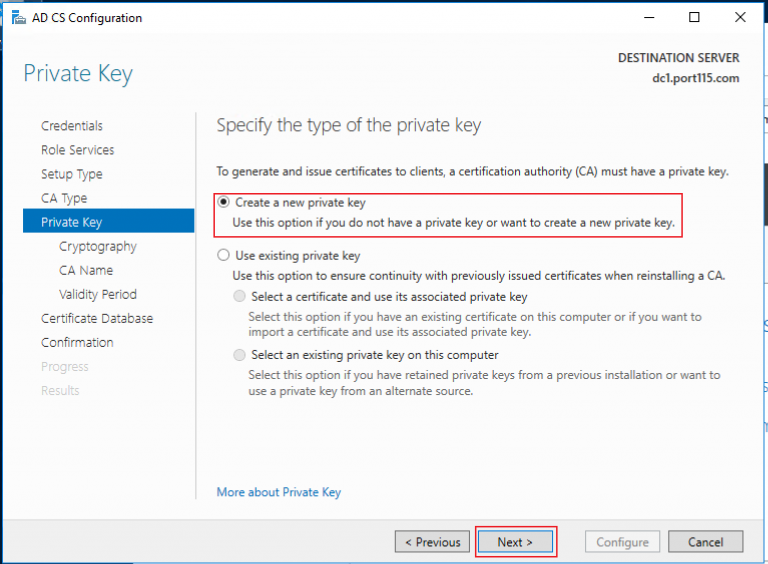
- Select the following:
- Cryptographic provider – RSA#Microsoft Software Key Provider
- Key length – 2048
- Algorithm – SHA256
- Click – Next.

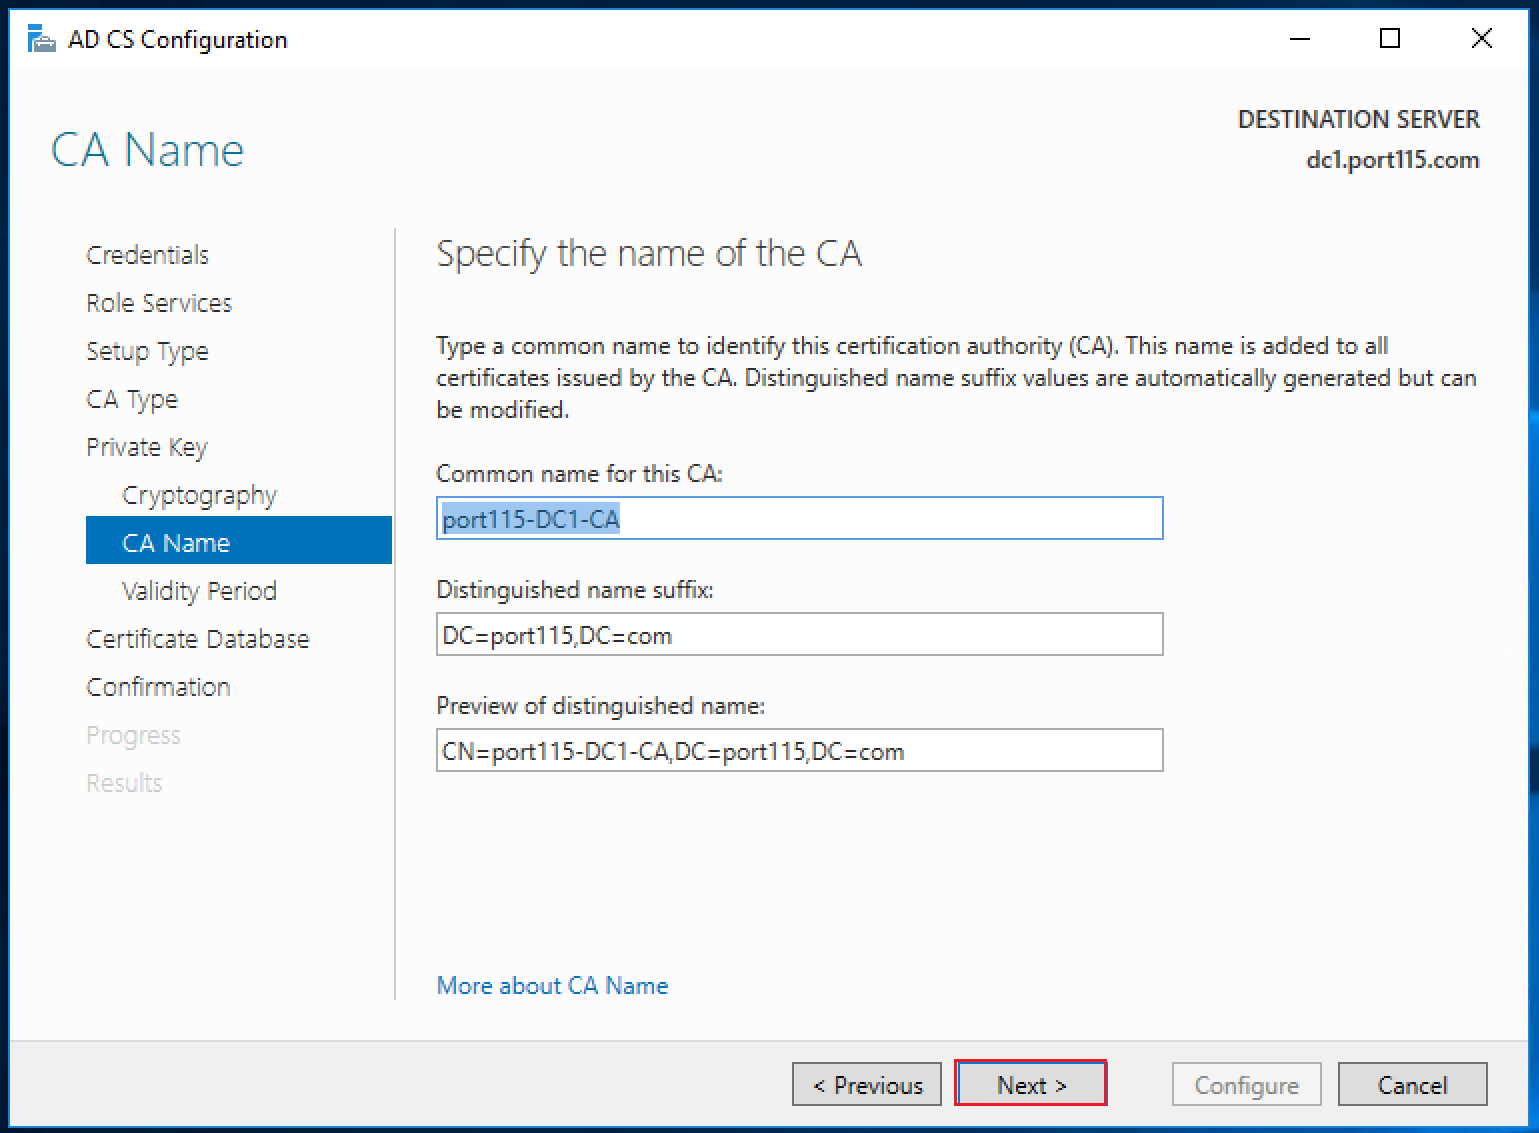
- Leave the defaults and click Next.

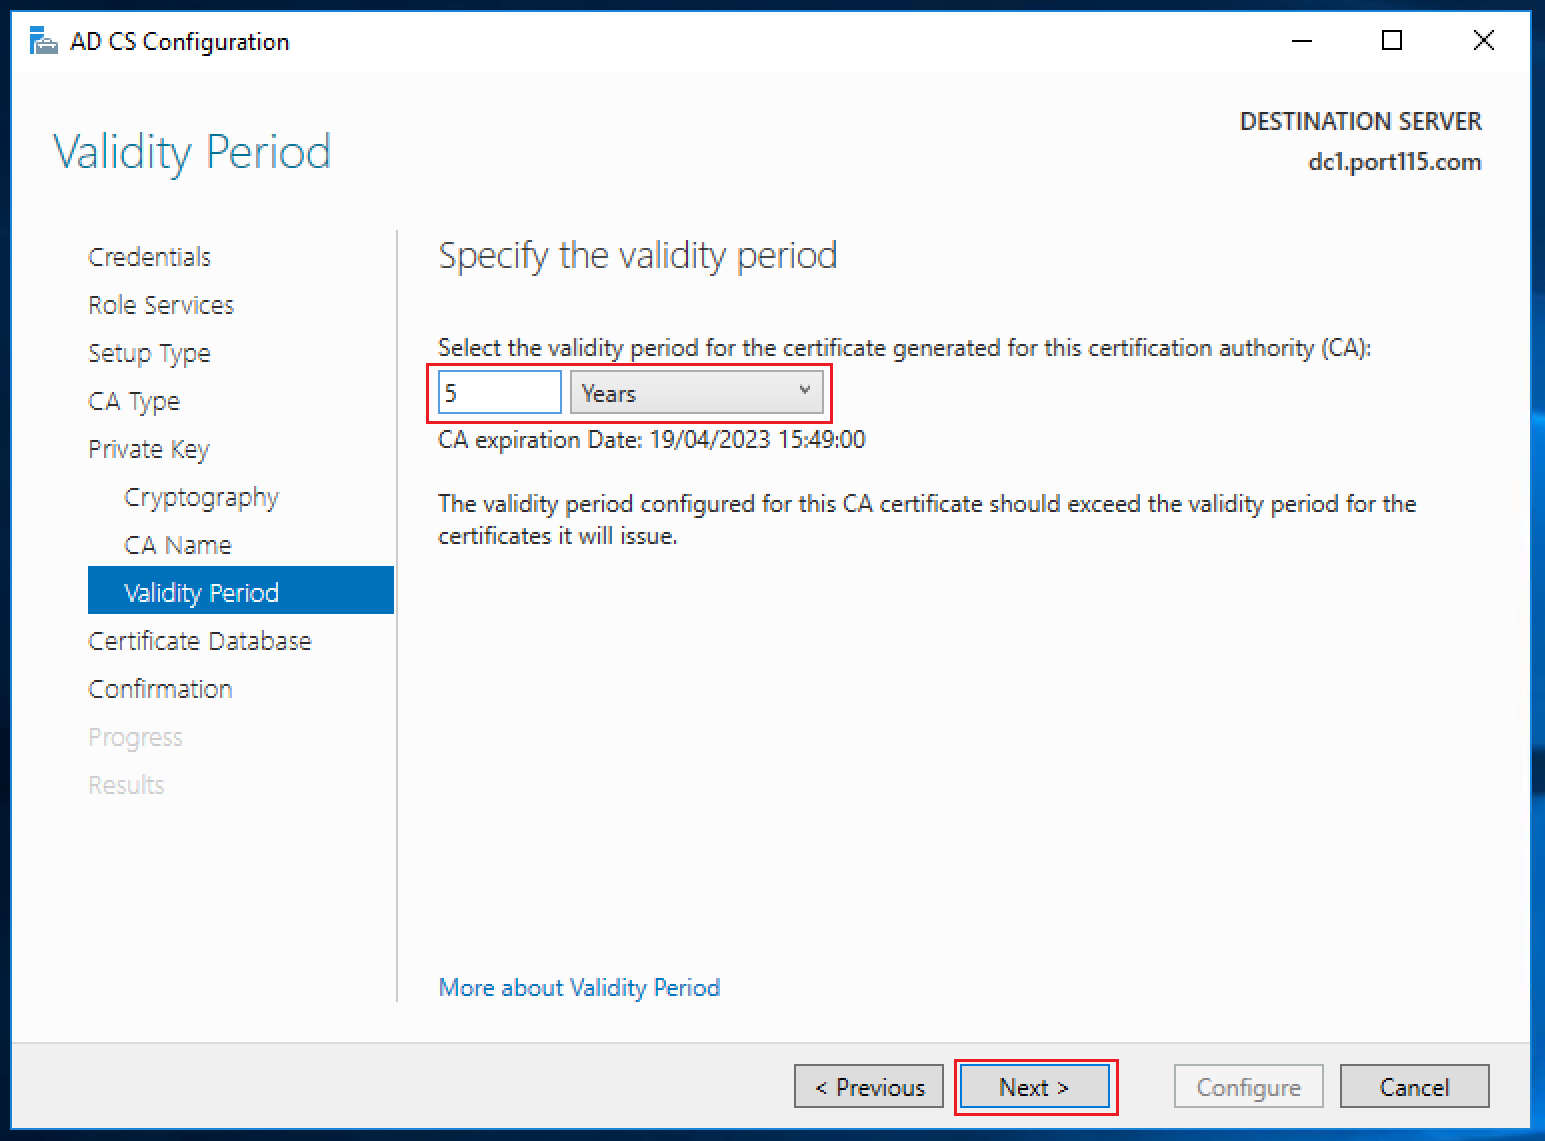
- Select the validity period of your certificate. (I chose to leave it at 5 years. In a prod environment you might want that to be less). Click Next.

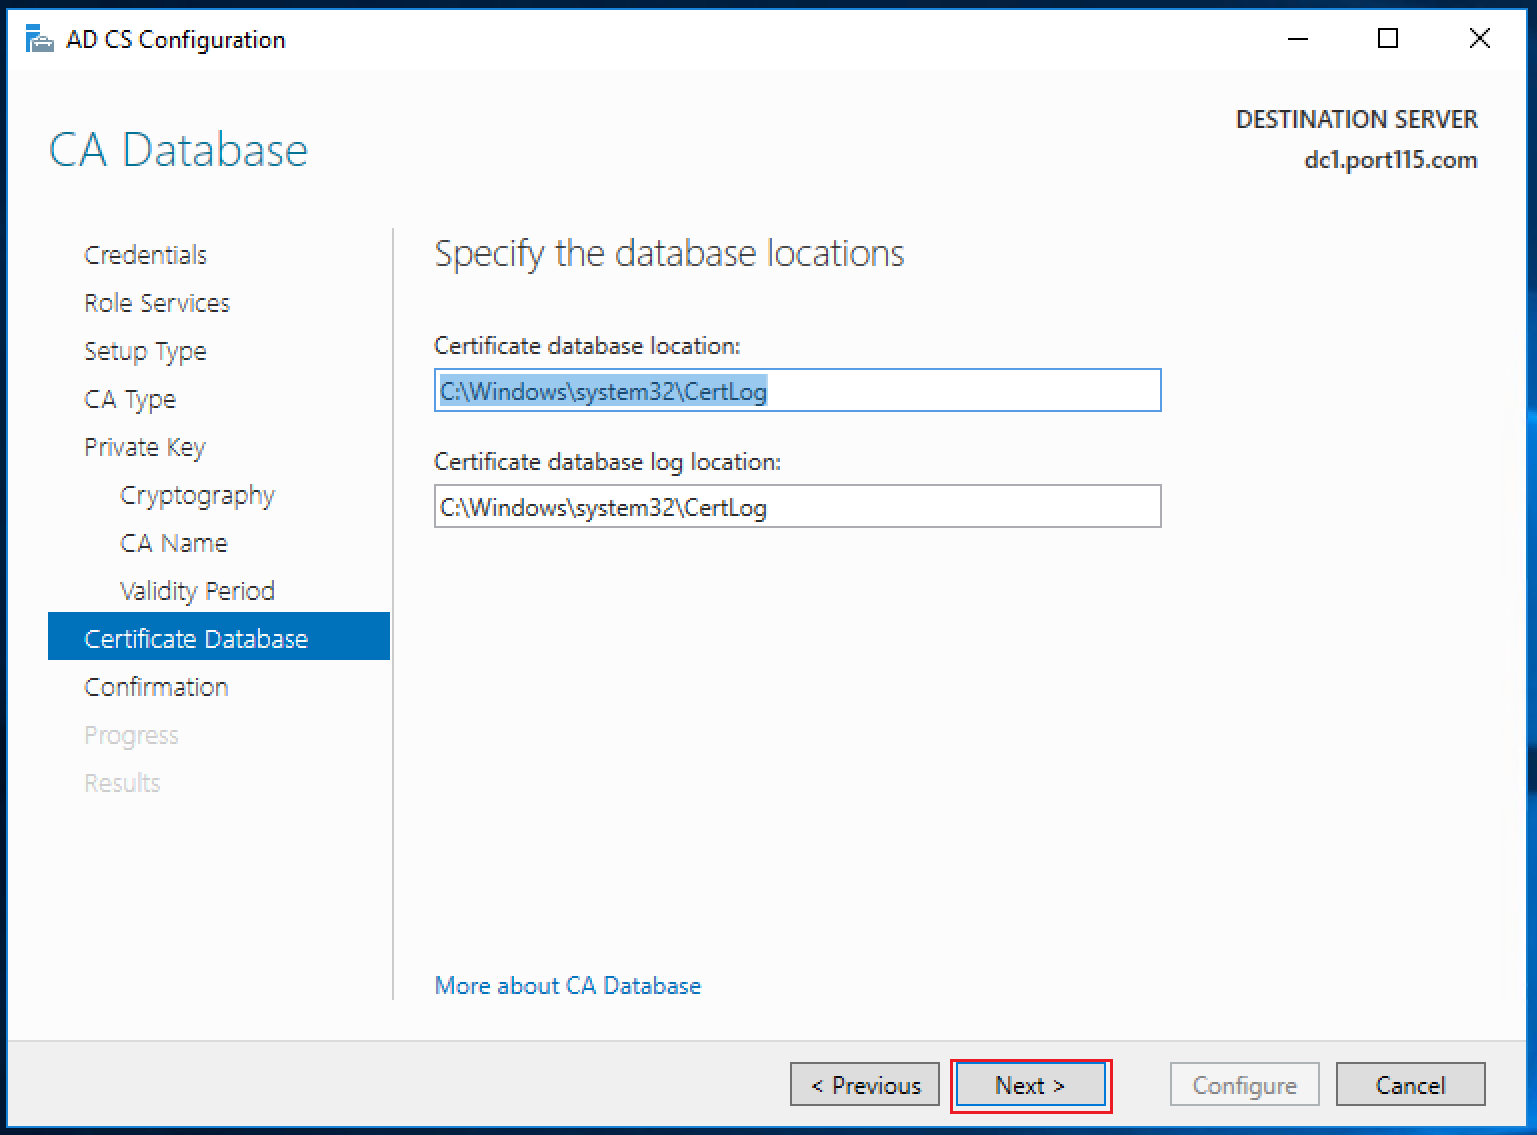
- Leave the defaults and click Next.

- In the final window check your settings and click Install.


And that’s it, we now have a working root CA!