[Edit – 31/10/19 – Updated for Dynamic Environment Manager]
We’ve reached the point where we’ve setup the config share, installed the management console, and installed the agent (in NoAD mode) onto our parent desktop, so now what?
The next few posts we’ll go through a few configuration examples but first let get some of those configurations pushed to the config share.
Easy Start is great because it’ll save you a whole bunch of time digging around for the various settings, particularly now that we are not using roaming profiles and users get a bit grumpy when their settings don’t persist.
Easy Start.
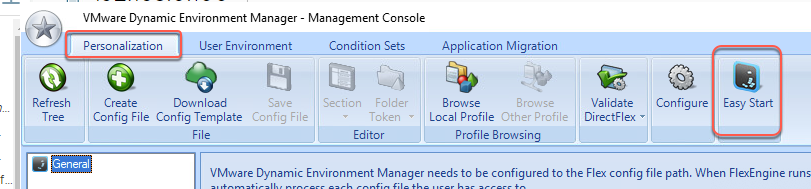
- Open the DEM Management Console.

- Select the Personalisation tab and click Easy Start.
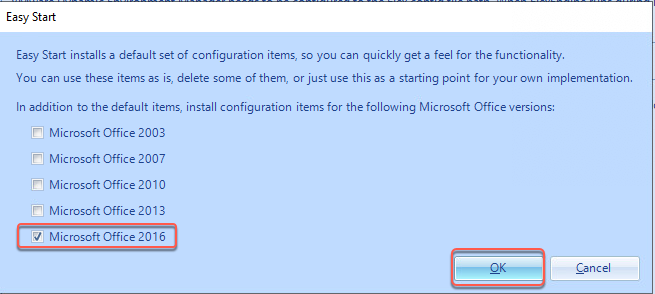
- If you are planning on deploying MS Office, select the version and click OK.
- The DEM Console will go off and put a whole bunch of config settings into your General folder.
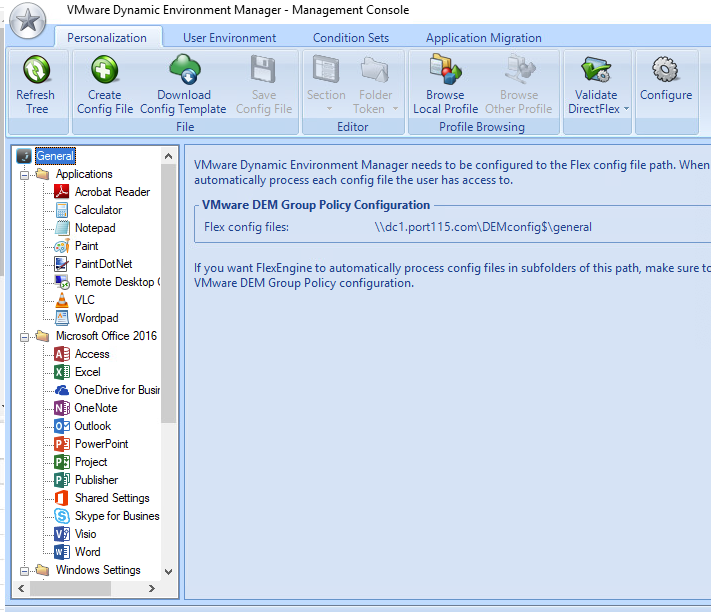
There we go, a bunch of configs for us to look into in the next post.