Preparing for Horizon View – Connection Server Certificate.

Doing a straight forward install of the connection server is fairly easy. its mostly next-next-next. However since we are trying to do this deployment as close to prod as possible we want to get a certificate installed from the root CA we setup in an earlier post.

Post deployment task- Certificate install.

The instructions below are to be run on server you’re intending to install the Horizon view connection server on.

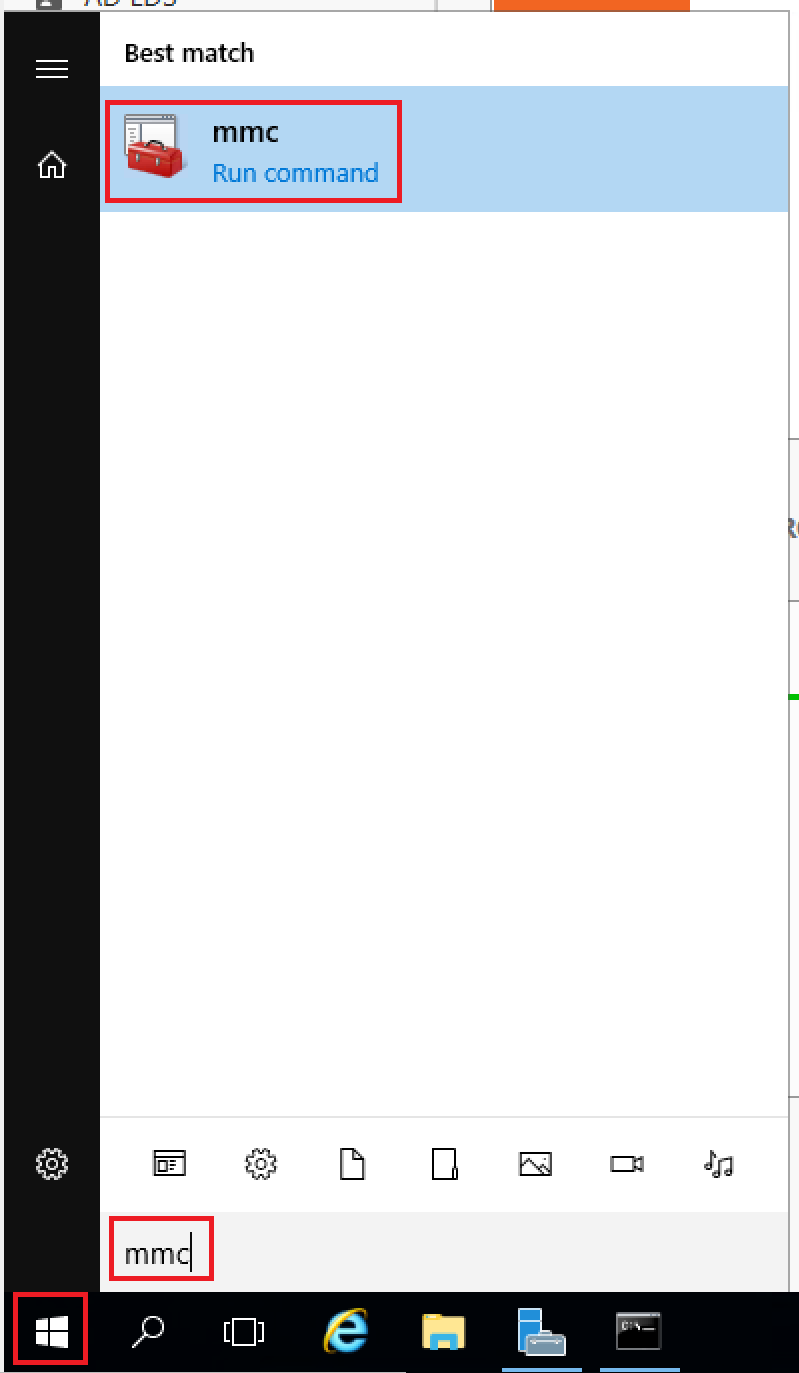
  1. Click on the windows icon, type mmc and select it to start the mmc.
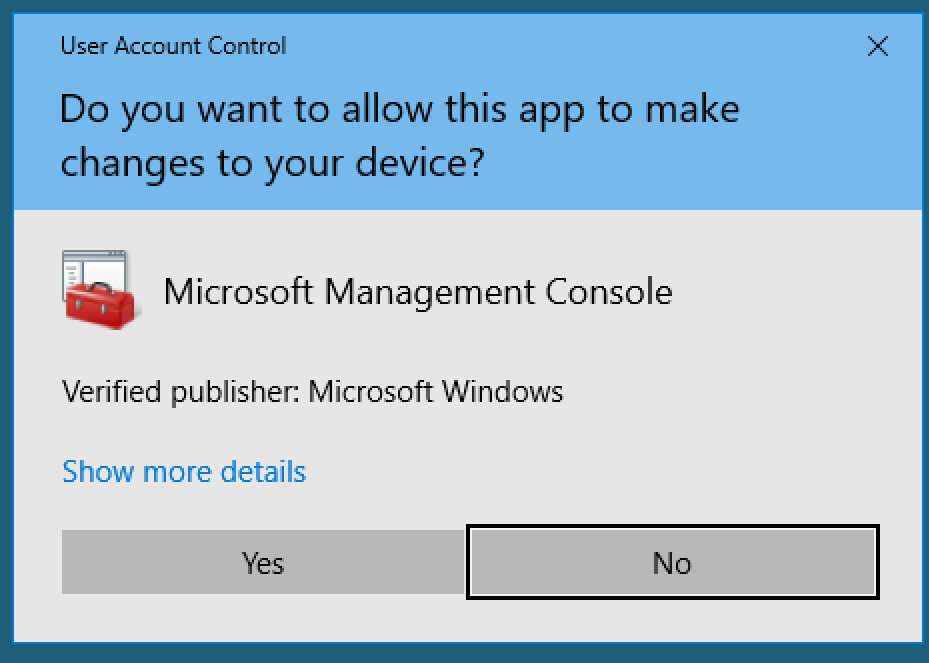
  2. Accept the security warning.
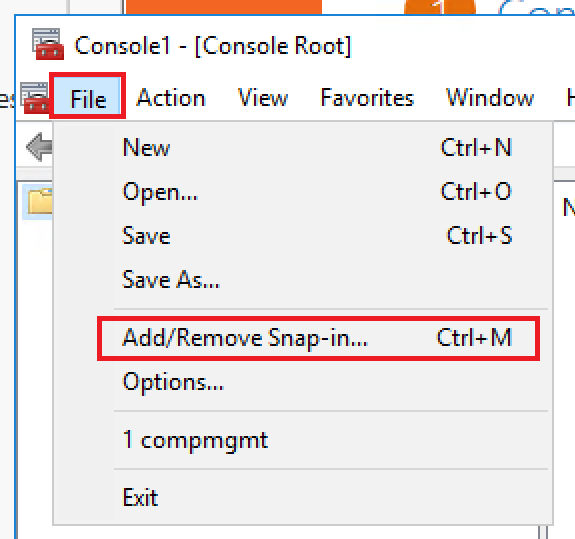
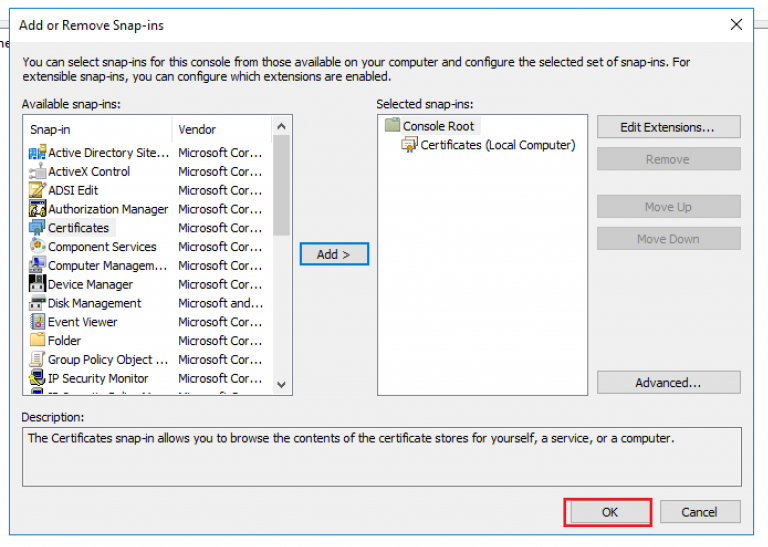
  3. Click file then Add/Remove Snap-in.
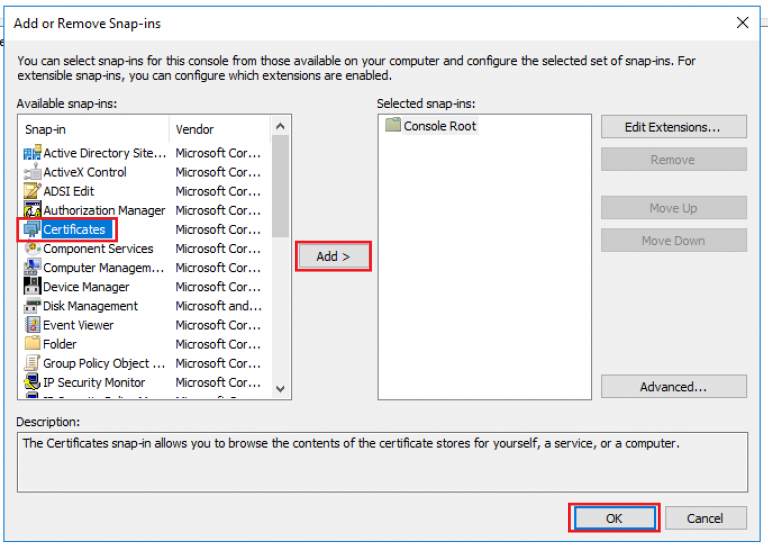
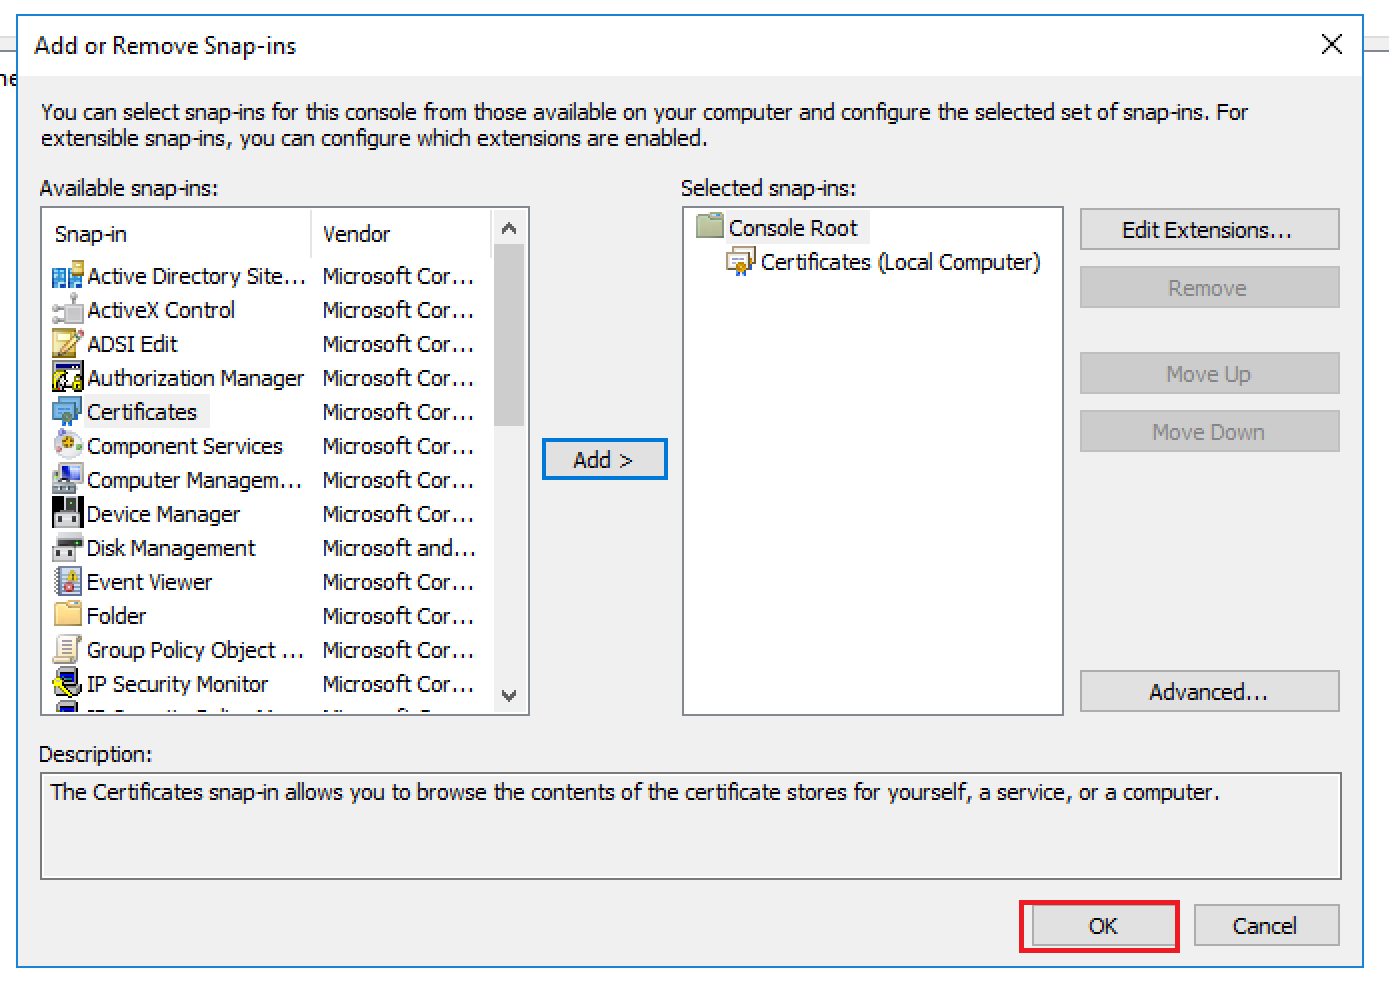
  4. Select Certificates -> Add -> OK.
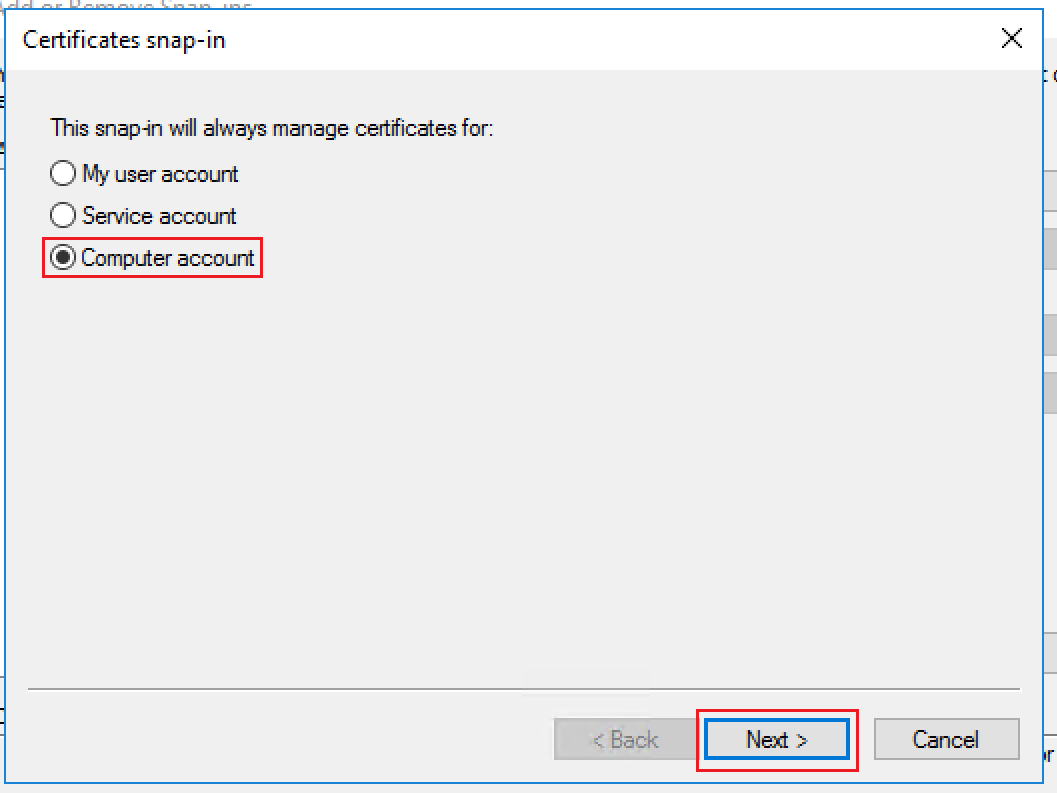
  5.  Select Computer Account -> Next.
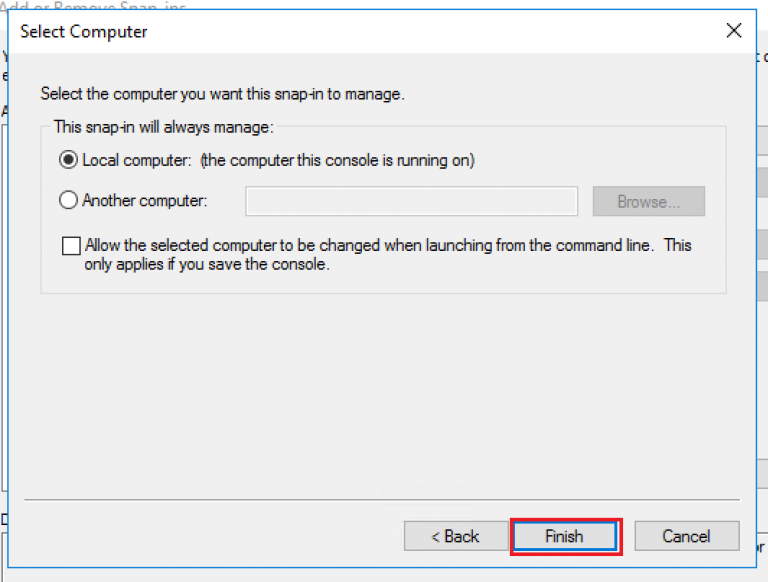
  6. Select Local Computer -> Finish.
  7. Click OK.
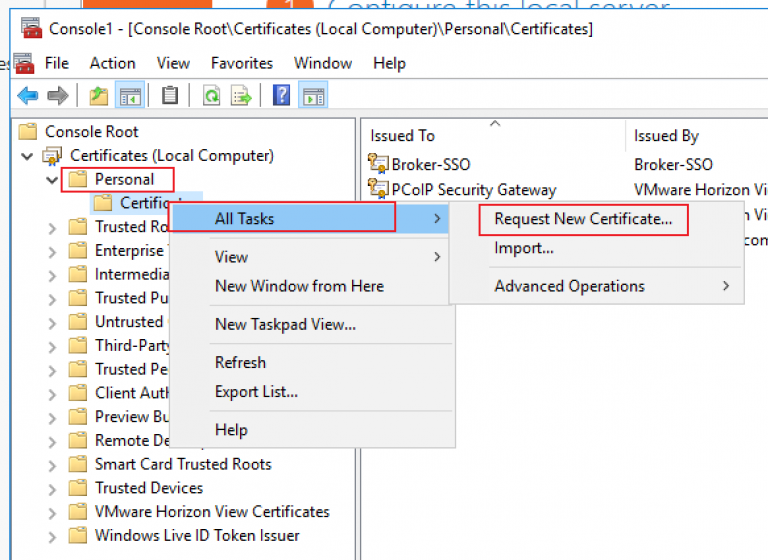
  8. Expand Certificates, Right Click on Personal -> All Tasks -> Request New Certificate…
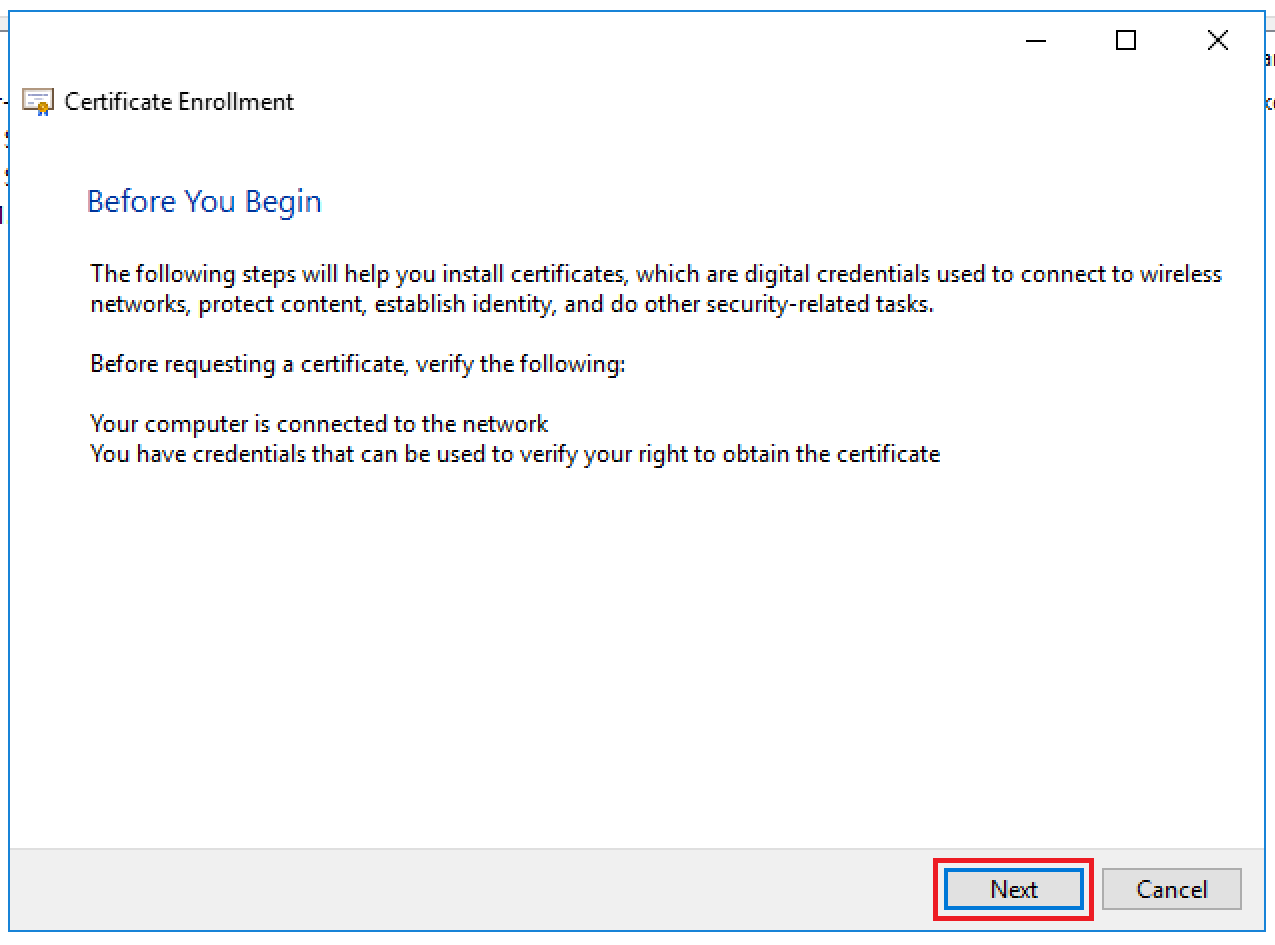
  9. Click Next.
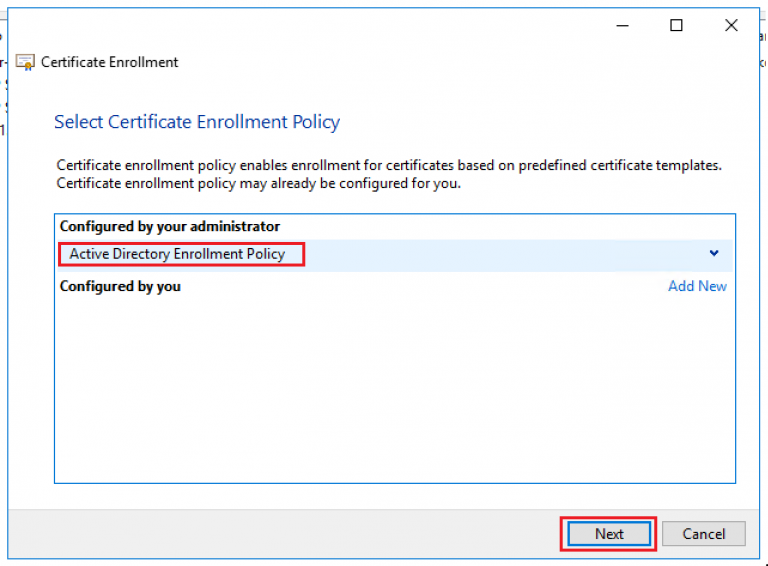
  10. Highlight Active Directory Enrolment Policy and click Next.
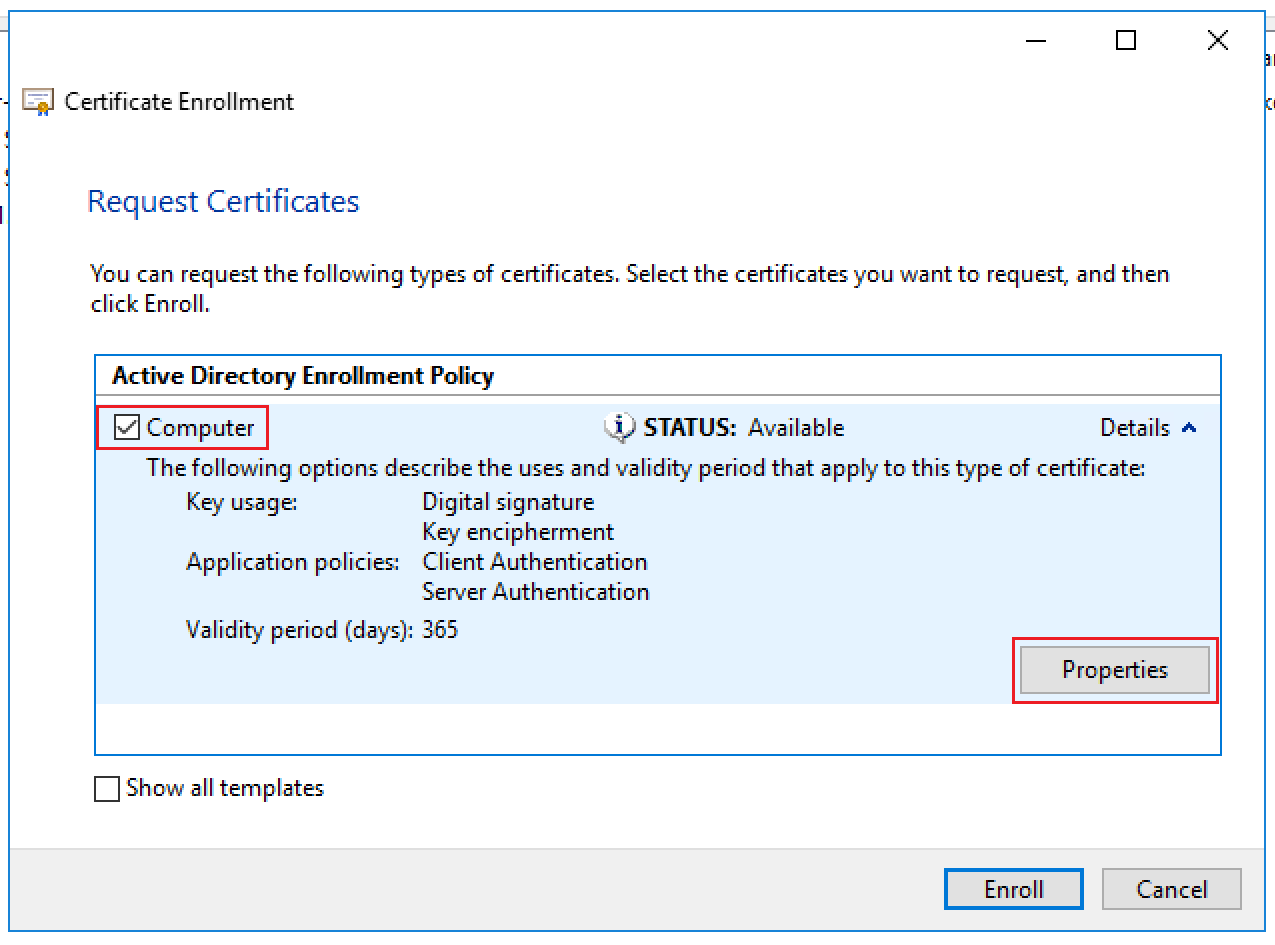
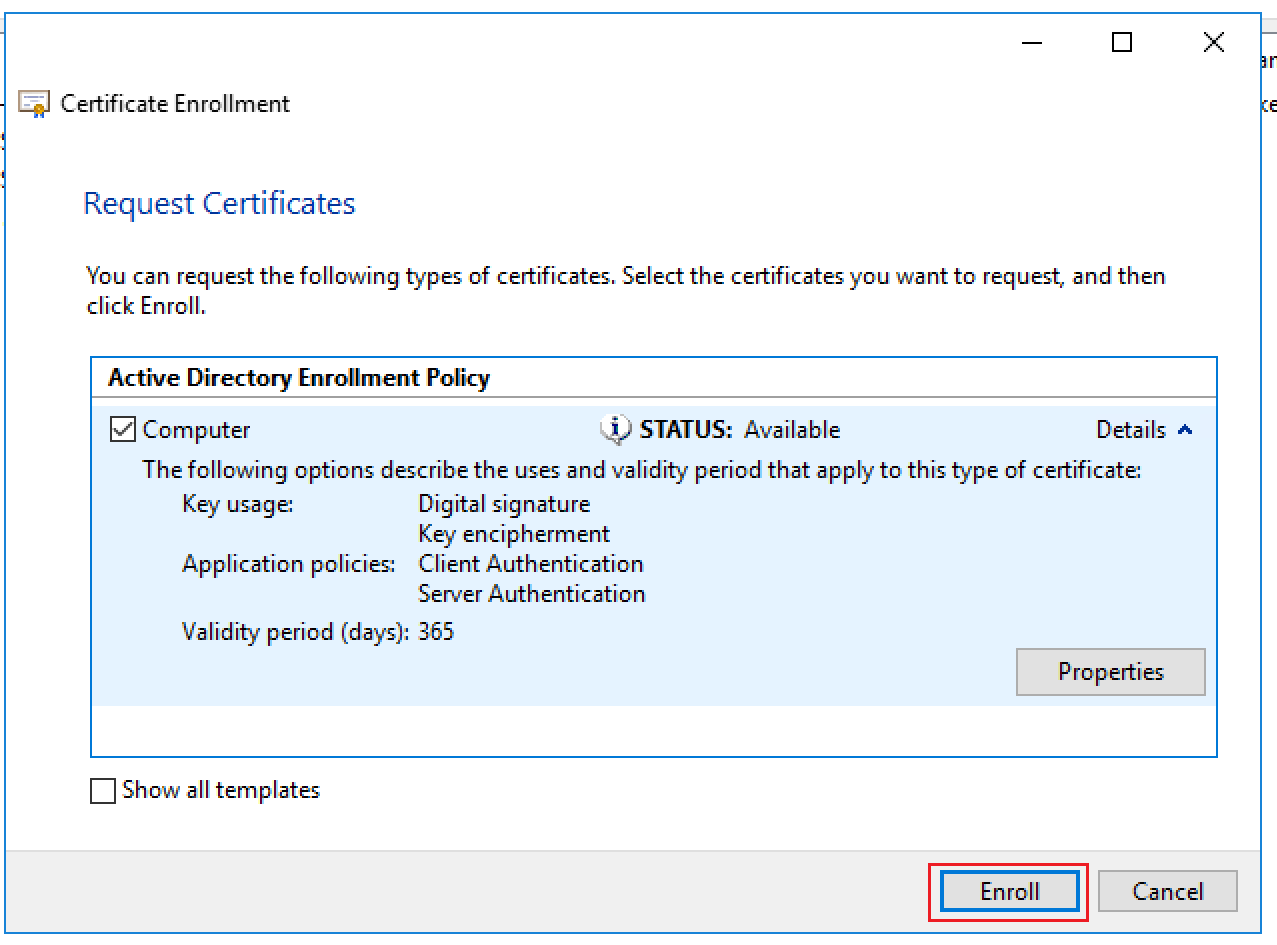
  11. Check Computer, expand the Details and click Properties.
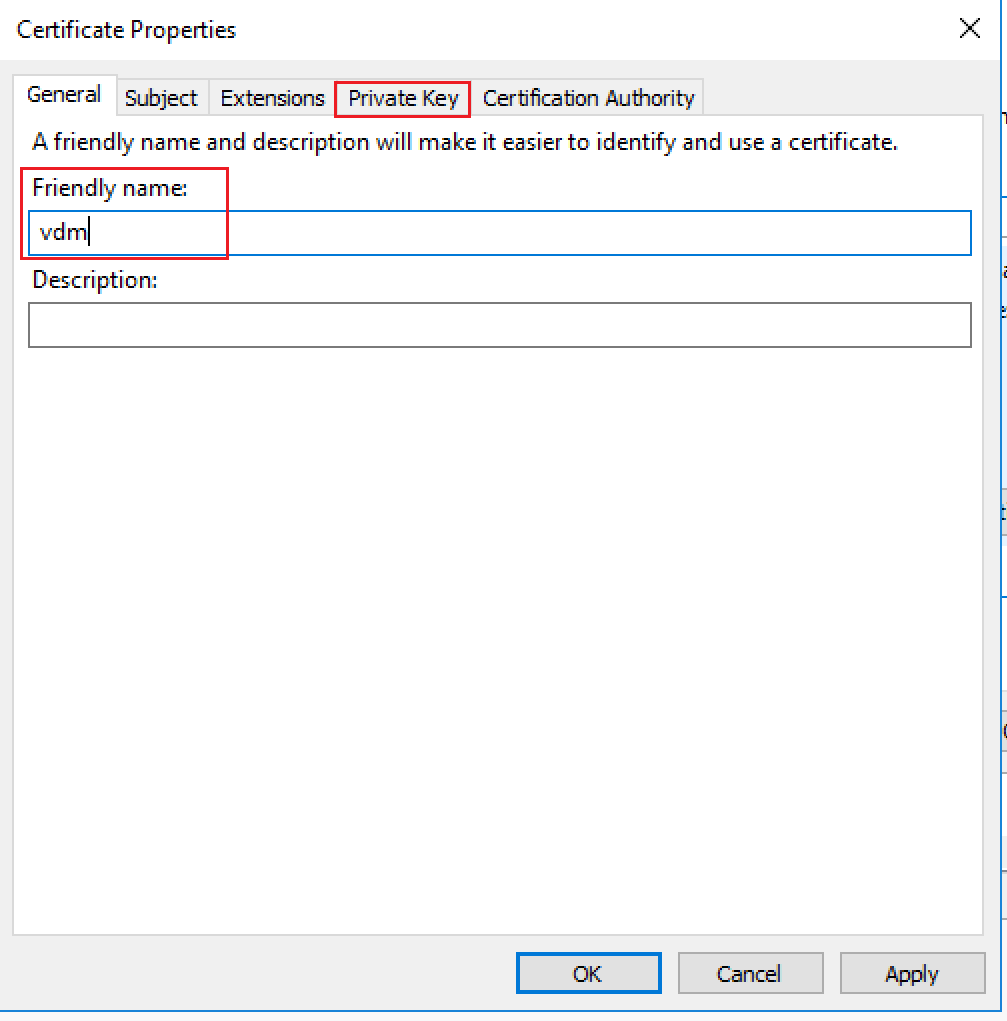
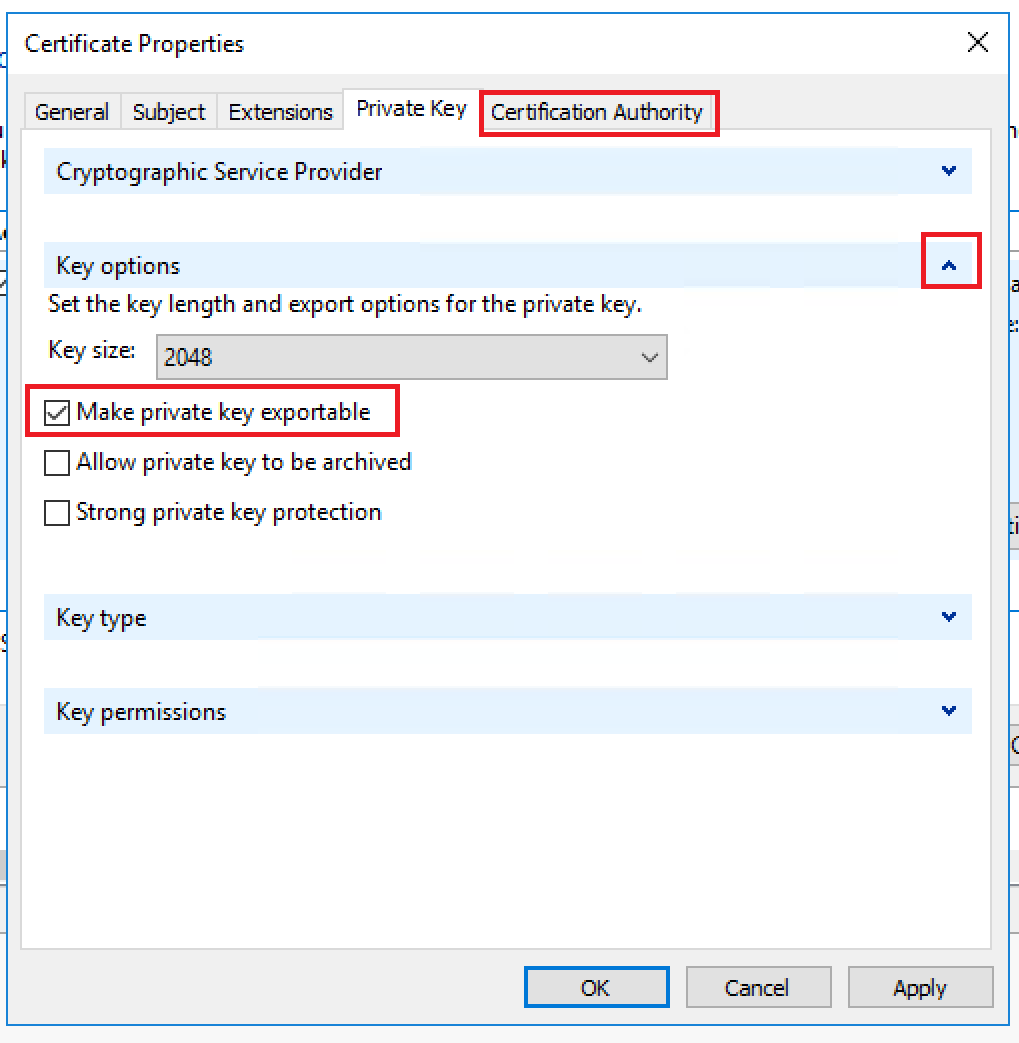
  12. Type vdm in Friendly name  and select Private Key.
  13. Expand  Key Options and select Make private key exportable. Select Certification Authority.
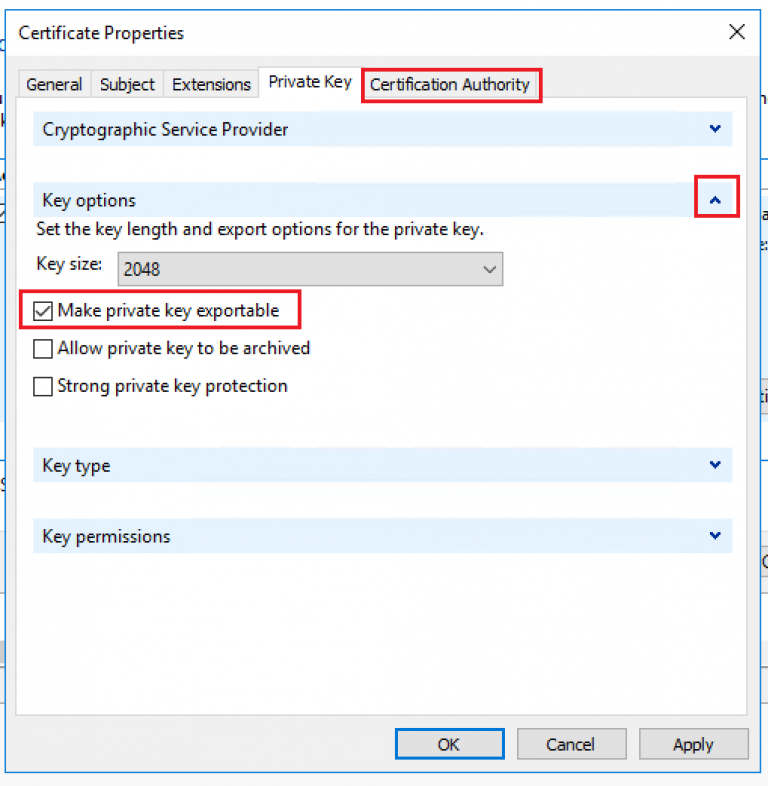
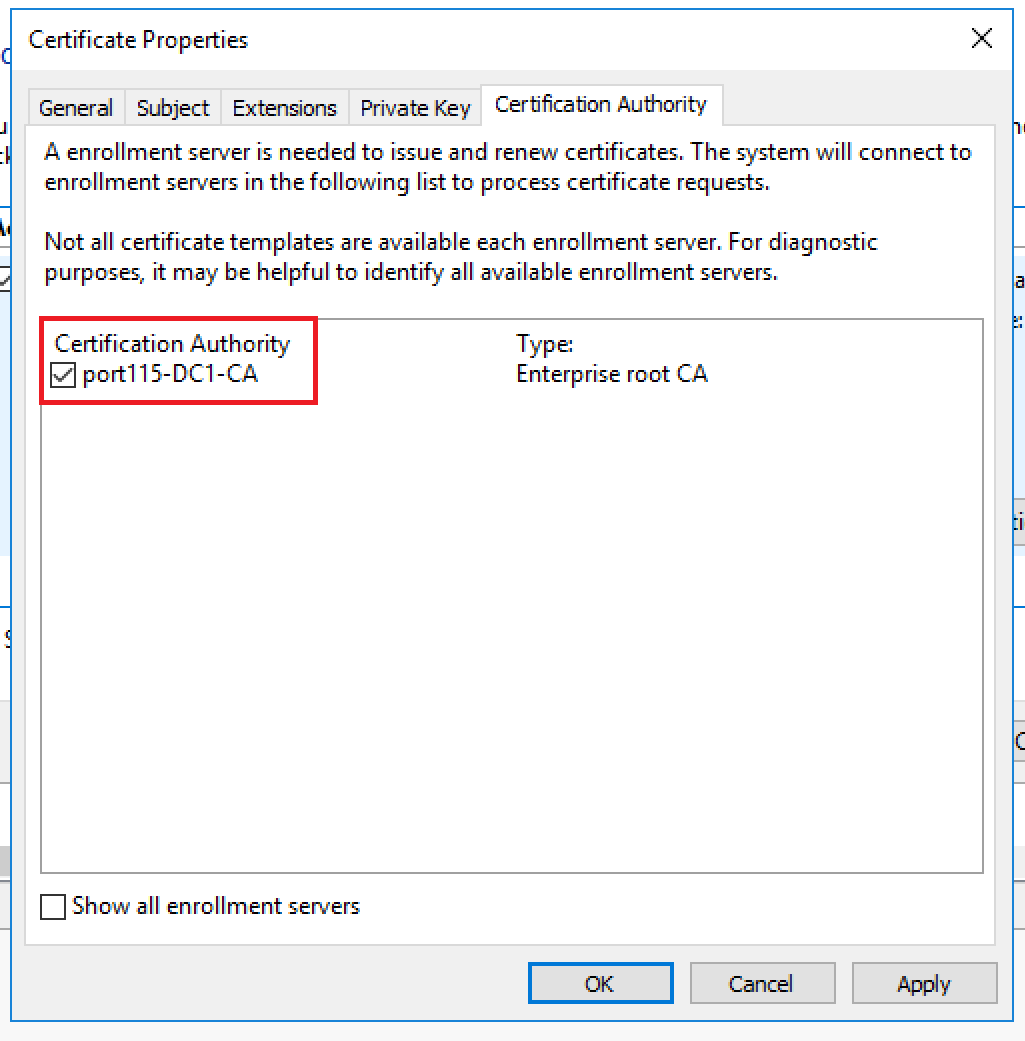
  14. Make sure the correct certificate authority is chosen anf click Apply.
  15. Click Enroll.
  16. Once the certificate has been issued click Finish.

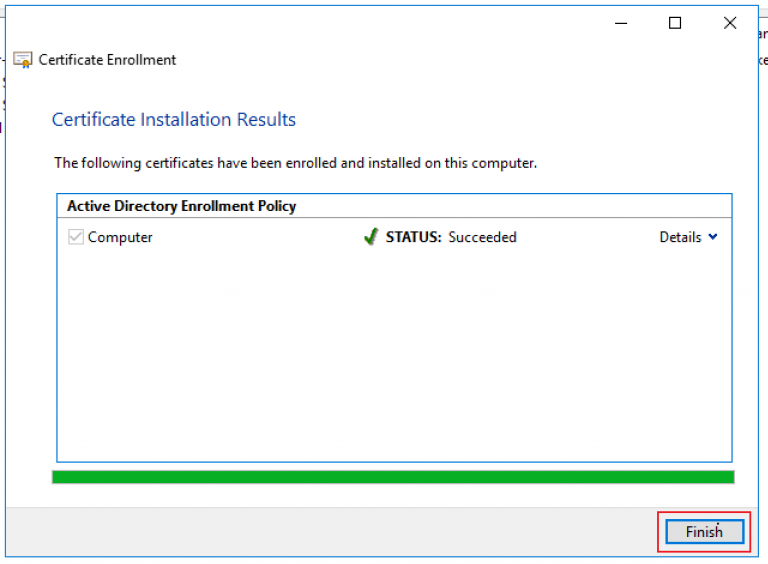
Once the certificate has been installed you’ll see a new folder under Personal called Certificates. In there you’ll find the certificate issued by the root CA.

Preparing for Horizon View – If using SQLExpress

Quick Post

As a database SQL Express is pretty good. It has size restrictions built in but it is a full working MSSQL database engine and works quite well with Horizon View, although not supported at all.

To be able to connect to it from another server, one running the Horizon View connection server for example, you’ll need to enable TCP connections.

  1. Start the SQL Server Configuration Manager.
  2. Click yes
  3. Expand SQL Server Network Configuration, Select Protocals for SQLEXPRESS, Right click Enable. Once the status reads enabled, right click again and select Properties.
  4. In the entry for the IP address of the server switch Active to Yes.
  5. Scroll down to the bottom of the window and under IPALL set the TCP Port to 1433.
  6. Restart the Server

This and allowing incoming connections through the firewall got me connected and using the events logging in the Horizon View Connection Server.

Preparing for Horizon View – Setting up the Database – 2 of 2

Part of this Horizon view deployment will be to have the connection server logging its events and a configured view composer server. For this we’ll need two databases.

While I am working with the Express version of MSSQL, the following steps will also apply to other versions of MSSQL (excluding the Linux version). In a production environment you definitively will want to run either standard or enterprise. There is also the developer edition, which is a full featured version for testing and development only.

One quick change before we begin:

  1. Start the Microsoft SQL Server Management Studio.
  2. Select Connect to login.
  3. Right click the server name and select Properties.
  4. Select Security and change the Authentication mode to SQL Server and Windows Authentication Mode and click OK.
  5. Click OK. While you can restart the service to get the new security changes to apply, I usually just reboot the server.


Setting up the Horizon View Events Database and creating the user.

  1. Start the Microsoft SQL Server Management Studio.
  2. Select Connect to login.
  3. Expand the instance, right click on Database and select New Database…
  4. Give the database a name. I chose ViewEvent.
  5. Select Options and make sure the options match the attachment below and click OK.
  6. Expend Security, right click Logins, and select New Login…
  7. Type in  a name for your user (I used ViewEvent). Select SQL Server authentication and type in a password. Unselect Enforce password policy. Change the Default database to ViewEvent or whatever you named you database in step 4.
  8. Select User Mapping. Select the database you created above and in the bottom pane select db_owner.
  9. Click OK and we’ve successfully created the Events database and user. Now onto the composer DB.


Setting up the Horizon View Composer Database and creating the user.

  1. Start the Microsoft SQL Server Management Studio.
  2. Select Connect to login.
  3. Expand the instance, right click on Database and select New Database…
  4. Give the database a name. I chose ViewComposer.
  5. Select Options and make sure the options match the attachment below and click OK.
  6. Expend Security, right click Logins, and select New Login…
  7. Type in  a name for your user (I used viewcomp). Select SQL Server authentication and type in a password. Unselect Enforce password policy. Change the Default database to ViewComp or whatever you named you database in step 4.
  8. Select User Mapping. Select the database you created above and in the bottom pane select db_owner.
  9. Click OK and we’ve successfully created the Composer database and user.

In this part we’ve created the two main DB’s we’ll need for view. So just something to note. In this setup I have used SQL accounts for the databases however in most prod environments that would most likely be heavily discouraged. If you do choose to go down the domain account route then you don’t need to change the authentication mode.