So in the previous post we added our primary host to the vcsa we built in part 4. Before we build our first virtualized ESXi host we need to add a single standard virtual switch. The foundation for this is discussed in part 2, please take a moment to read it as we’ll be using some of those details.
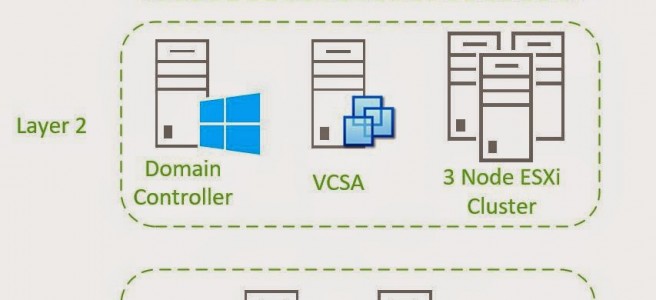
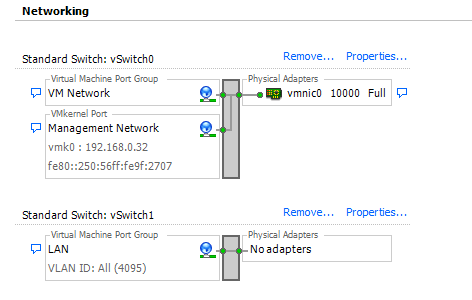
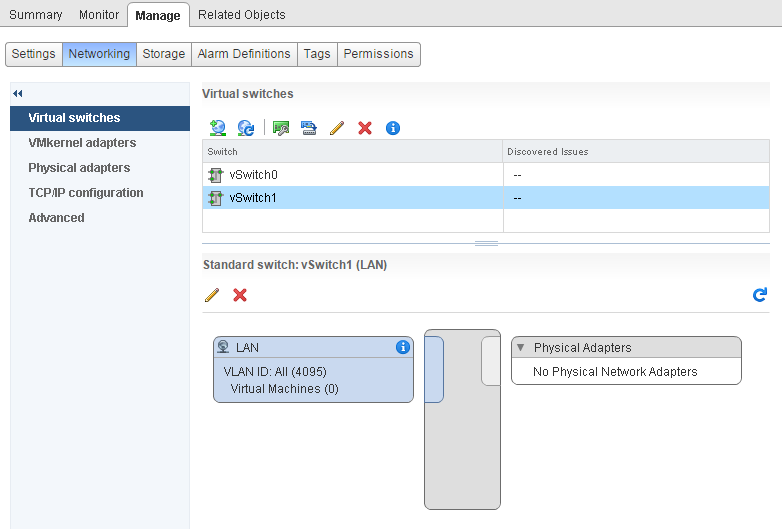
We want the primary network layer to look like the diagram below. two standard switches. vSwitch0 will already have been created by default and you’ll have a few VM in the VM Network already. The second, vSwitch1, will have only one port group, which I have called LAN. This port is going to be trunked to all VLANs. In addition we’ll also set the configuration for VM Network so that nested ESXi servers pass traffic from their nested VM’s correctly.
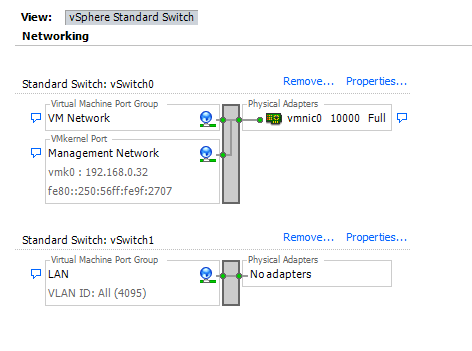
Configuring the networking for the VM Network port group.

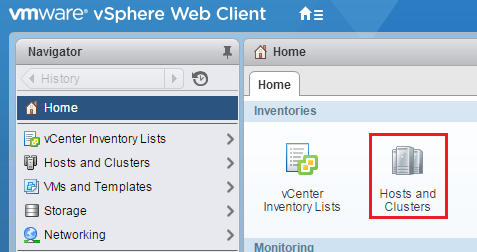
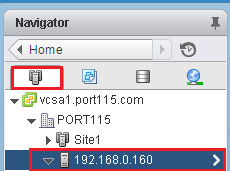
2. Select Home and the Hosts and Clusters
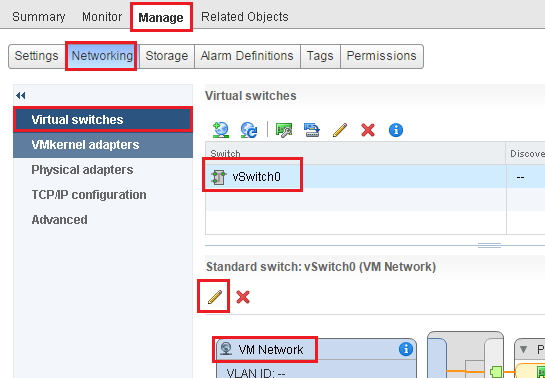
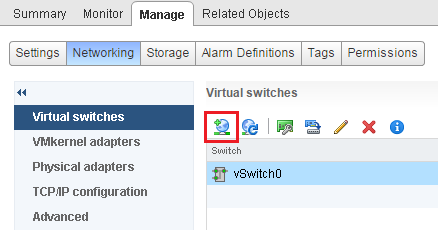
4. In the right hand pane:
4.1 Click Manage.
4.2 Click Networking.
4.3 Click Virtual Switches.
4.4 Click the “VM Network” port group and click the edit icon.
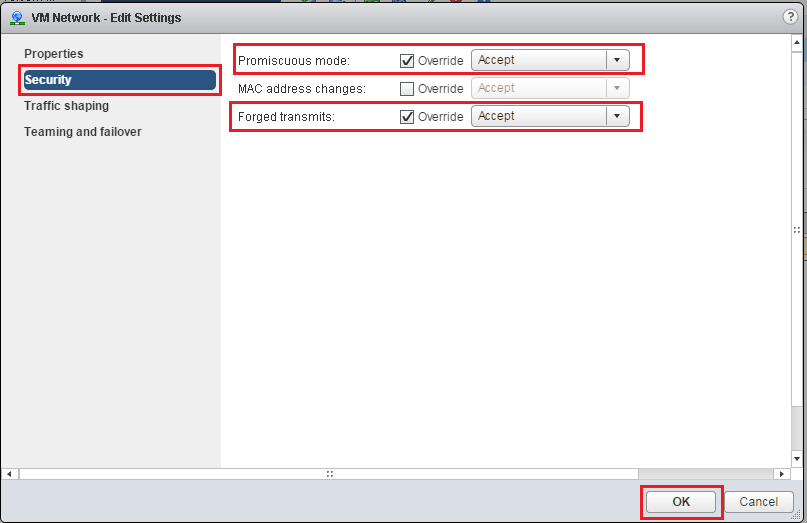
That’s the VM network setup. Now we want to setup a new vSwitch with a single port with the same security settings as above.
1. Carrying on from above. Select the icon to create a new standard vSwitch.
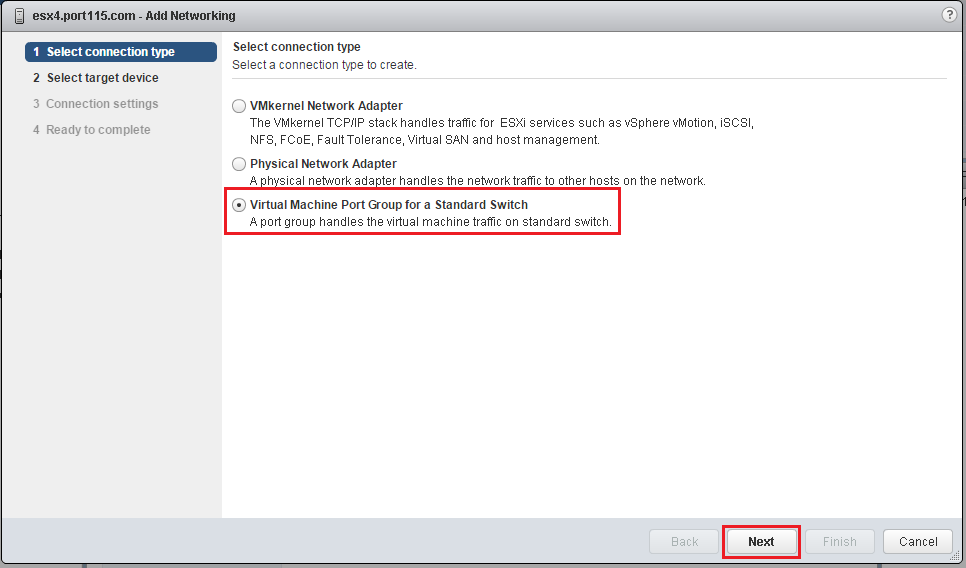
2. Select Virtual Machine Port Group for a Standard Switch. Click Next
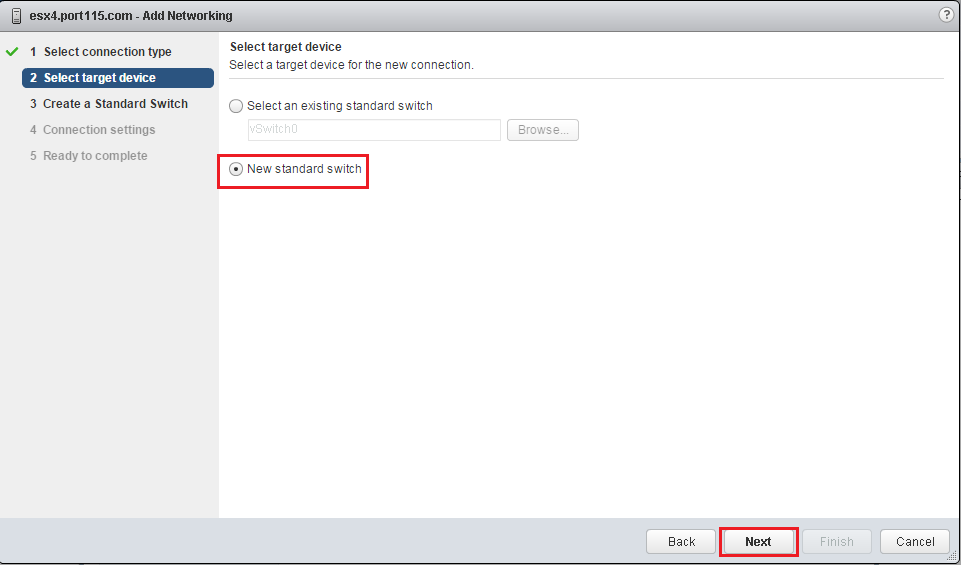
3. Select New standard switch. Select Next
4. Select Next.
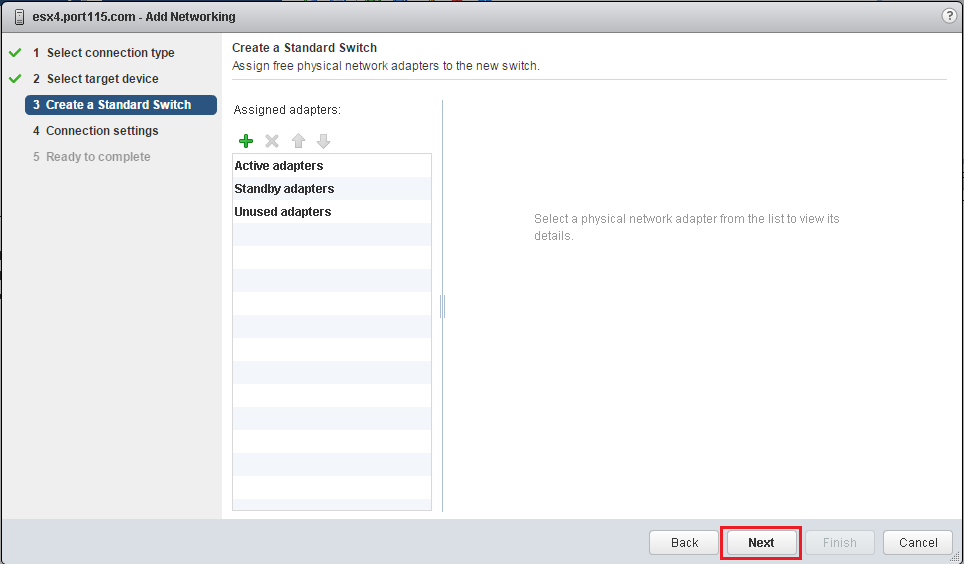
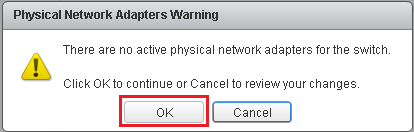
5. Click Next. This warning is just to let you know that the switch doesn’t have any physical NIC’s associated with it, which is fine for our lab.
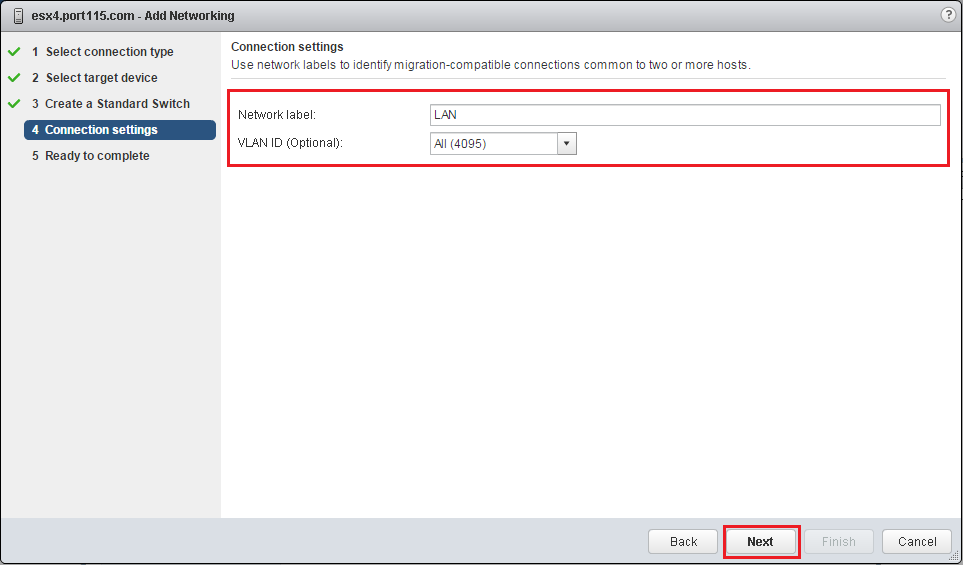
5. Name the virual port group (I chose LAN) and set the VLAN ID to 4095. VLAN 4095 is the promiscuous vlan. Click Next
6. Select Next.
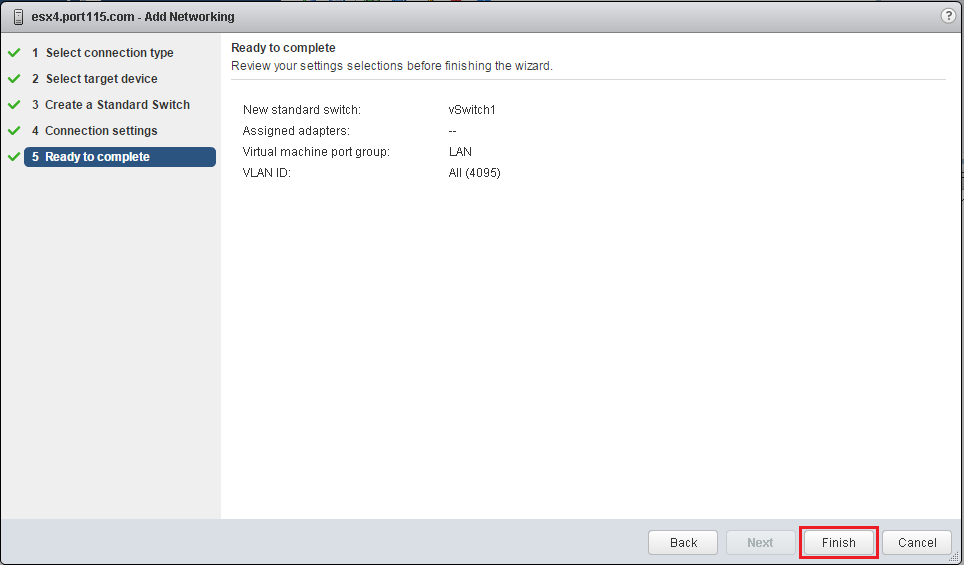
7. A new standard virtual switch has been created. You still need to configure the security settings of the switch following the process above.
We now have everything we need to install the virtual ESXi servers (post 8) and VSAN (post 9).