Carrying on with our VSAN enabled nested environment, we’ll be deploying our new hosts using the VCSA and the web client and not the C# client. Reason? Well we will be setting specific parameters for the vCPU to pass through the virtualization extensions. otherwise we will need to do this by editing the VMX file.
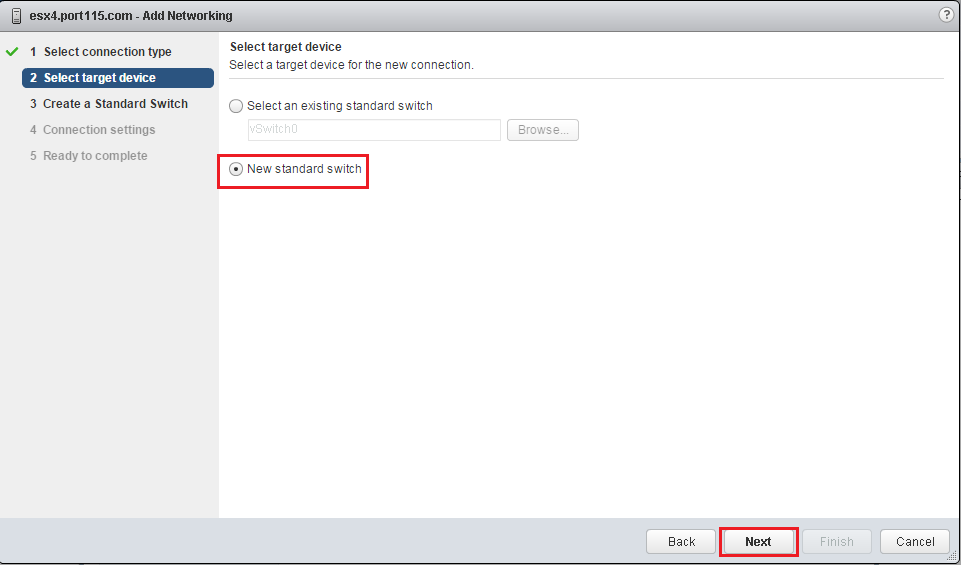
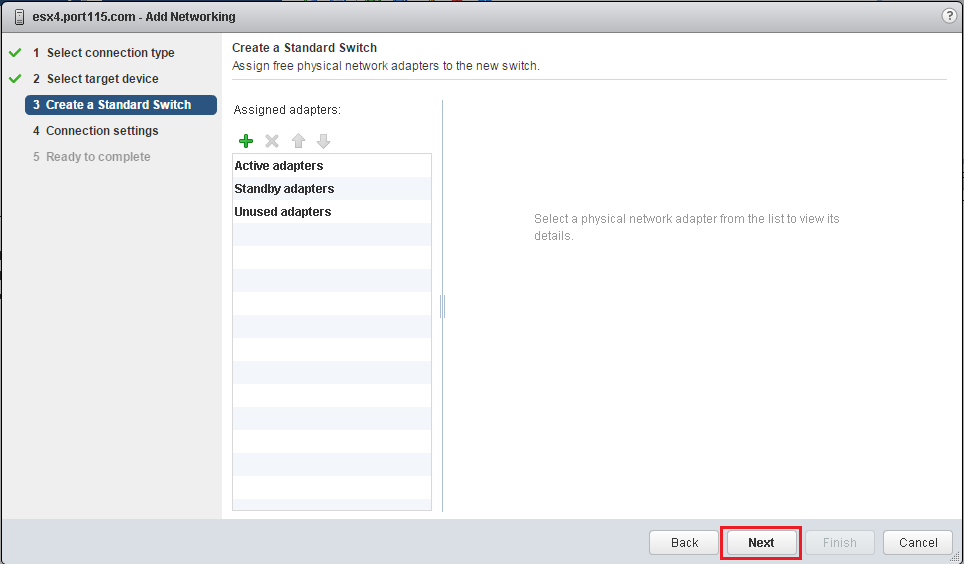
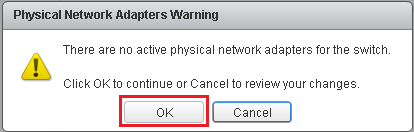
Now that we have the networking in place that we configured in the previous post we’ll go on to deploy three ESXi VM’s.
Each host should have the following spec:
- 2 X CPU or cores (Min requirement for ESXi)
- 6GB Ram (Min requirement for VSAN)
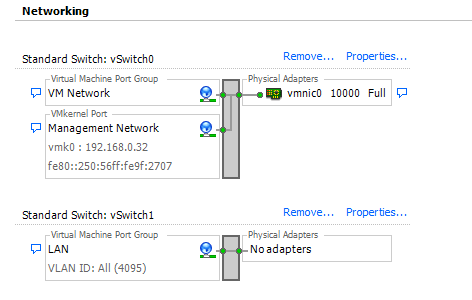
- 2 X Nics on the VM Network
- 2 X Nics of the LAN Network
- 1 X 10g HDD disk (ESXi install)
- 1 X SSD disk for the caching tier.
- 1 X HDD for data Tier.
The VSAN disk configuration of my nested ESXi servers is:
- 1 X 40GB SSD
- 1 X 100GB HDD
This configuration worked for me ask I was able to run a couple of smaller VM’s in my nested environment. I was also able to add a second 100GB HDD to continue to test VSAN functionality, such as striping and disk policies.
Installing a nested ESXi host.
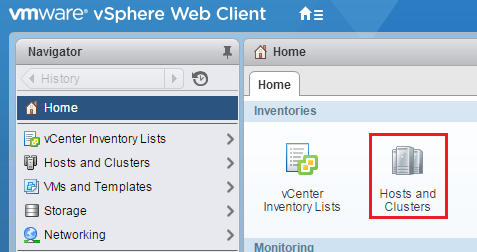
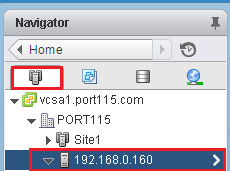
1. Log in using an account that has permission to configure the environment.
2. Select Home and the Hosts and Clusters
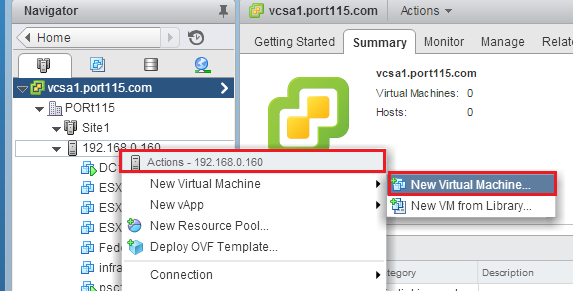
3. Select the Hosts and Clusters icon and then select your primary host, right click and Select New Virtual Machine and New Virtual Machine.
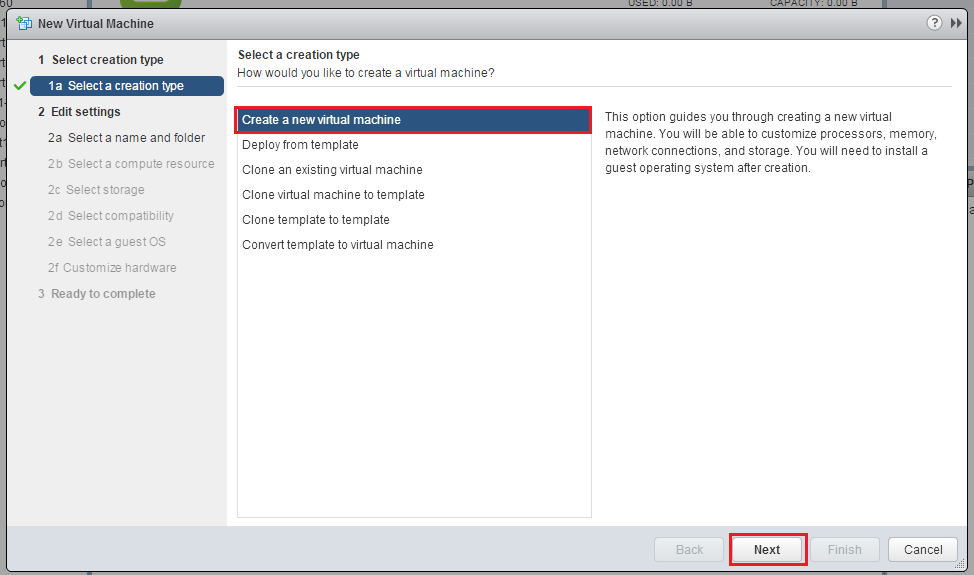
4. Select the Create New Virtual Machine and Click Next.
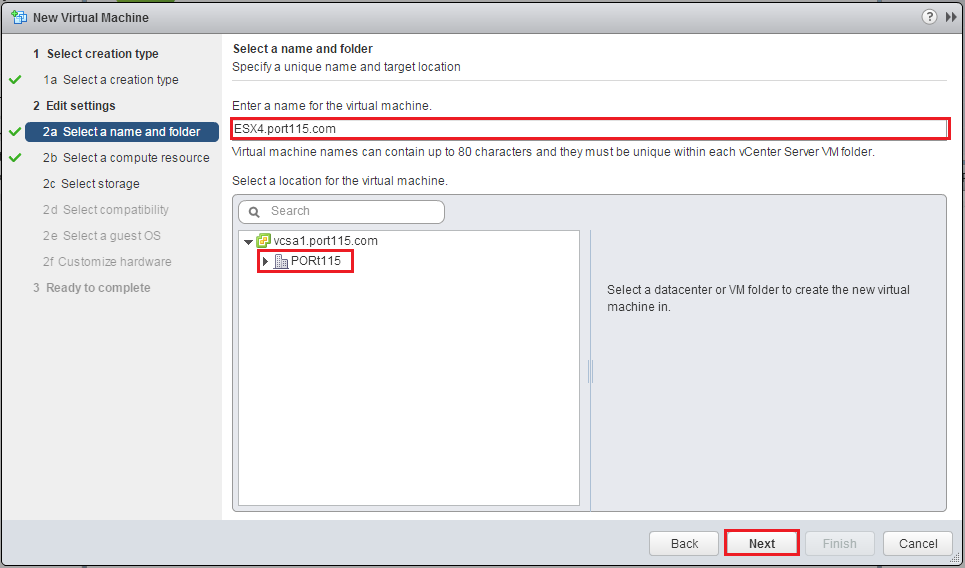
5. Give the Virtual Machine a name and select the Datacenter we created in Part 7 and Click Next.
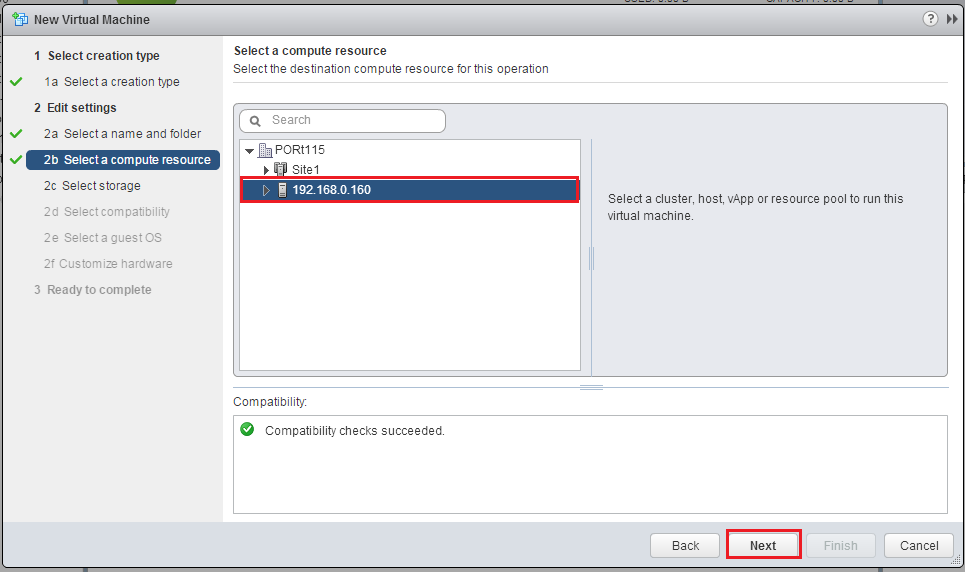
6. Select your physical host for the Compute Resource and Click Next.
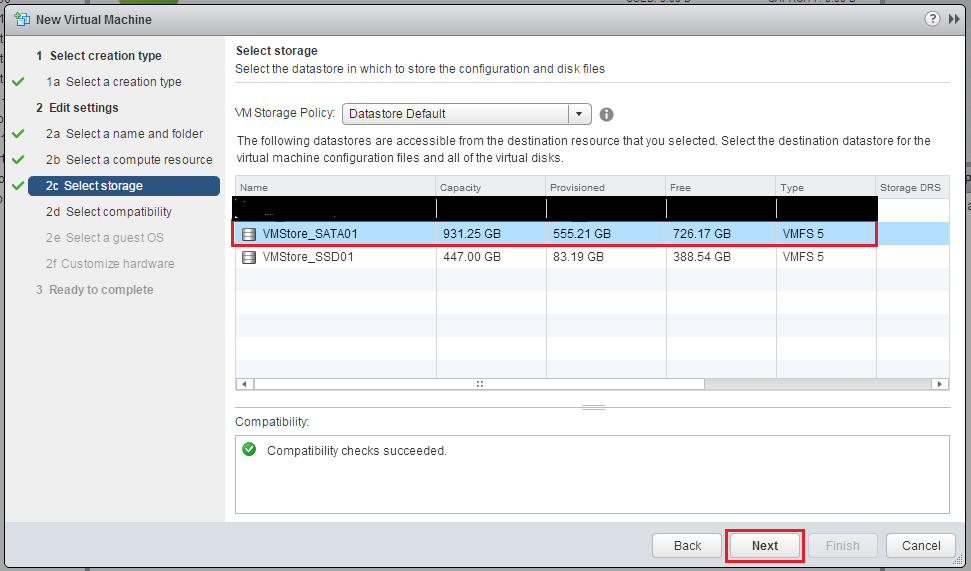
6. Select the disk you want to run the ESXi host on and Click Next. If you have both a SSD and a HDD look to put the primary disk on the HDD. Once ESXi boots it runs mostly in memory.
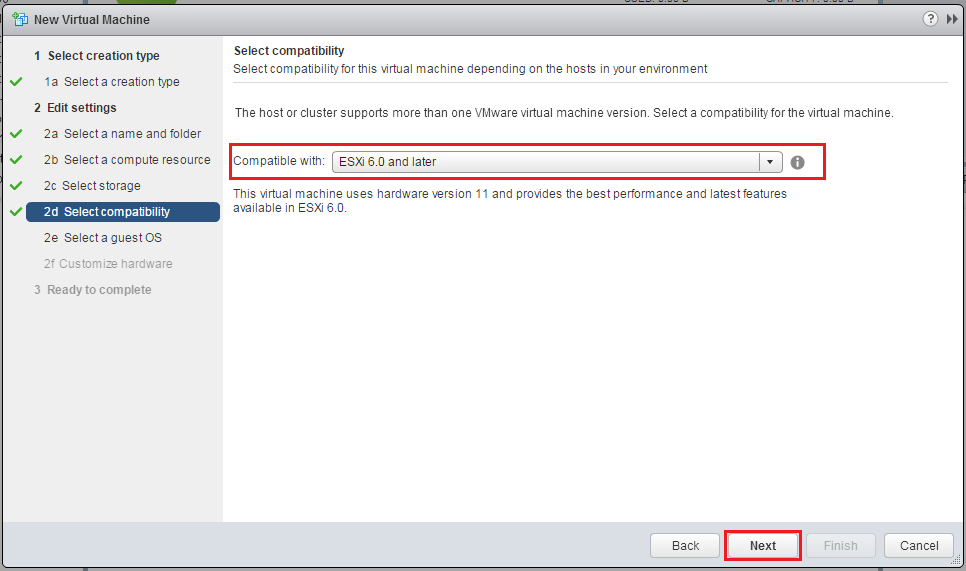
7. Select Compatable With: ESXi 6.0 and later and Click Next.
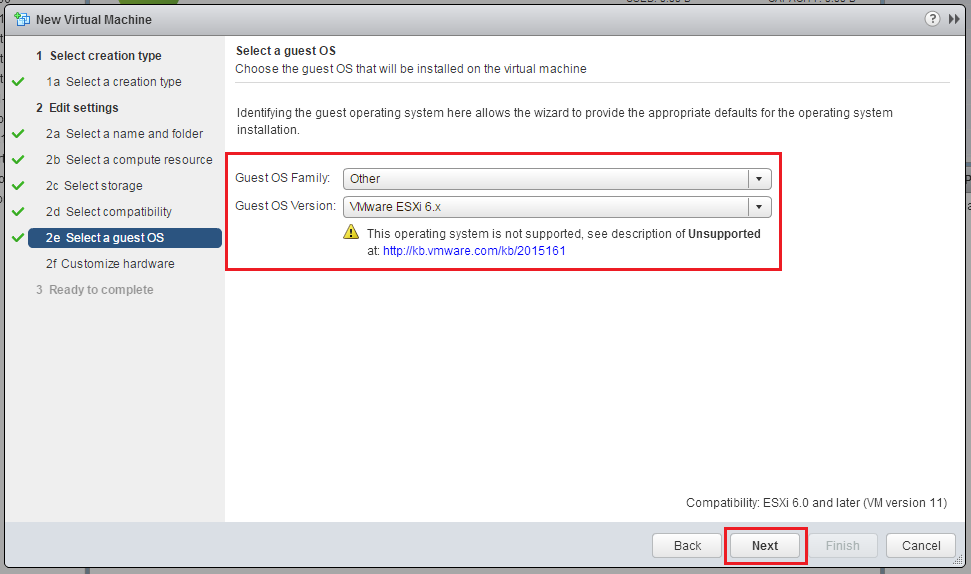
7. Guest OS Family set to Other and Guest OS Version: Version ESXi 6.x and Click Next.

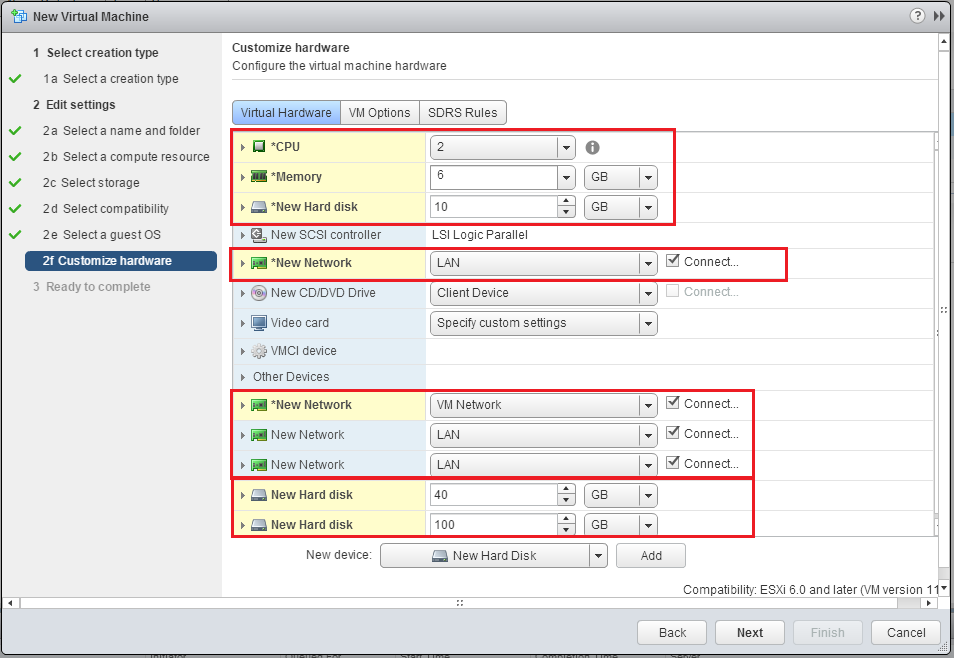
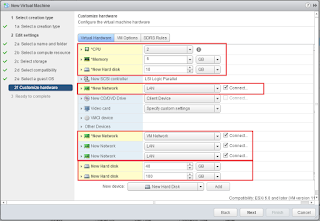
8. Ok so a fair bit to do here:
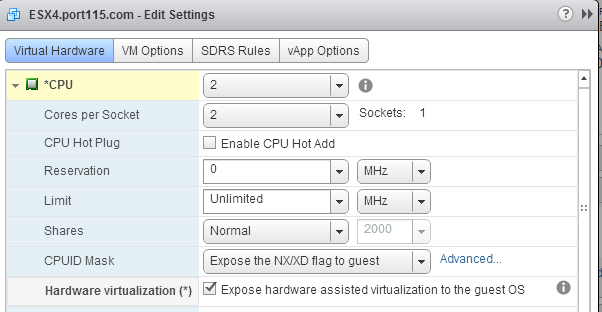
8.1. Set the VM to have two cores and one CPU. This will save on licensing if you have a VMUG advantage subscription. In addition you need to tick the Hardware Virtualization check box to pass through the additional virtualization features of the CPU. If you don’t you’ll get an error during install.
8.2. 6 GB Ram as the minimum supported with VSAN enabled nodes.
8.3. Your first HDD reduce to 10GB
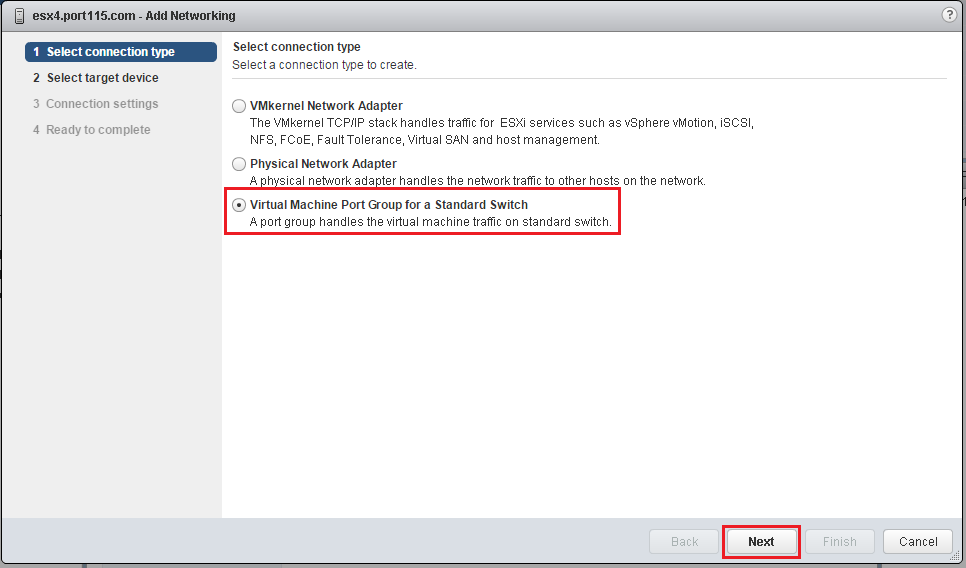
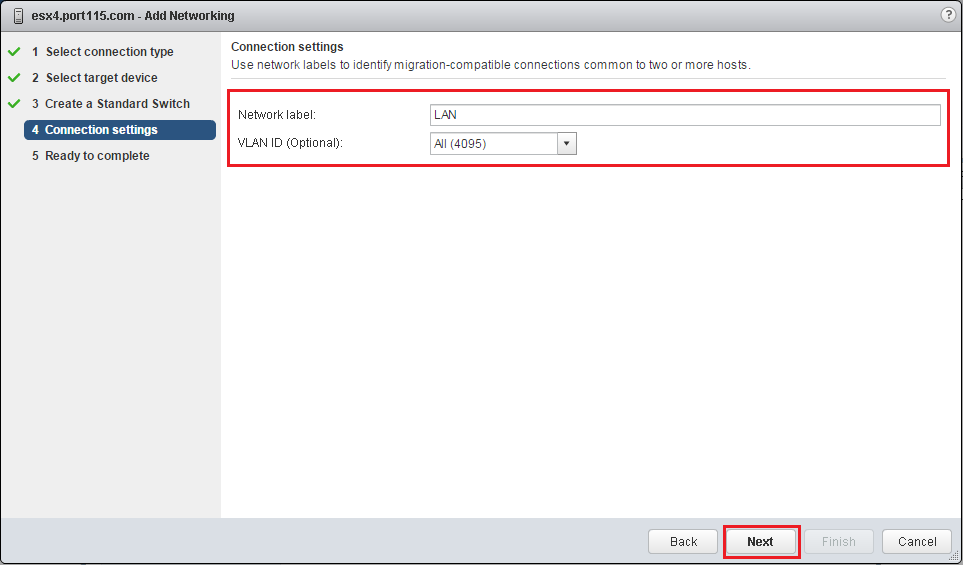
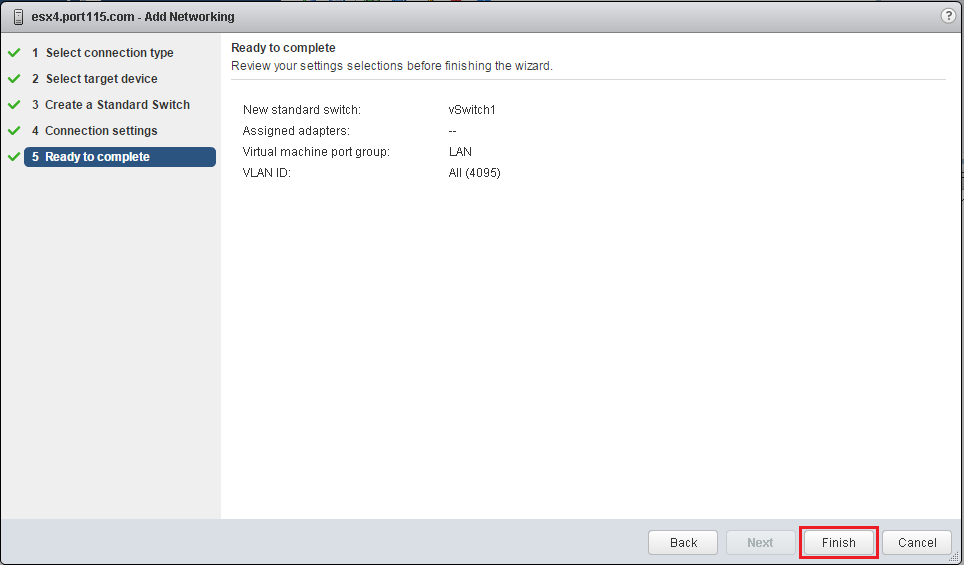
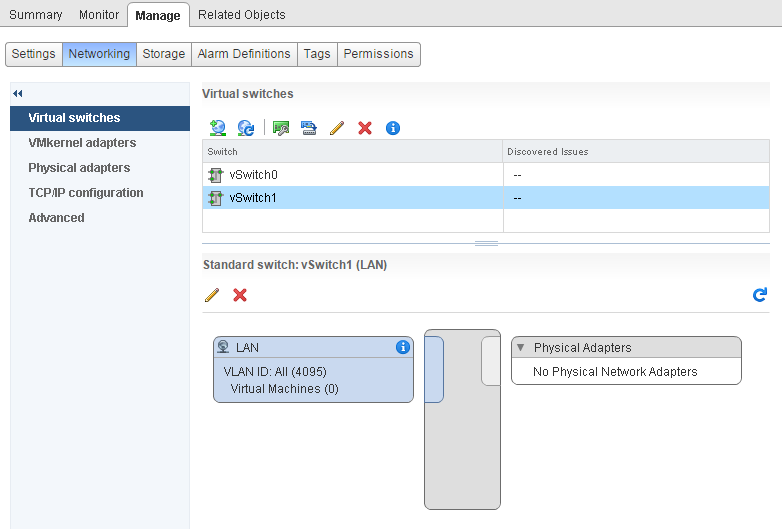
8.4. Add three additional Nic’s. Set them in this order. NIC 1 and NIC2 on the VM Network, NIC 3 and NIC4 on the LAN Network. Ensure that you set you NIC type to VMXNET3.
8.5. Add two disks. One SSD and One HDD. The SSD can be small,10GB, if required. and the HDD should be at least 50GB. If you don’t have an SSD, have a look at the end of this post and I’ll include a link to instructions which will show you how to “fool” ESXi into thinking you have a SSD when you don’t.
8.6. Add the ESXi ISO to the new CD/DVD Drive, check the Connect Check box.
8.6. Click Next,
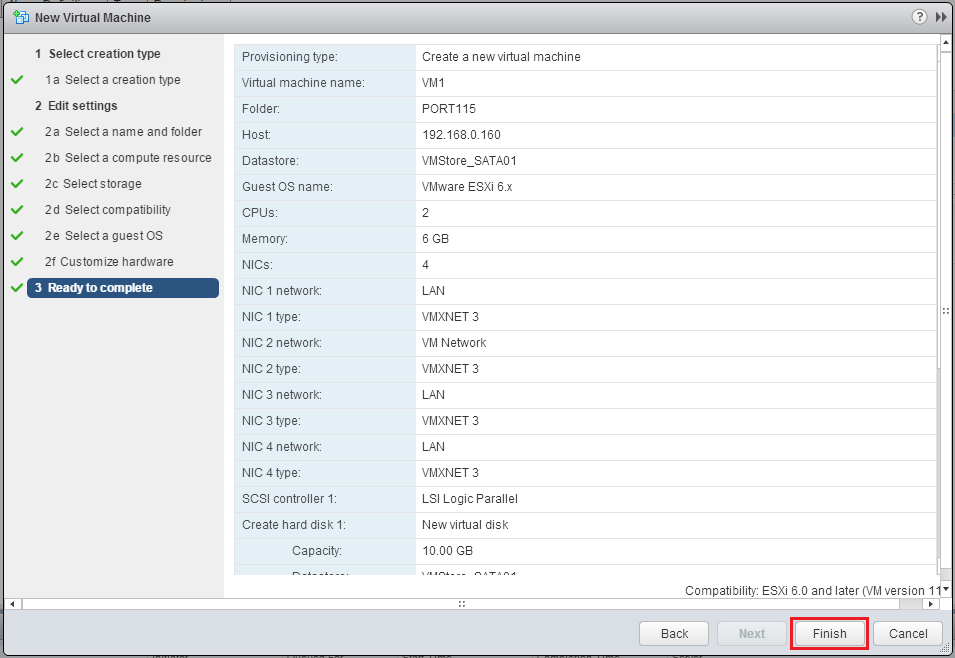
9. Review your changes and click Next.
A brief pause here to look at what we’ve built. One ESXi VM with the components necessary for to to be a part of a VSAN cluster.
10. Power on the VM. Right Click the VM and select Power On.
11. Open a console to the VM. (Click Launch Remote Console).
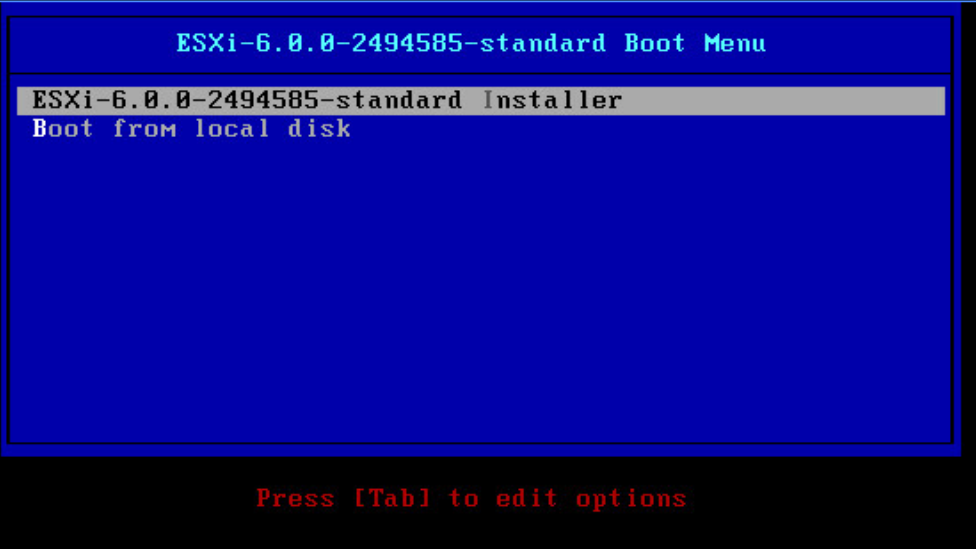
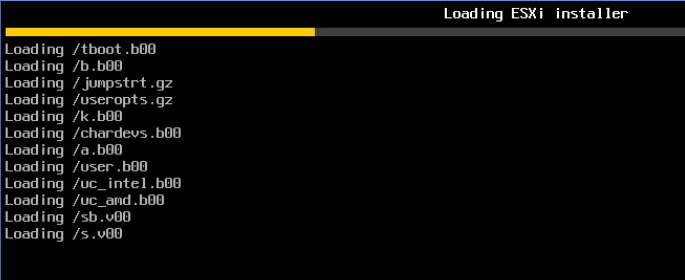
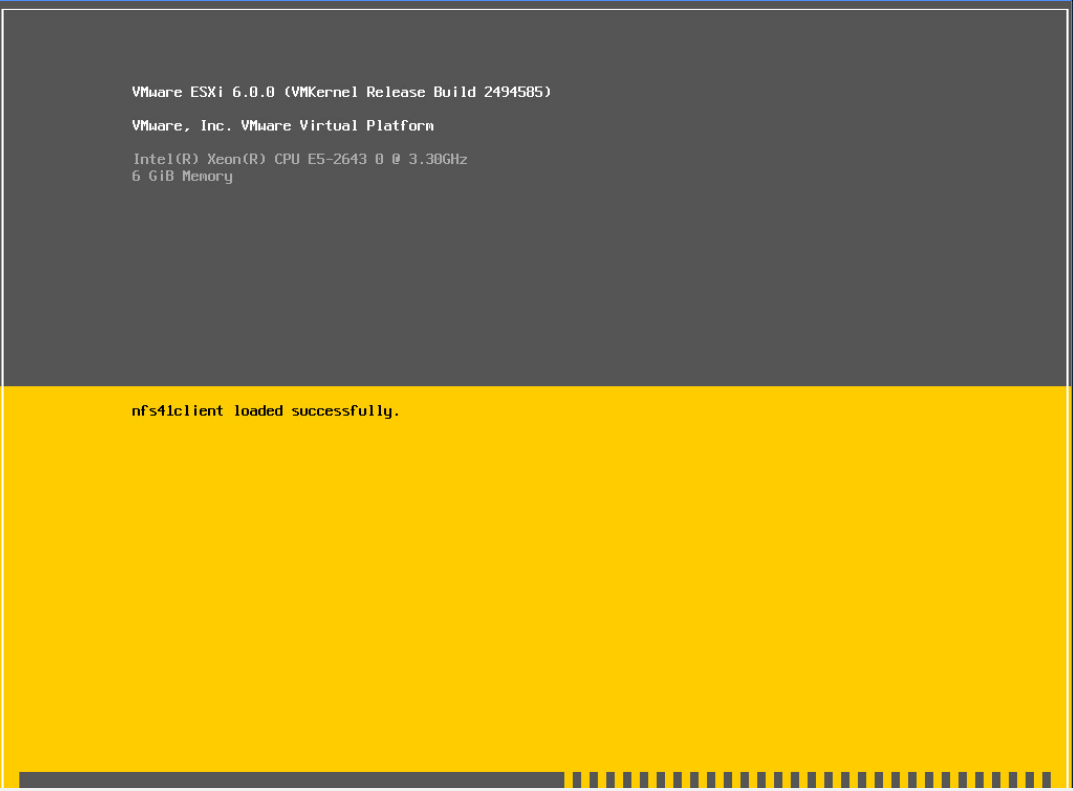
12. Boot Strapping and kernel goodness loading
11. More goodness
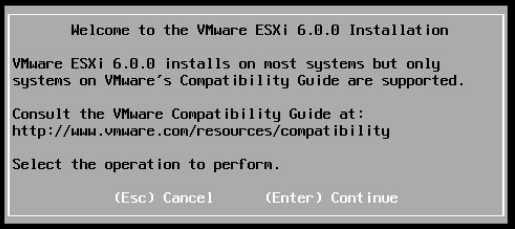
12. Press Enter
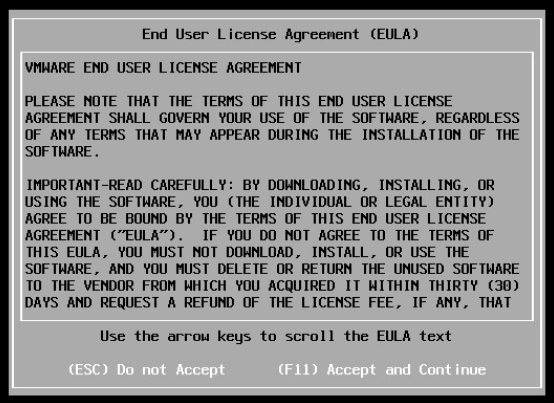
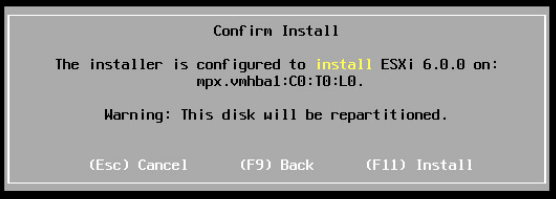
13. Press F11
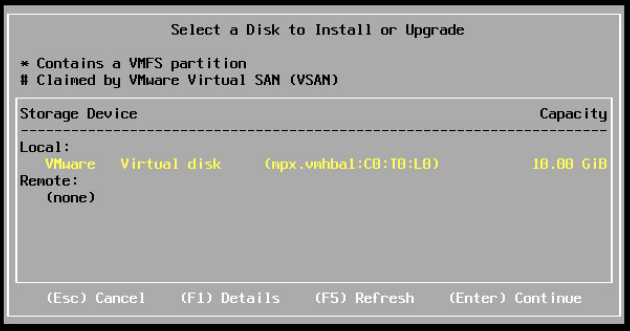
14. Select the small 10GB disk (not the SSD).
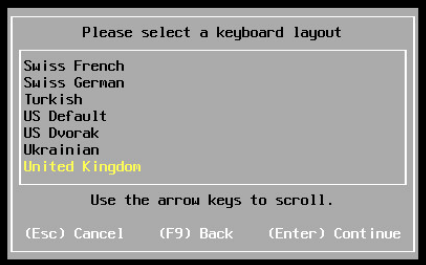
15. Choose your keyboard type and press Enter.
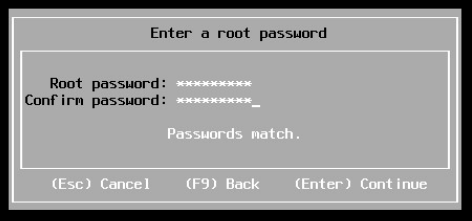
16. Enter in your root password and confirm.
17. Scanning
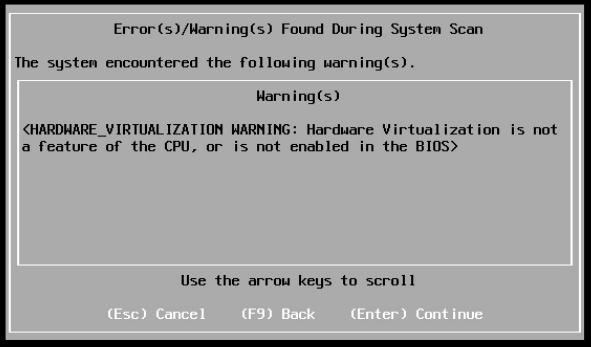
18.1 This error will appear if you have not set the Hardware Virtualization Flag in the CPU settings of the VM and you’ll need to go back and set it.
18.2 Example of the Settings.
19. Press F11.
20. Installing.
21. Press Enter
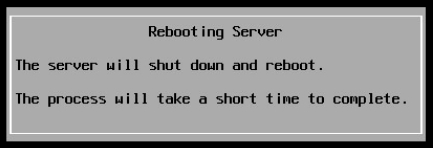
22. VM rebooting.
There we go one working ESXi VM. Now we are going to need another two of these to make up the three minimum required for VSAN.
To mark a disk as SSD; This is
one way to do it and
this is another I’ve tried both methods and they work. I personally prefer William Lam’s method.